

Changing the bulb in a Broan bathroom fan with light is simple. First, turn off power at the circuit breaker and confirm it’s off with a voltage tester. Next, remove the cover by squeezing clips or unscrewing fasteners, then unscrew the old bulb and install a compatible replacement. Finally, reattach the cover securely and restore power to test the light. There’s more to explore for ensuring a flawless process.
Key Takeaways
- Turn off power at the circuit breaker and verify it’s off using a voltage tester.
- Clear the area, set up a stable ladder, and gather tools like a replacement bulb.
- Remove the fan cover by releasing clips or screws, then access the bulb holder.
- Unscrew the old bulb and install a compatible replacement per fan specifications.
- Reattach the cover, restore power, and test the light for proper function.
Preparing for the Bulb Replacement
Before replacing the bulb in a Broan bathroom fan, meticulous preparation is essential to ensure safety and efficiency. Key safety precautions include turning off power at the circuit breaker and verifying it with a non-contact voltage tester.
Meticulous preparation is vital when replacing a Broan bathroom fan bulb. Ensure safety by turning off power and verifying it with a voltage tester.
Wearing dry rubber gloves and rubber-soled shoes adds insulation, while avoiding contact with metallic parts until power is confirmed off is critical. If uncertainty arises, consulting a qualified electrician is advised.
Equally important is workspace organization. Clear the area beneath the fan of obstacles, lay down a drop cloth to catch debris, and ensure the floor is dry to prevent slips. Using a stable step ladder or stool is crucial to reach the fan safely.
Gather necessary tools, including the correct replacement bulb, a stable step ladder, safety goggles, and a flashlight for visibility. Review the Broan manual for model-specific guidance and bulb specifications. Always keep a spare bulb handy to avoid delays if the current bulb fails unexpectedly.
Such thorough preparation minimizes risks and ensures a smooth process, maintaining both safety and precision throughout the task.
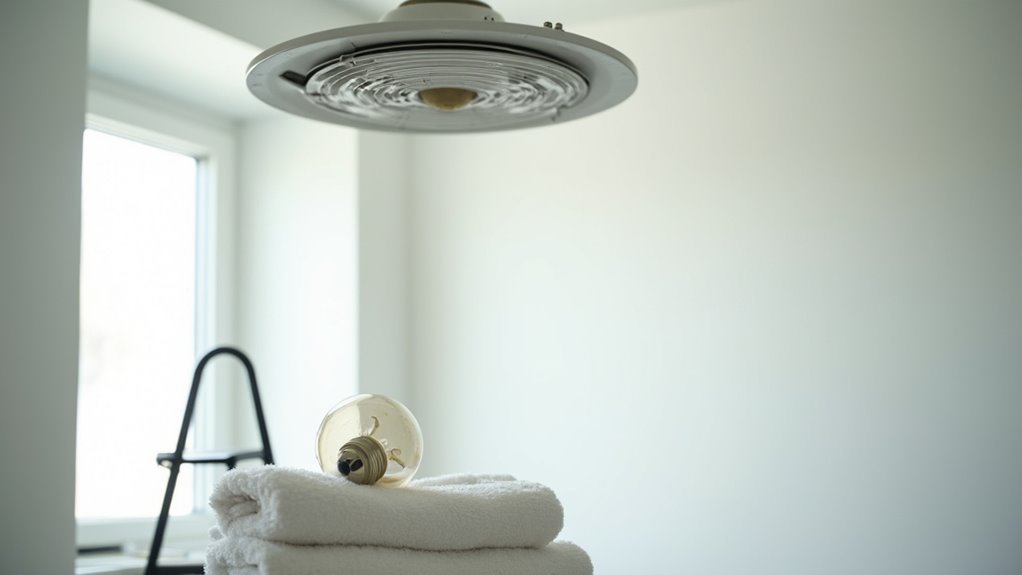
Removing the Cover and Replacing the Bulb
With the preparatory steps completed, attention now shifts to the process of removing the cover and replacing the bulb in a Broan bathroom fan.
For effective cover removal, one should gently pull down on the cover, noting it may be secured by clips or screws. Some models require squeezing the lens sides to release tabs, or using a flathead screwdriver to pry edges. If paint seals the edges, scoring the joint with a knife is advised.
Next, fastener identification is critical; covers might use spring clips, perimeter screws, or a hidden center nut. Tabs on the lens could slot into the grille, or a rod and washer system may secure decorative models.
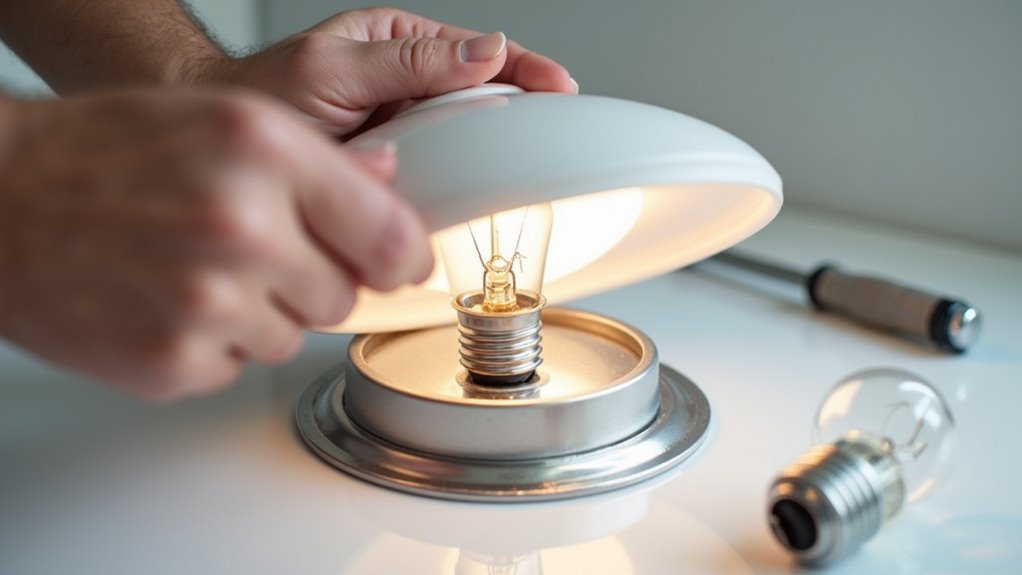
Once the cover is off, the bulb holder becomes accessible. Unscrew the old bulb, verify the correct wattage and base type from the fan’s specifications, and securely install a compatible replacement bulb.
Reassembling and Testing the Light
Proceed to reassemble the Broan bathroom fan by carefully aligning the cover with the mounting points or brackets on the fan housing. Ensure the fan cover is positioned correctly, squeezing spring-loaded clips into slots or tightening screws without overtightening.
If applicable, feed the light reflector assembly through the grille’s center, plug it into the receptacle, and secure it with an acorn nut, keeping wiring neat.
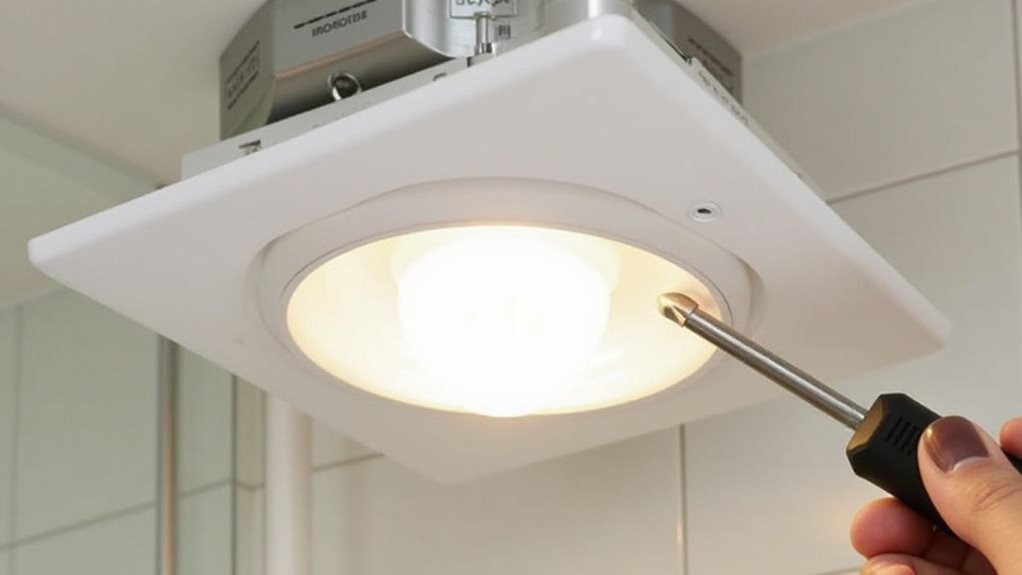
Once the fan cover is secure, restore power at the circuit breaker. Conduct bulb testing by switching on the light to verify illumination.
Observe for flickering or odd sounds; if the light fails, cut power and troubleshoot the bulb or socket. Test fan operation separately, ensuring both components function without issues.
Confirm bulb compatibility with the Broan model. For persistent problems, inspect the socket, wiring, or switch, consulting the manual or a professional if needed.