
To connect a bathroom light fixture in 5 easy steps, first ensure safety by disconnecting power at the circuit breaker and verifying with a voltage tester. Second, gather tools like screwdrivers and wire strippers. Third, remove the old fixture, carefully disconnecting wires. Fourth, wire the new fixture, matching hot, neutral, and ground wires securely. Finally, mount the fixture and test it after restoring power. Explore further for detailed guidance on each step.
Key Takeaways
- Turn off power at the circuit breaker and verify with a voltage tester.
- Remove the old fixture by disconnecting wires and unscrewing it.
- Connect the new fixture’s wires: ground, neutral, then hot.
- Mount the fixture to the junction box using provided screws.
- Restore power and test the light switch for functionality.
Preparing for Safe Installation
Before beginning the installation of a bathroom light fixture, one must prioritize safety by thoroughly understanding the inherent risks and necessary precautions.
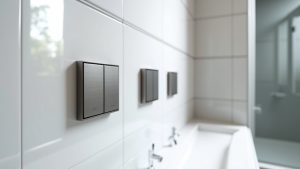
Bathrooms pose a high risk of electrical shock due to moisture, making strict safety precautions essential. One must ensure proper electrical grounding of all components to prevent shocks and potential fires, adhering to local electrical codes and regulations for compliance.
To mitigate risks, power must be disconnected at the main circuit breaker for the bathroom circuit. Verification with a non-contact voltage tester is critical to confirm the absence of power.
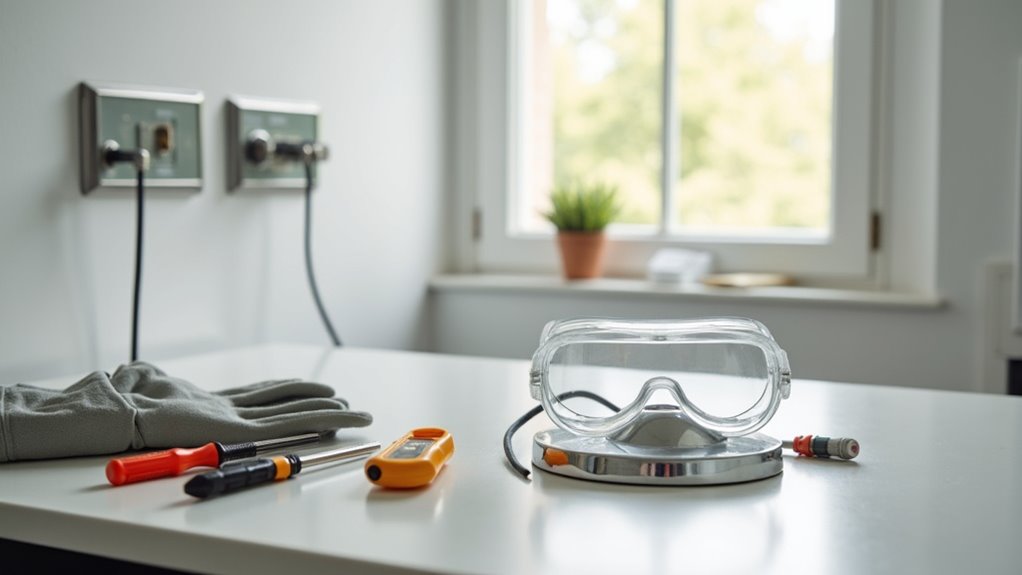
Working with dry hands and avoiding wet surfaces further reduces hazards. Insulated gloves should be worn, and adequate ventilation maintained to prevent moisture buildup. Additionally, using GFCI outlets near water sources can enhance safety measures during installation. Regular inspections of bathroom electrical systems are vital to prevent emergency situations.
Awareness of guidelines like the National Electrical Code ensures safe practices. If uncertainty arises, consulting a qualified electrician is advised to uphold safety standards during preparation.
Gathering Essential Tools and Materials
Assembling the right tools and materials is a critical step in ensuring a safe and efficient installation of a bathroom light fixture. Proper preparation prevents delays and reduces risks during the process.
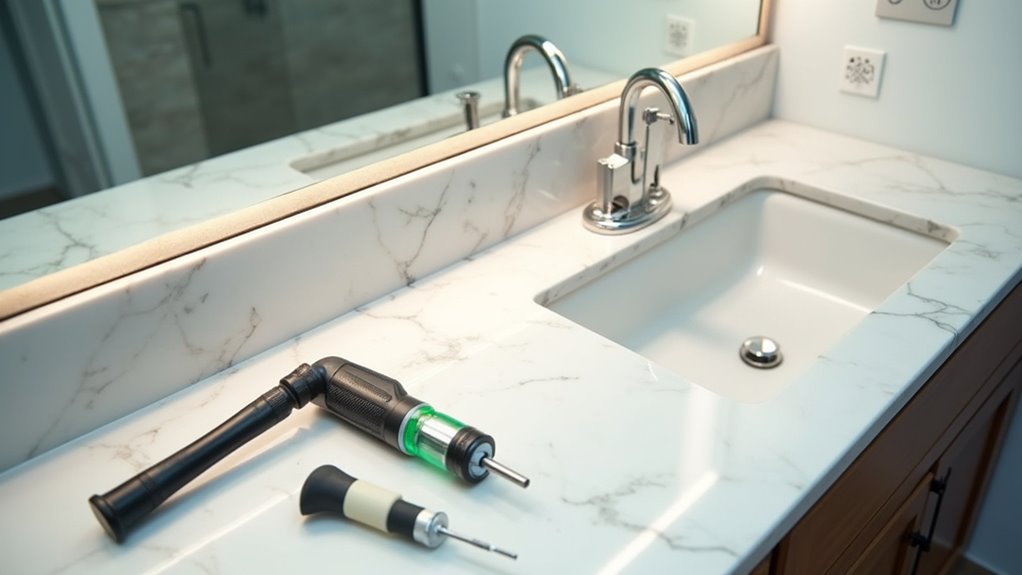
Key tool selection tips include choosing a voltage tester to confirm power is off, insulated gloves for added safety, and a level for precise alignment. A screwdriver set, wire strippers, and pliers are also essential for handling components.
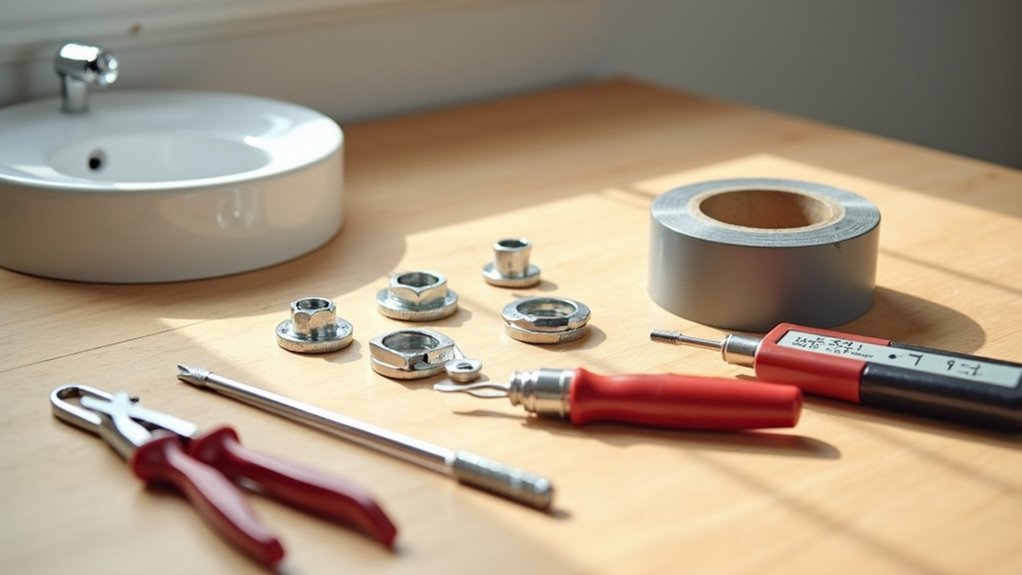
Consulting a material checklist is vital to confirm all necessary items are on hand. This includes a new IP44-rated light fixture, compatible bulbs, wire nuts, and electrical tape for secure connections.
Mounting hardware like brackets, screws, and wall anchors must match the fixture’s weight and wall type. Safety gear such as glasses and a stable ladder should not be overlooked.
Thoroughly gathering these tools and materials ensures a smooth, hazard-free installation process.
Removing the Existing Fixture
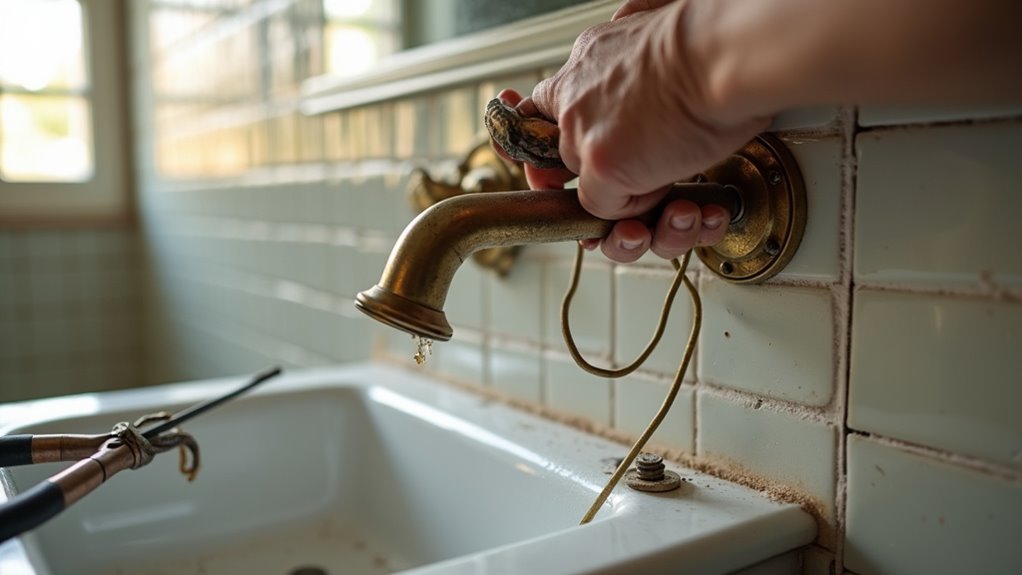
While preparing to install a new bathroom light fixture, the initial step involves safely removing the existing one. Safety precautions are paramount; begin by turning off power at the circuit breaker and verifying it with a voltage tester. Double-check wires to ensure no current remains before proceeding.
Next, remove light bulbs and decorative elements, handling fragile parts carefully. Fixture styles vary, so note whether covers twist off or require unscrewing. Support the fixture’s weight while loosening screws or nuts to prevent falls, especially with heavier models.
Gently pull it away from the wall or ceiling, taking care with painted edges. Disconnect wires by unscrewing wire nuts, confirming no power with a tester again. Once detached, remove the old mounting bracket if needed and inspect the electrical box for stability. Clean the area, ensuring a safe workspace for the next steps.
Wiring the New Light Fixture
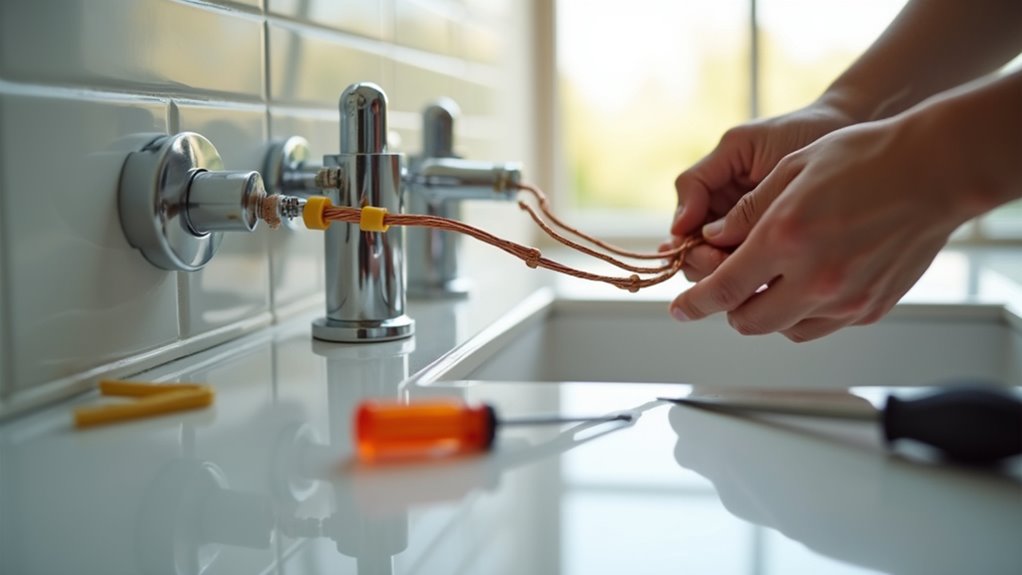
After ensuring the power is completely off at the circuit breaker and verified with a voltage tester, the process of wiring a new bathroom light fixture can begin.
Safety is paramount; never proceed without confirming the absence of electricity.
Start by identifying the wiring colors: hot (black or red), neutral (white), and ground (green or bare copper). Inspect and strip wires if necessary, exposing half an inch of bare ends for secure connections.
Begin with the ground wire, using connection methods like twisting it with the house ground and securing with a wire nut, or attaching to a grounding screw if present.
Next, connect the neutral wires (white) and hot wires (black) by twisting matching wiring colors together and securing with wire nuts. Tug gently to ensure firmness.
Tuck wires neatly into the electrical box, wrap wire nuts with electrical tape, and double-check all connections for safety.
Mounting and Testing the Installation
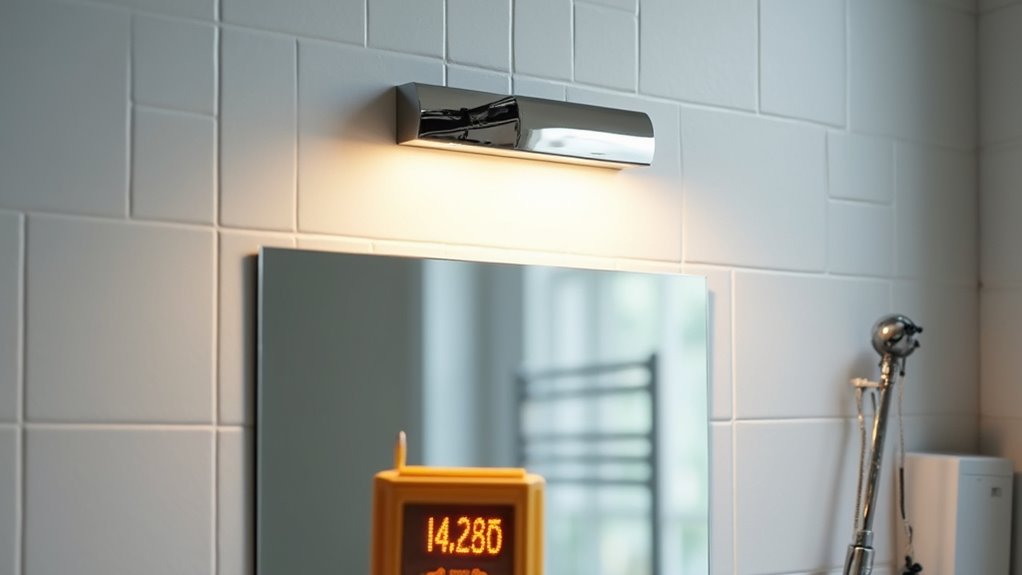
Begin the process of mounting a new bathroom light fixture by ensuring the power remains off at the circuit breaker and verifying this with a voltage tester to prevent electrical hazards.
After confirming safety, attach the mounting bracket to the junction box with provided screws, using a level to ensure alignment. Secure the fixture to the bracket, tightening screws or nuts for fixture stability, and tuck wiring neatly into the box. Install compatible light bulbs and any shades or covers as specified.
Once mounted, conduct thorough safety checks by restoring power at the breaker and testing the light switch. Observe for flickering or non-functioning bulbs, which may indicate wiring issues. If problems arise, immediately disconnect power and inspect connections or seek professional help.
Verify the fixture’s rating suits the bathroom’s damp environment, ensuring long-term safety and reliability during use.