
To clean a bathroom fan with a light, first turn off the power at the wall switch and circuit breaker. Remove the fan cover and soak it in soapy water if it has no light. Next, dust off the light cover and vacuum the fan blades and motor using a crevice tool. After cleaning, ensure all components are dry before reassembly. Finally, reconnect everything and test the fan and light for proper operation. Discover further maintenance tips for optimal performance.
Key Takeaways
- Turn off the power at the wall switch and circuit breaker to ensure safety during cleaning.
- Remove the fan cover and soak in warm, soapy water if no light components are present.
- Vacuum dust from light covers and fan blades using a crevice tool for thorough cleaning.
- Wipe surfaces with a damp microfiber cloth, using an old toothbrush for stubborn areas.
- Reassemble components securely and test functionality after ensuring all parts are dry.
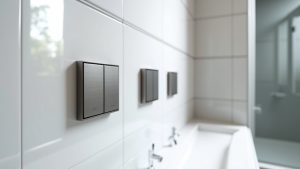
Safety Precautions

What steps should one take to ensure safety when cleaning a bathroom fan?
First, prioritize electrical safety by turning off the power at the wall switch and circuit breaker. Confirm power is off by attempting to operate the fan. This is crucial because a clean fan contributes to a healthier environment in your bathroom. Additionally, regular cleaning of the fan every six months helps maintain fan efficiency and reduces the risk of electrical hazards. Remember to also inspect for any moisture issues around the fan area to prevent accidents. It’s vital to ensure proper electrical grounding of components to avoid shocks during maintenance.
Next, use safety gear, including goggles to protect eyes from dust and a dust mask to avoid inhaling particles. A sturdy step ladder should be positioned on a dry, level surface to prevent falls. Avoid overreaching, and have someone hold the ladder if uncertain.
Lastly, handle fan components carefully, maintaining a firm grip, and ensure that all parts are dry before reassembly. Proper ventilation and mild cleaning agents are essential to minimize exposure to chemical hazards during the cleaning process.
Cleaning Process

Cleaning a bathroom fan requires a systematic approach to ensure thoroughness and safety.
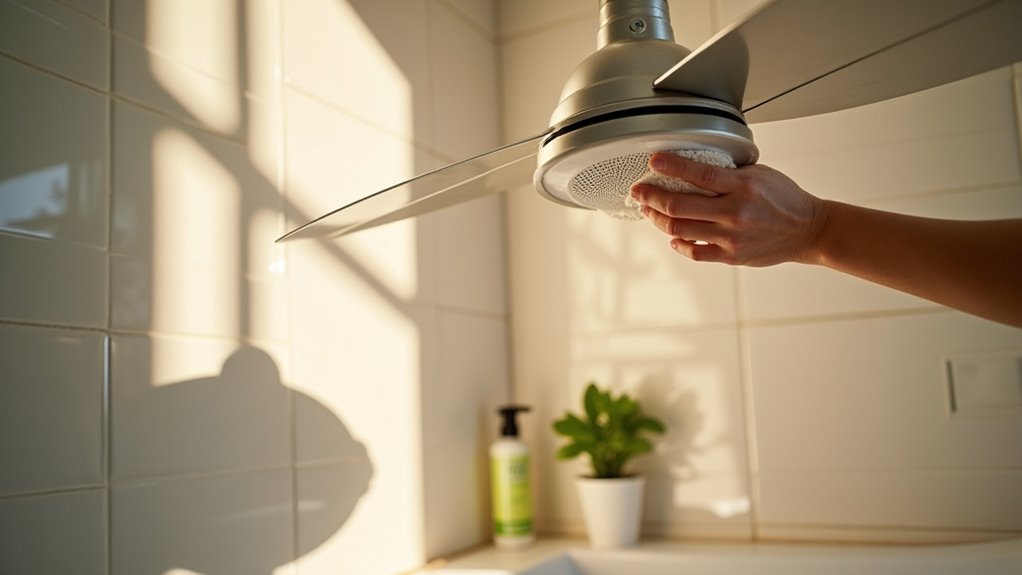
Begin by removing the fan cover, leveraging mounting wires or latches as needed; disconnect wiring if there’s a light. For covers without lights, soak them in warm, soapy water. For those with lights, vacuum dust and wipe them clean with a damp cloth.
For fan blades and the motor, use a vacuum with a crevice tool to eliminate loose dust. A brush attachment can further assist in thorough cleaning.
Wipe accessible areas with a damp microfiber cloth, using an old toothbrush for harder-to-reach spots. Lastly, vacuum the recessed housing and ensure all parts are dry before reassembly.
This process is essential for effective fan maintenance.
Reassembly and Testing

Reassembling the bathroom fan involves careful attention to detail to ensure safety and functionality.
Begin by ensuring all components are dry to prevent electrical hazards. If the motor was removed, reattach it securely within the housing, reconnect the power source, and tighten all screws.
Align the cover’s tabs or clips with their corresponding slots and secure them appropriately—using screws, clips, or plastic tabs as necessary.
Once the fan assembly is complete, restore power by flipping the circuit breaker back on, ensuring the switches are off initially.
Conduct light testing by activating the light switch to check for proper functioning, flickering, or dimness.
Finally, test the fan’s operation and airflow to confirm efficient performance.