
To install a bathroom light electrical box, first choose the correct location, ideally between 75 to 80 inches from the floor. Prepare the wall by clearing insulation and debris. Cut an appropriate hole in the drywall, then secure the electrical box. Mount the fixture plate ensuring it is flush with the wall. Connect and secure the wiring properly, ensuring all connections are tight. Finally, attach the light fixture and conduct testing to confirm functionality and safety, with further details available.
Key Takeaways
- Determine the correct height for the electrical box, typically between 75 to 80 inches above the finished floor for bathroom lights.
- Cut the drywall carefully along marked outlines to create an appropriately sized hole for the electrical box.
- Ensure the electrical box fits snugly in the opening and secure it to the drywall using screws for stability.
- Install the mounting plate by centering it on the electrical box and marking screw positions before securing it with appropriate screws.
- Connect the wiring according to color codes, ensuring all connections are secure, and manage the wires neatly using clips.
Choosing the Correct Electrical Box Location
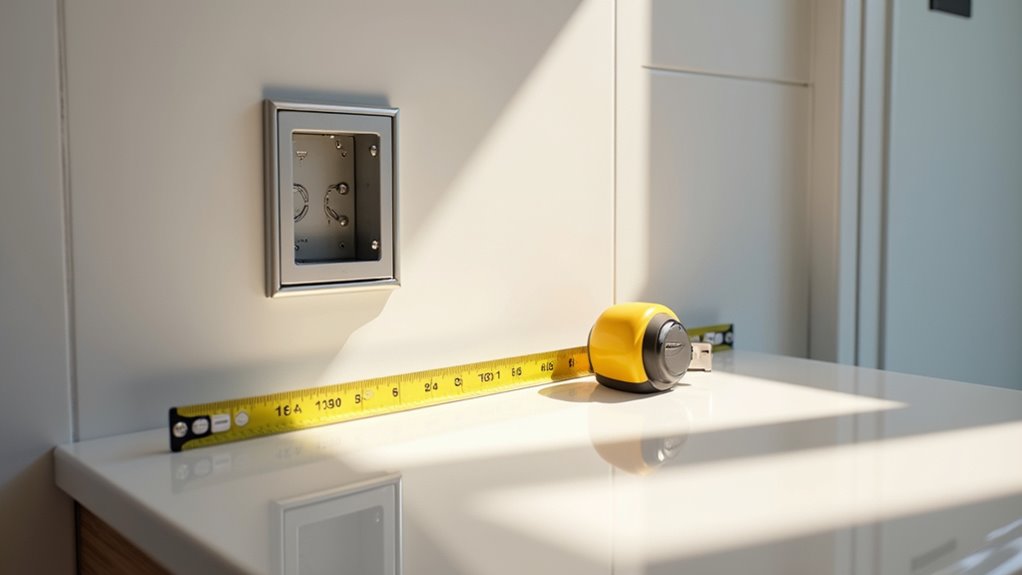
Choosing an appropriate location for the electrical box is essential for optimal lighting effectiveness and safety in a bathroom. Standard mounting heights for bathroom vanity light electrical boxes typically range from 75 to 80 inches above the finished floor, which aligns with standard vanity mirror heights.
Accurate box positioning is critical for preventing shadows and ensuring light symmetry across the face, enhancing comfort and usability. Most vanity lights feature built-in wiring compartments, so it is important to select an electrical box that complements the fixture design. Properly extending wires may also be necessary if cables are too short to reach new locations. Local building codes should be consulted to confirm any restrictions regarding clearance from water sources and other outlets.
When installing, the box should be centered with respect to the vanity’s fixtures to achieve even illumination and aesthetic consistency. Careful pre-measurement will facilitate precise alignment, optimizing both visual and functional performance of the lighting.
Preparing the Wall and Tools
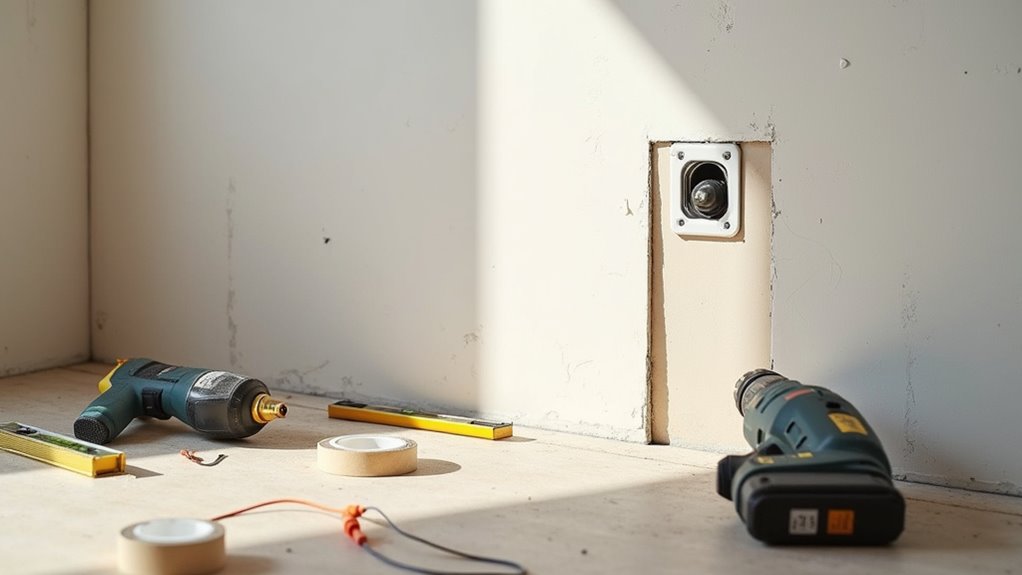
With the electrical box position established, attention must turn to preparing both the wall surface and the necessary tools for installation. Tool selection is critical; a hammer and pry bar may be needed for removing old fixtures, while a drywall saw or rotary tool ensures precise cutouts. A tape measure and level assist in verifying accurate placement and alignment of the box. Wall preparation entails removing existing obstructions and carefully cutting the drywall along marked outlines to minimize damage. Insulation and debris should be cleared from the wall cavity, and framing inspected for solid attachment points. To ensure the electrical box is properly secured, use a drywall reference strip for guiding the box placement. Safety measures require confirming power is off at the circuit breaker, ensuring compliance with local electrical codes before proceeding.
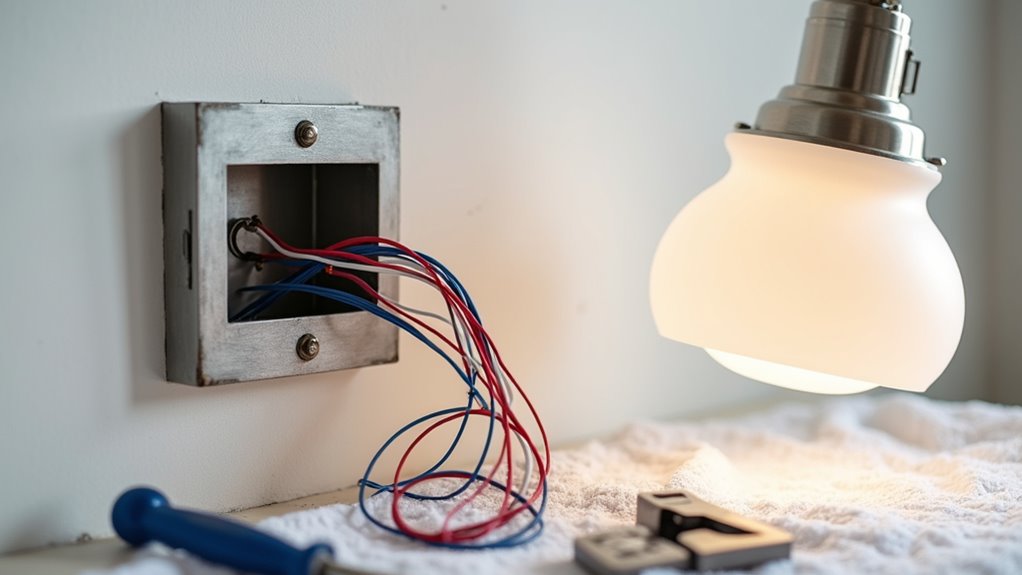
Installing the Electrical Box in Drywall
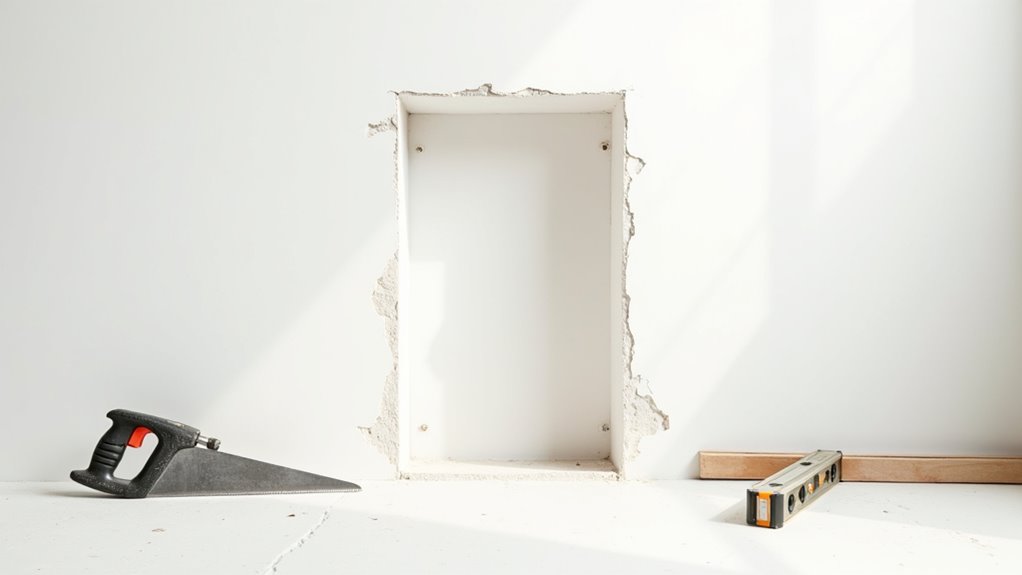
Properly installing an electrical box in drywall requires careful planning and execution to ensure safety and functionality.
First, the location must be precisely determined and marked. A drywall saw is then used to cut an appropriately sized hole, following the outline to maintain accuracy. During this process, safety precautions should be adhered to, especially regarding the handling of existing wires, which should be managed effectively, pushed back into the wall if obstructive.
Once the hole is prepared, the box should be tested for fit—ensuring it is snug but not overly tight. Finally, screws are utilized to secure the electrical box to the drywall, reinforcing stability and ensuring it remains flush with the surface for optimal wire management and safety.
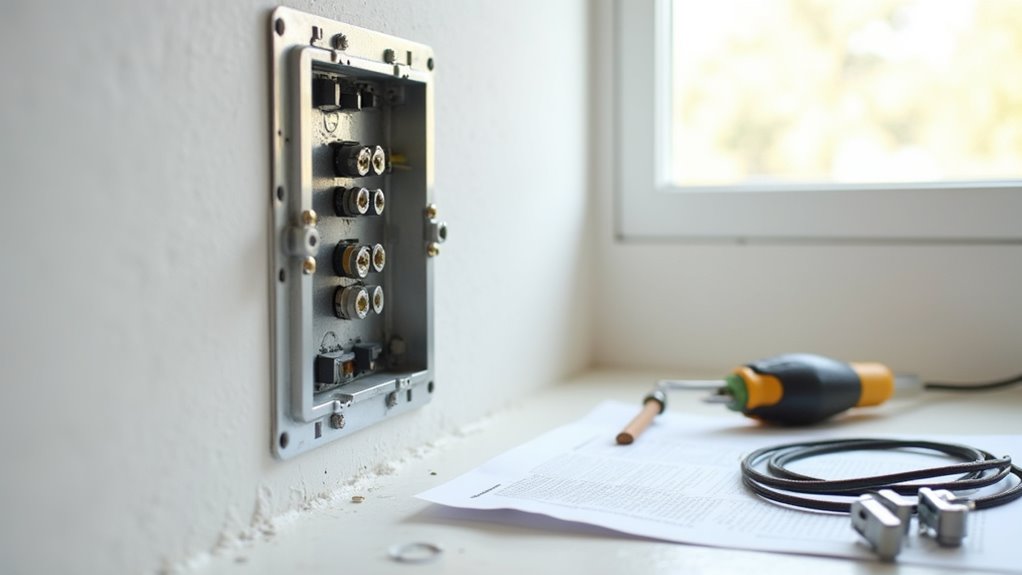
Mounting the Fixture Mounting Plate
To initiate the installation of the bathroom light fixture, the mounting plate must be securely positioned and attached to the electrical box.
First, ensure the mounting plate materials are free from defects and compatible with both the electrical box and light fixture model. Center the mounting plate on the electrical box and use a pencil to mark screw hole positions, confirming alignment with the box’s screw holes or studs.
If installing in drywall, secure the plate using anchors if necessary. Utilize the appropriately sized screws to attach the plate, tightening firmly but without overtightening to prevent damage.
Once secured, check that the plate is flush against the wall, ensuring proper fixture alignment techniques are applied for optimal light placement.
Connecting and Securing Wiring
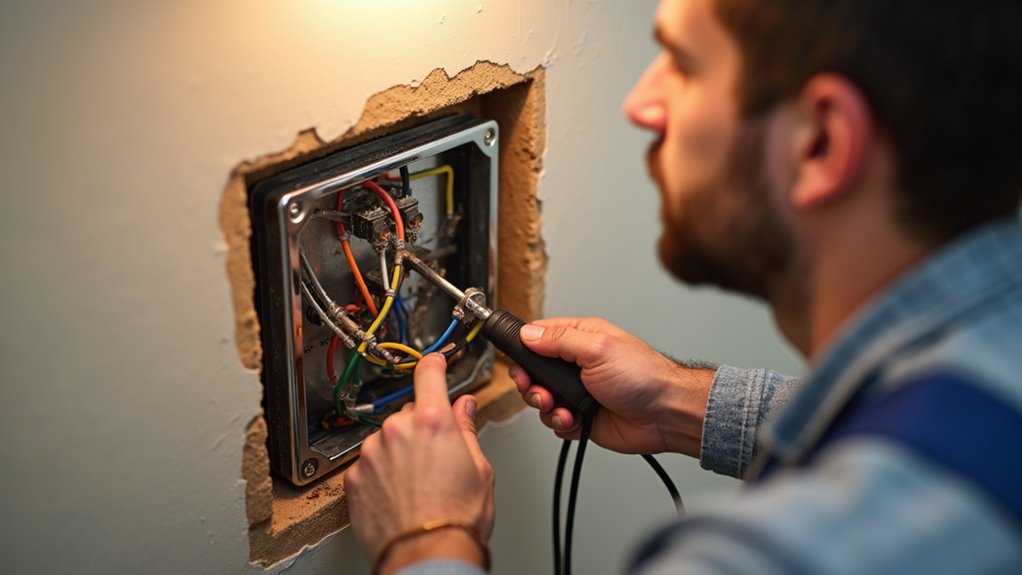
As the installation progresses, connecting and securing the wiring is a critical step that demands careful attention to detail and adherence to safety protocols.
Technicians must first attach the ground wire, often bare or green, to a green screw on the mounting bracket. The neutral wire, usually white, should connect securely to the designated terminal. Hot wires, typically black or red, must be connected correctly to their respective terminals, observing proper polarity.
It is essential to strip insulation from wire ends and ensure all connections are tight to prevent shorts. Use clips for wire management and avoid overfilling the box.
Prior to work, technicians must wear safety goggles and turn off the circuit breaker as vital safety precautions.
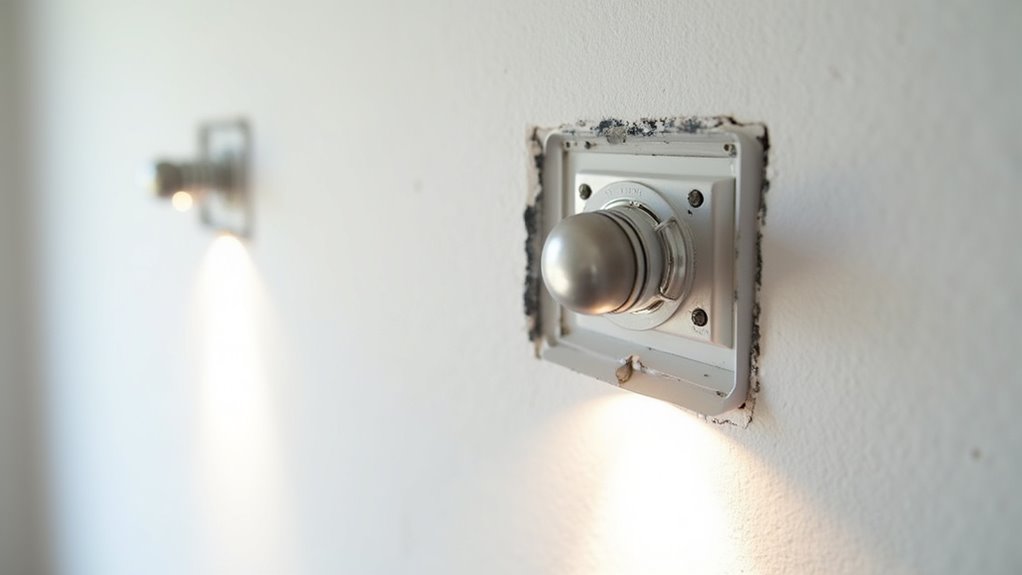
Attaching the Light Fixture
Attaching the light fixture to the electrical box requires precise alignment and secure fastening to ensure safe and effective operation.
First, the installer must mount the fixture to the wall bracket or mounting plate, ensuring light alignment for an aesthetically pleasing appearance.
The fixture must be securely mounted to the wall bracket, ensuring proper alignment for a visually appealing finish.
Bracket screws are then utilized to firmly secure the fixture, enhancing fixture stability.
It is essential to level the fixture adequately to prevent any uneven installation.
Tightening all screws securely is crucial, as this prevents the fixture from shifting over time.
After installation, any final adjustments should be made to ensure a snug fit against the wall.
A properly installed fixture not only contributes to safety but also enhances the overall functionality of the bathroom lighting. Additionally, ensuring proper electrical grounding of components is vital to prevent shocks and fires.
Testing and Final Checks
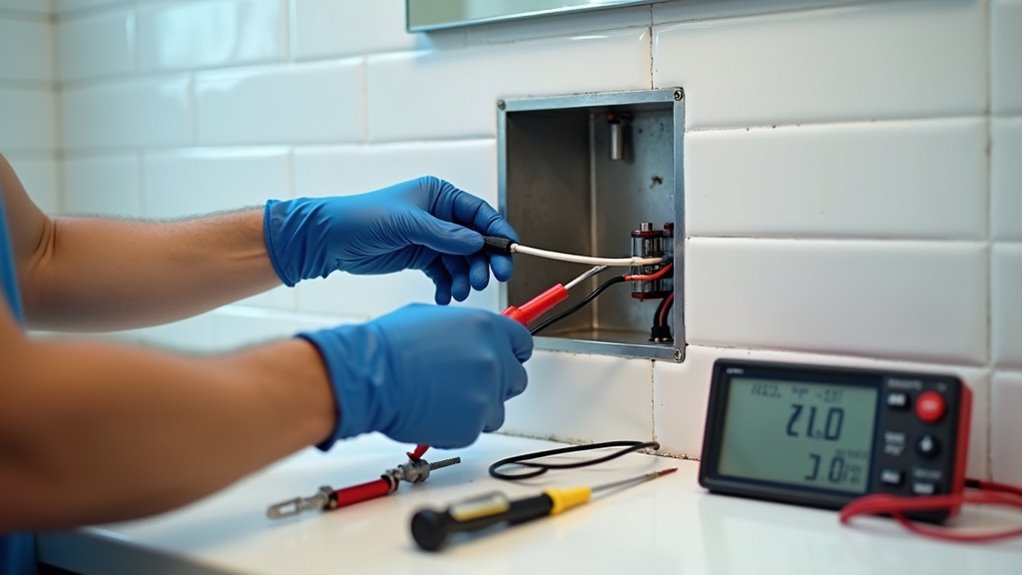
Before finalizing the installation of the light fixture, it is critical to conduct thorough testing and checks to ensure everything operates correctly and safely.
The first step involves confirming a continuous power supply, ensuring that the fixture receives power when energized.
Next, the installer must verify that the electrical box is securely fastened and flush with the wall, and that all connections are properly insulated to prevent short circuits.
Compliance with local electrical standards is essential throughout this process.
Additionally, wires should have adequate length and be protected within the box, with attention given to proper grounding if necessary.
Inspecting for any loose ends and ensuring that all devices are securely attached will mitigate potential hazards.