
Replacing a bathroom vent fan with a light involves several key steps. First, ensure power is off and assess existing wiring. Next, remove the old unit carefully, disconnecting all connections. Afterward, install the new fan with light, ensuring proper electrical connections and mounting. Complete the final assembly and test for functionality. Always follow safety codes and perform routine maintenance afterward. To guide the process smoothly, more detailed instructions can be found.
Key Takeaways
- Begin by ensuring safety: turn off power at the main electrical panel and confirm with a voltage tester before starting the replacement.
- Remove the old bathroom vent fan and light by disconnecting wiring and vent pipe, ensuring workspace is clear for the new installation.
- Select an appropriately sized new fan with light combo that meets your bathroom’s layout and ventilation needs.
- Install the new unit securely, making necessary electrical connections while ensuring compliance with local electrical codes and standards.
- After installation, test the new fan and light functionality, checking for airflow strength and any unusual noises during operation.
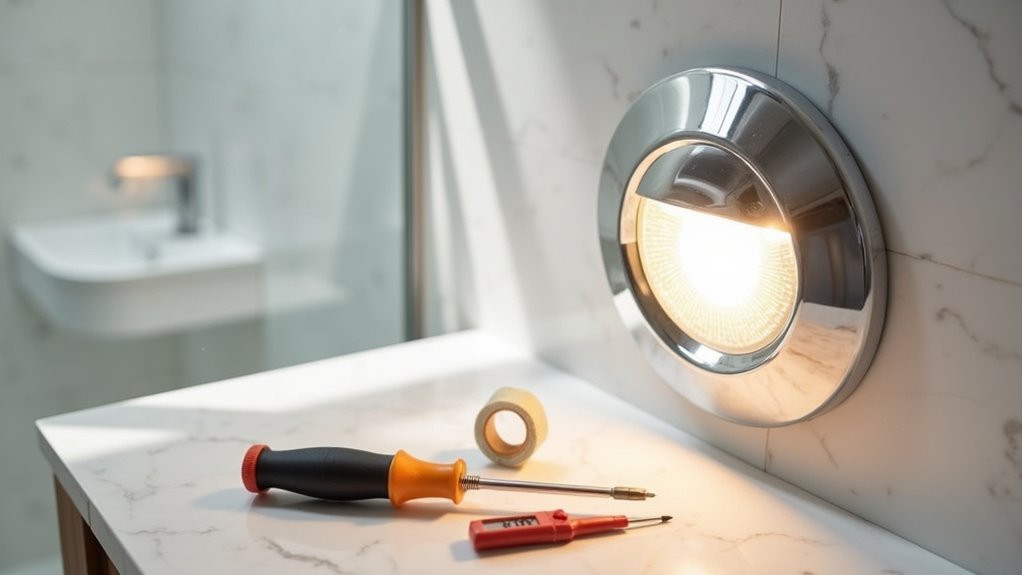
Preparation Before Replacement
Before initiating the replacement of a bathroom vent fan, it is essential to prioritize safety and careful planning.
First, the power must be turned off at the main electrical panel, ensuring a safe environment. A voltage tester should be employed to confirm the absence of live electrical current in the circuit.
Assess the existing wiring to guarantee compatibility with combination fan/light units and review local electrical codes for compliance. Turning off power is crucial for safe work and helps avoid electrical accidents. Additionally, ensuring compliance with the National Electrical Code (NEC) is vital to maintain safety standards.
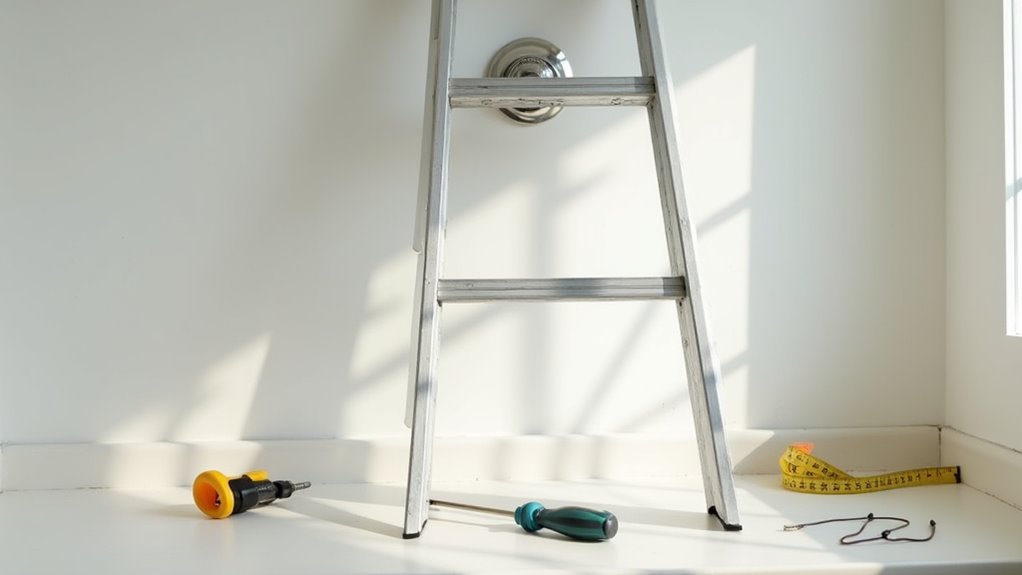
Important steps include creating a tools checklist that contains items such as wire strippers and a drill. Additionally, the bathroom’s dimensions and clearance for the new unit must be measured.
Proper preparation sets the stage for a successful installation, helping to avoid unforeseen complications during the replacement process.
Removing the Old Bathroom Vent Fan and Light
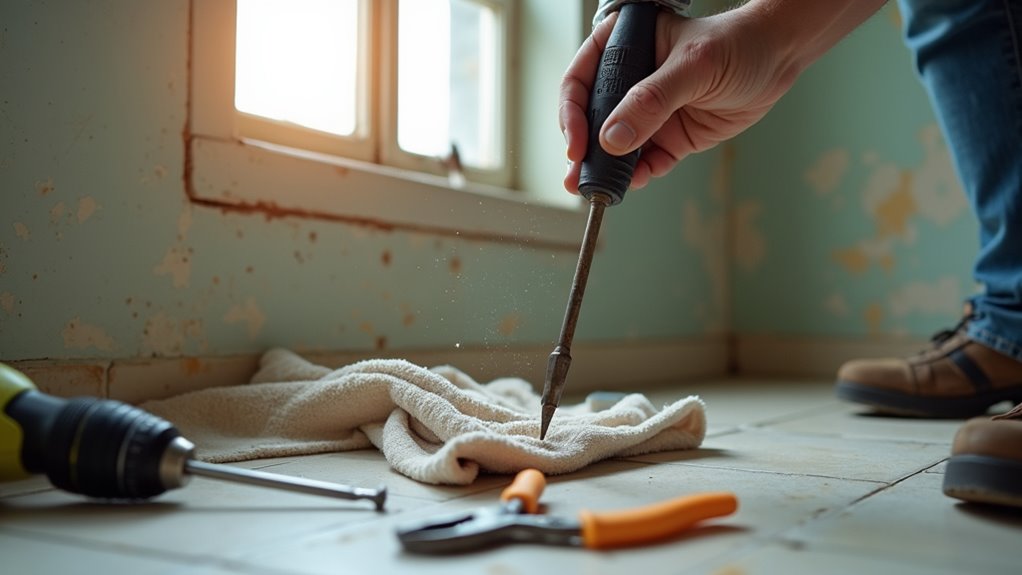
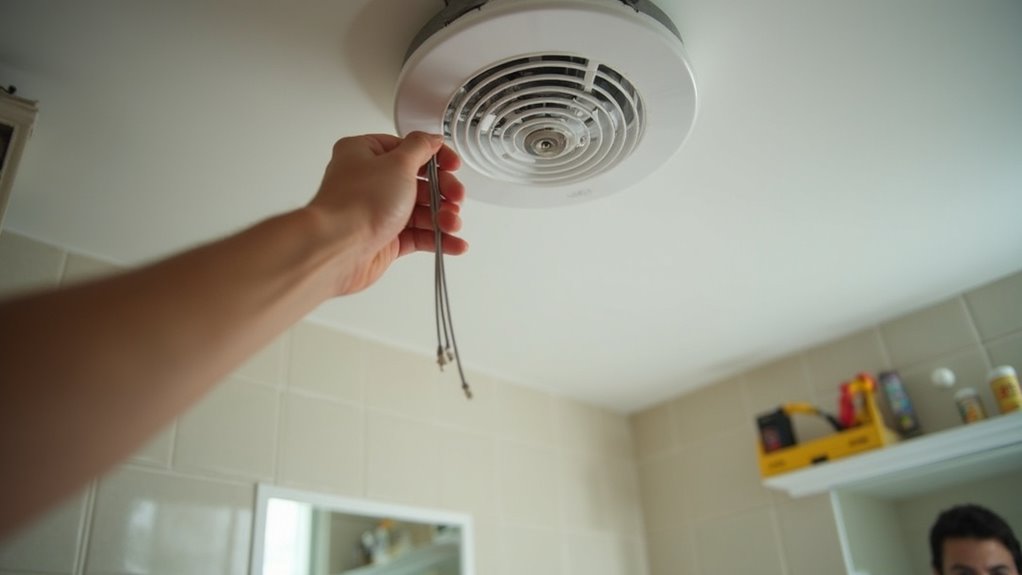
With proper preparations completed, the process of removing the old bathroom vent fan and light can now begin. Different fan types may affect the removal techniques employed.
- Power Off: Ensure electrical power is turned off at the circuit breaker and confirm with a voltage tester.
- Access Components: Remove any trim, disconnect grille clips, and carefully take apart wiring connections, including ground wires, using plastic connectors or wire nuts. Make sure to confirm safety by using a voltage tester before handling any electrical wires.
- Detach Ventilation: Identify the vent pipe attachment, remove tape or clips, and separate the vent pipe before lowering the fan housing.
After ensuring that all connections are broken and the workspace is clear, the old fan can be set aside, paving the way for the new installation.
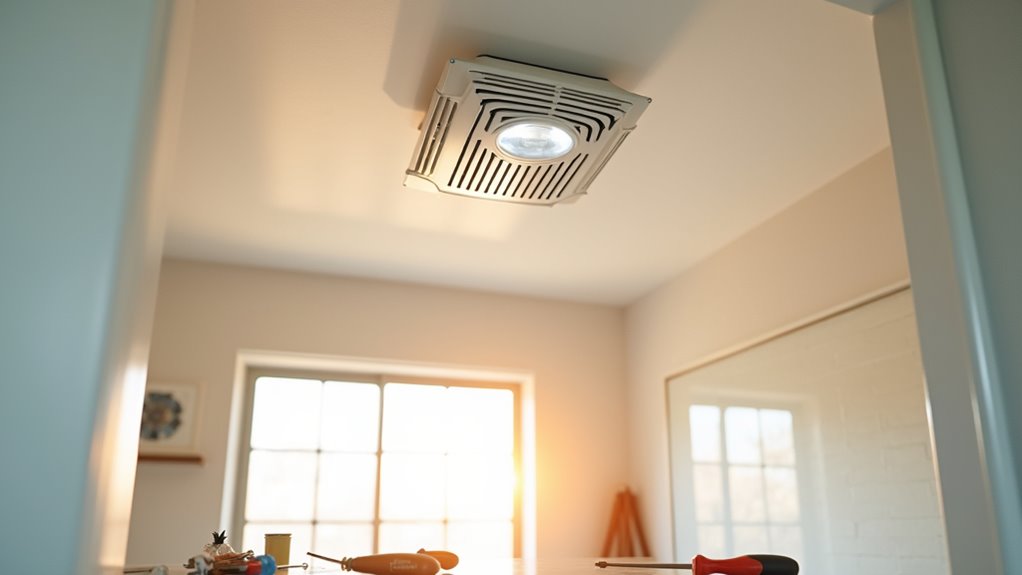
Installing the New Fan With Light Combo
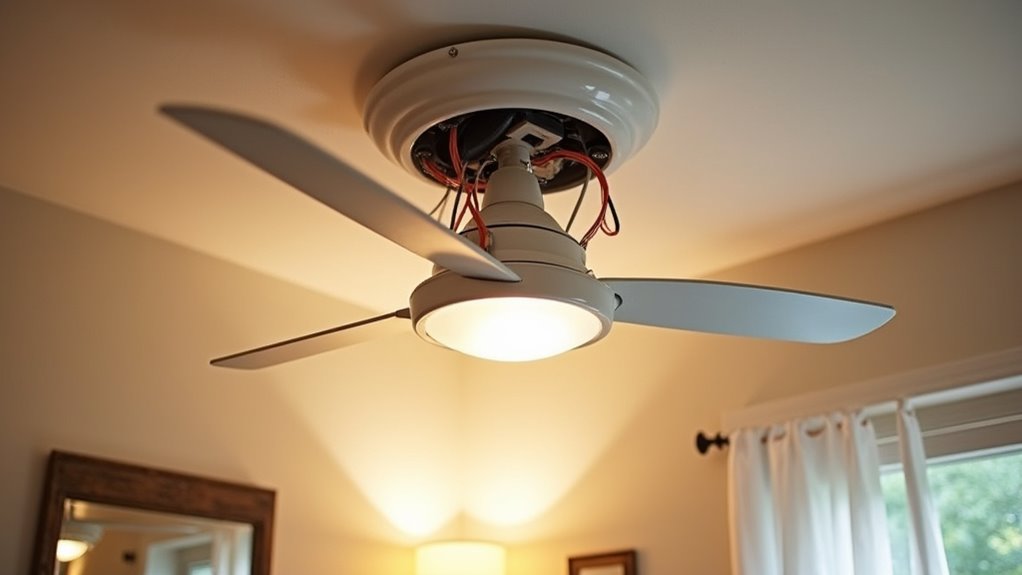
Installing the new bathroom vent fan and light combo involves a systematic approach to ensure optimal performance and safety.
First, one must determine the correct fan size suitable for the bathroom’s area and layout. Selecting a central and accessible mounting location is critical for wiring and ventilation efficiency.
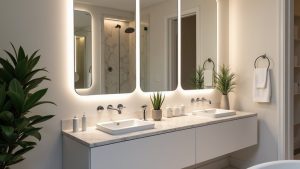
Various fan types can be chosen based on preferences for lighting, such as LED or incandescent. With tools and materials gathered, the installation begins by preparing electrical connections and ensuring power is off.
The fan housing is mounted securely, followed by connecting the fan and light fixtures. Installation tips include labeling wires for clarity and using secure fasteners for fan stability. Additionally, consider models like the Panasonic WhisperWarm DC for efficient ventilation and heating.
Finally, flexible ducting should be attached for effective ventilation.
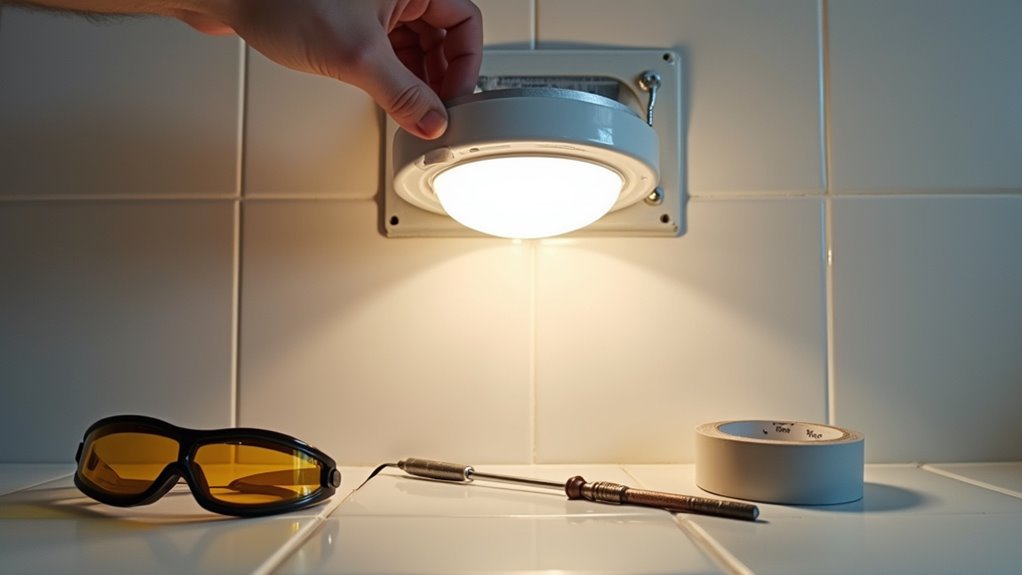
Final Assembly and Testing
Once all components of the bathroom vent fan and light combo are securely mounted and wired, the final assembly and testing phase begins. This crucial step ensures that everything operates smoothly and safely.
- Perform final adjustment to eliminate any gaps between the trim piece and ceiling.
- Turn on the power at the breaker; test both the fan and light with their respective switches.
- Conduct a performance evaluation, listening for unusual noises and checking airflow to confirm proper installation.
The fan’s strength should indicate effective airflow, while the light should shine without interference. Additionally, ensure that the fan operates quietly to maintain a comfortable bathroom environment, as quiet operation is ideal for smaller spaces.
Any anomalies detected during these tests may require reexamination of the installation to correct loose parts or wiring issues before finalizing the project.
Safety and Code Considerations
Ensuring safety and adherence to building codes is essential when replacing a bathroom vent fan. Before beginning the installation, it is crucial to prioritize electrical safety by disconnecting the power supply and using AC 120V, 60Hz compatible units.
All electrical connections must comply with National Electrical Code (NEC) standards to prevent hazards. Location and accessibility codes mandate that switches are positioned out of reach from water sources and the fan must be easily accessible for maintenance.
Ventilation standards require proper ducting to exhaust air outdoors and compliance with local and national codes. Selecting HVI-certified and ENERGY STAR-rated fans ensures energy efficiency and reliable performance, ultimately promoting a safe and healthy indoor environment.
Maintenance Tips Post-Installation
Regular maintenance of a bathroom vent fan is essential for optimal performance and longevity. Implementing an effective cleaning routine and adhering to an inspection schedule can prevent issues and enhance functionality.
- Routine Cleaning: Regularly vacuum or dust the fan cover and wipe exposed surfaces with a mild cleaner to remove dirt and grime.
- Periodic Inspection: Inspect for dust build-up and check the tightness of components; discolored parts may signal neglect or moisture exposure.
- Annual Deep Clean: Schedule a comprehensive disassembly and cleaning at least once yearly to ensure all parts are functioning efficiently.
Troubleshooting Common Issues
How can one effectively address frequent issues with a bathroom vent fan?
Begin by checking the power supply, ensuring the breaker is on and that wiring connections at the switch are tight.
Begin troubleshooting by verifying the power supply, confirming the breaker is active, and ensuring all wiring connections are secure.
Inspect the light fixture‘s receptacle for any fault, which could lead to light issues.
If the light bulb doesn’t illuminate, replace it first, as burned-out bulbs may appear functional.
Additionally, evaluate connections for corrosion or damage.
If LED bulbs flicker when the fan operates, this might indicate electrical interference; testing with alternative bulbs can help isolate the problem.
Finally, ensure the fan/light unit is securely mounted and check for obstructions that may cause fan problems, as loose components can lead to operational failures.