Wiring a bathroom fan light combo involves a clear understanding of the configurations. First, ensure the power is turned off. For a single switch setup, connect the black wire from the switch to the fan’s black wire, link all white wires, and ground appropriately. For two switches, use a three-conductor cable or separate wires, ensuring each switch controls its device. After verifying connections, check functionality. Further details on tools and safety precautions are available for complete guidance.
Key Takeaways
- Turn off power at the circuit breaker and wear safety gear before starting the wiring process.
- Connect the black wire from the switch to the fan’s black wire for power.
- Attach the blue wire to connect the switch for the light fixture.
- Ensure all white neutral wires are interconnected for proper continuity.
- Ground connections should be securely attached to the fixture’s grounding screw for safety.
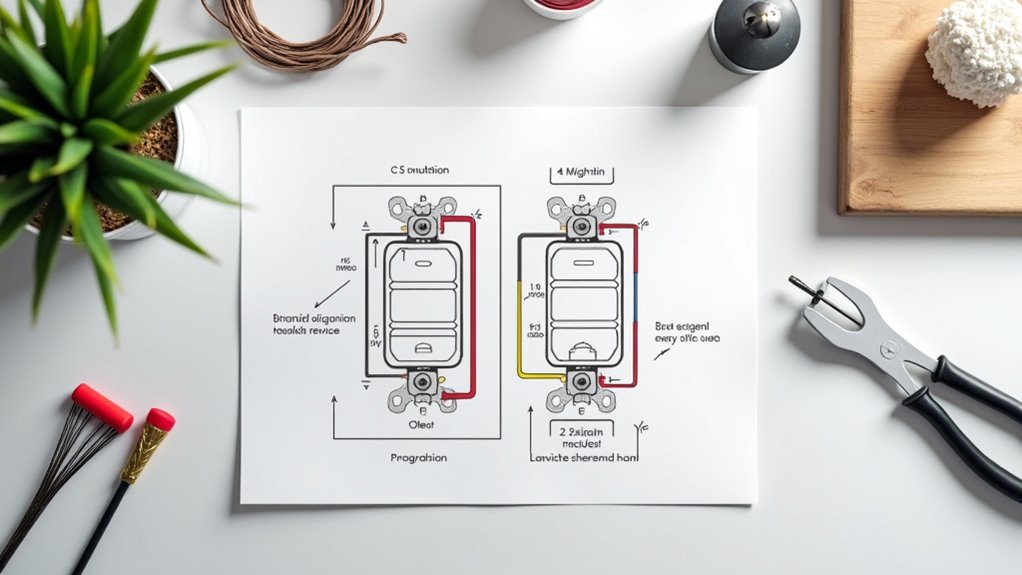
Understanding Wiring Configurations for Bathroom Fan Light Combos
A bathroom fan light combo‘s wiring configurations are essential for both functionality and safety.
Generally, typical wiring types involve three wires: a black wire for fan power, a blue wire for light power, and a white neutral wire. Properly extending wires may be necessary if existing cables are too short to reach new locations. Additionally, ensure all connections remain insulated and secure for safety compliance. Grounding is achieved through a bare copper or green wire.
The choice between switch options significantly influences operation; a single switch connects both the black and blue wires, allowing simultaneous control, while two switches enable independent operation of fan and light.
In a two-switch setup, a 14/3 Romex cable is recommended, whereby the fan connects through the black wire and the light through the blue or red wire, ensuring that the neutral wire remains common for both.
Tools and Materials Required for Wiring
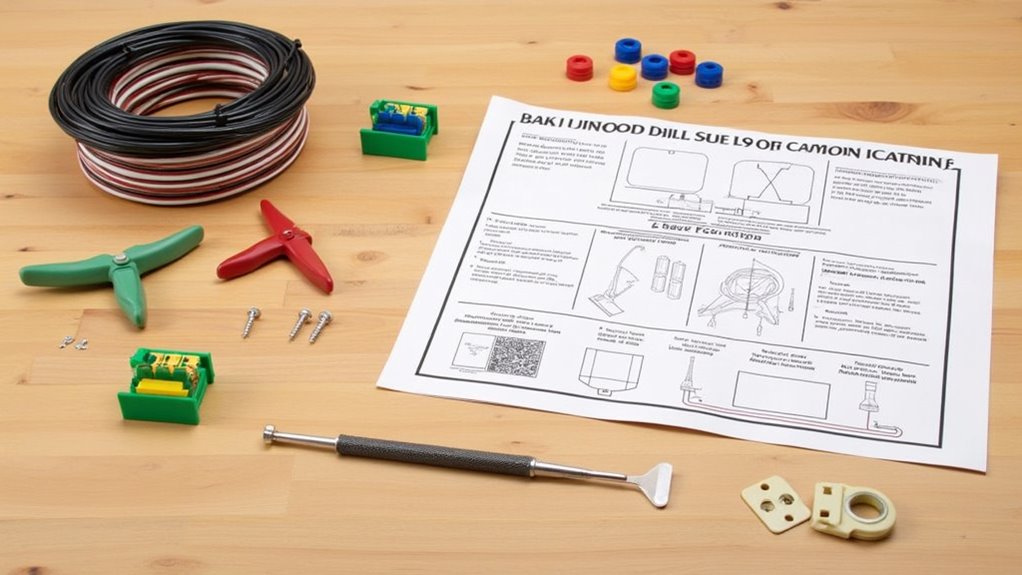
Proper installation of a bathroom fan light combo requires a comprehensive set of tools and materials to ensure functionality, safety, and compliance with local code regulations. Effective installation techniques hinge on using the right equipment while also maintaining the tools for optimal performance. Essential hand tools include:
- Screwdrivers for securing fixtures
- Wire strippers for preparing electrical connections
- Electric drill for precise openings
Additionally, safety gear such as a circuit tester and safety glasses is crucial to protect against electrical hazards and debris. The selection of wiring materials is equally important, ensuring compatibility with local electrical codes. A single circuit can power the entire bathroom, making proper tool maintenance and configuration choices essential to achieve a reliable, professional-grade finish in bathroom installations. Upgrading to a unit like the Panasonic WhisperWarm DC can enhance both efficiency and comfort in your bathroom.
Step-By-Step Guide: Wiring With a Single Switch

Successfully wiring a bathroom fan light combo with a single switch involves meticulous planning and adherence to safety protocols. Initially, confirm the power is off at the circuit breaker, and use insulated gloves and safety glasses.
The wiring typically requires 14-2 Romex cable, which supports the necessary wire gauge. Install a single-pole single-throw (SPST) switch rated for the circuit load to control both devices simultaneously.
Connect the black wire from the switch to the black wire of the fixture, ensuring the white neutral wires are connected directly to maintain continuity. Grounding connections must be secure, with the bare copper wire attached to the fixture’s grounding screw.
After installation, test the setup to ensure both fan and light operate correctly when the switch is toggled. It’s important to choose an efficient model such as the Panasonic WhisperWarm Series to enhance your overall bathroom experience.
Step-By-Step Guide: Wiring With Two Switches
Wiring a bathroom fan light combo with two switches enables independent control over each device, enhancing convenience and functionality. This setup allows users to manage lighting and ventilation effectively.
- Wiring Options: Utilize a three-conductor cable or separate 14-2 wires to connect switches.
- Switch Arrangement: Clearly identify which switch controls the light and which controls the fan.
- Installation Process: Ensure switches are properly labeled and installed in their designated locations.
Start by assessing existing wiring and determine if extensions are required. Connect the fan/light’s blue or white wire to the light switch and the black wire to the fan switch.
Ensure all connections are secure and compliant with local electrical codes before restoring power and testing functionality.
Safety Tips and Verification After Wiring
Ensuring safety and verifying functionality after completing the wiring of a bathroom fan light combo is essential for reliable operation.
Ensuring safety and verifying functionality is vital for the reliable operation of a newly wired bathroom fan light combo.
Prior to any testing, conduct thorough safety checks by turning off the circuit breaker and using a voltage tester to confirm that no current is flowing through the wires. Adherence to local electrical codes and manufacturer’s guidelines is crucial.
Next, perform wire verification by ensuring all connections are secure and without wear. Utilize a multimeter to test the circuit’s functionality under load. Additionally, check that the fan and light operate as intended, listening for unusual noises.
Lastly, document any changes made and label the circuit for future reference, maintaining a focus on safety throughout the process.