

A constantly illuminated dining room light typically results from faulty switch wiring or defective electrical components preventing proper power interruption. First, shut off the circuit breaker to eliminate shock hazards before testing. Verify voltage absence using a multimeter, then test switch continuity across terminals in both positions. Inspect visible wiring for overheating, loose connections, or miswired configurations. Check for sticky switches preventing proper off positioning or crackling sounds indicating internal component failure. This comprehensive diagnostic approach reveals additional troubleshooting methods.
Key Takeaways
- Turn off the circuit breaker for the dining room light before inspecting to eliminate shock hazards.
- Test the light switch with a multimeter to check continuity in both on and off positions.
- Inspect visible wiring for loose connections, overheating signs, or incorrect configurations causing constant power flow.
- Check for faulty components like worn switch contacts or defective bulbs that maintain electrical current.
- Examine the switch for physical issues like sticking toggles that prevent proper off positioning.
Identify the Root Cause of Your Always-On Light
When a dining room light remains perpetually illuminated, the underlying cause typically falls into one of four primary categories that require systematic evaluation.
First, incorrect wiring configurations often involve permanent live wires connected directly to the light fixture, bypassing switch control entirely.
Second, defective components including faulty bulbs, worn contacts, or malfunctioning switches can maintain continuous power flow.
Third, electrical surges from large appliances or external power irregularities may interfere with normal circuit operation.
Fourth, circuit configuration problems such as miswired multi-way switches or faulty neutral connections create unexpected current paths. Wire color identification can be misleading since red wires don’t always indicate live circuits in loop-in wiring systems. Builders may not provide the necessary wiring information for new homes, which creates additional confusion when attempting to identify which switches control specific fixtures.
Proper diagnosis requires methodical testing of each component, starting with the switch and progressing through the circuit to the kitchen lighting system’s connection points.
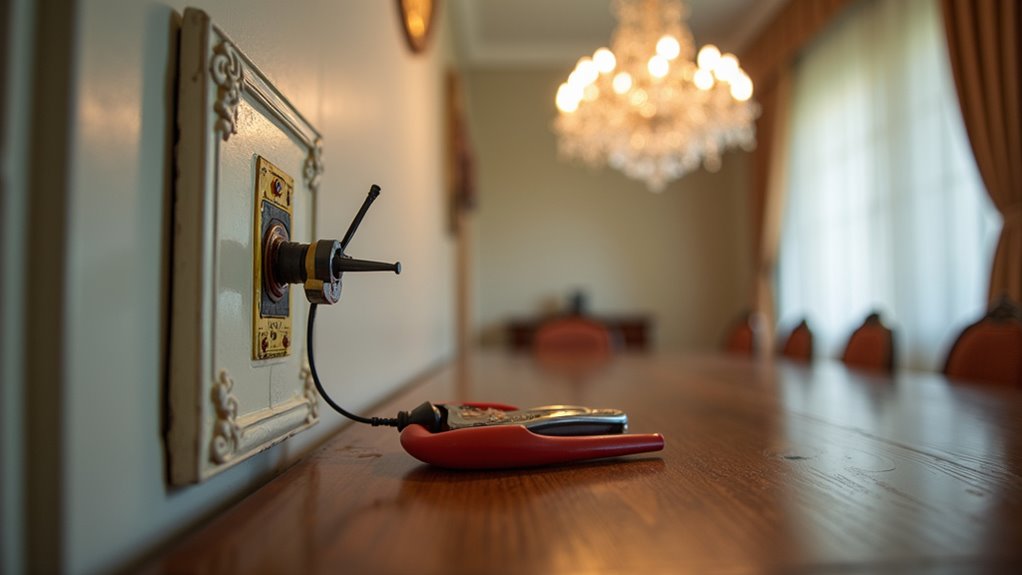
Test Your Switch and Electrical Components Safely
Before attempting any electrical testing or component inspection, complete power shutdown procedures must be executed to eliminate shock hazards and create a safe working environment.
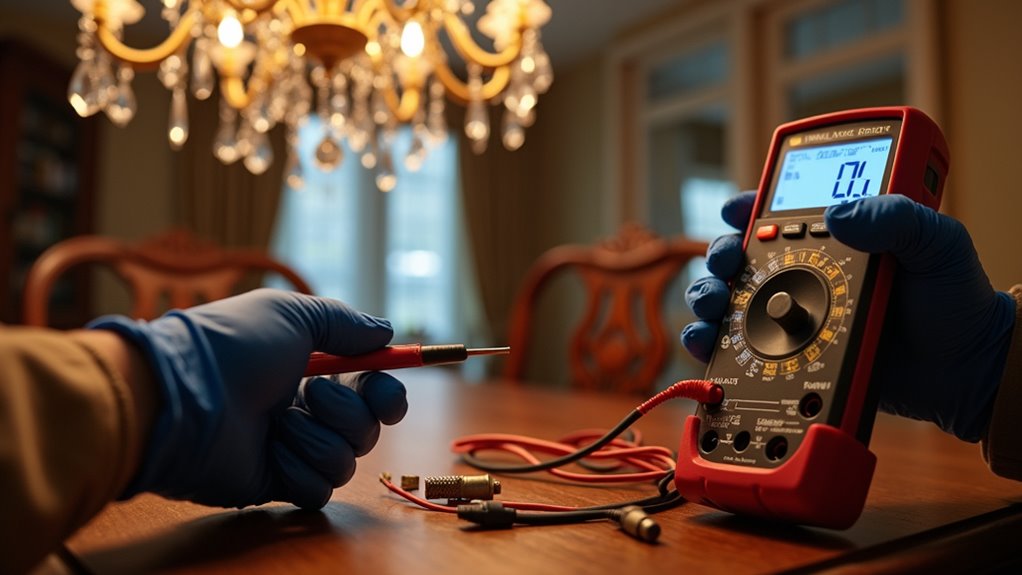
Switch off the circuit breaker controlling the dining room light and verify voltage absence using a reliable multimeter or voltage tester before touching any components.
Employ proper testing techniques by using insulated tools and undamaged test leads rated for appropriate voltages.
Always use insulated tools and intact test leads with proper voltage ratings when conducting electrical testing procedures.
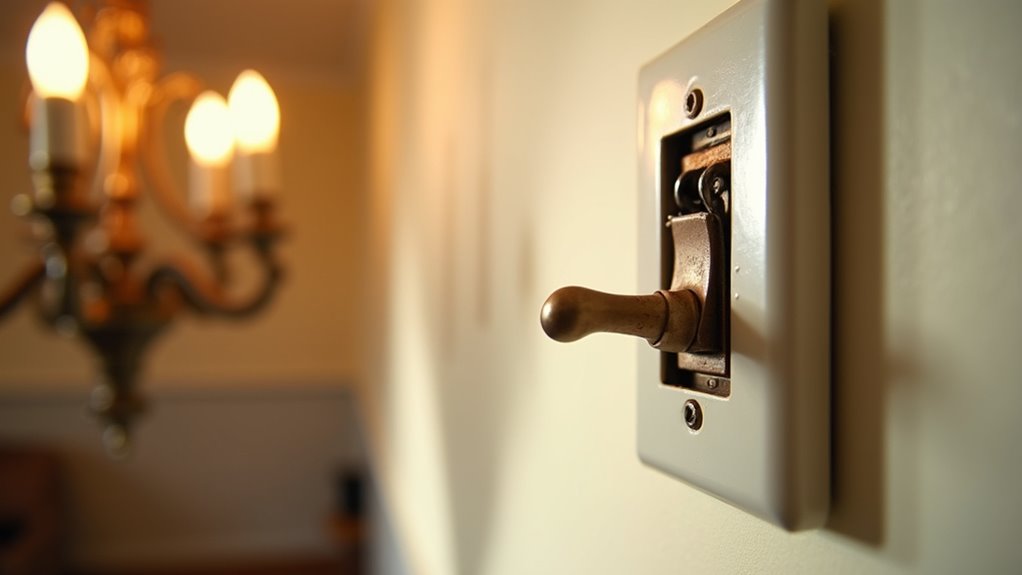
Test the light switch by checking continuity across terminals in both on and off positions. If a safety switch protects the circuit, test its function using the built-in test button, confirming it trips with an audible click.
Reset the safety switch after verification. These electrical safety protocols ensure accurate diagnosis while preventing injury during troubleshooting procedures.
Diagnose Wiring Problems in Your Dining Room Circuit
Several critical wiring issues can cause a dining room light to remain constantly illuminated, requiring systematic circuit diagnosis to identify the root cause.
Circuit overloads represent a primary concern when troubleshooting persistent lighting problems, as excessive electrical load can damage switching mechanisms and create unintended power pathways.
Comprehensive wiring inspection involves three essential diagnostic steps:
- Circuit Breaker Assessment – Check the electrical panel for tripped breakers or signs of overheating that could indicate overloaded circuits affecting the dining room lighting system.
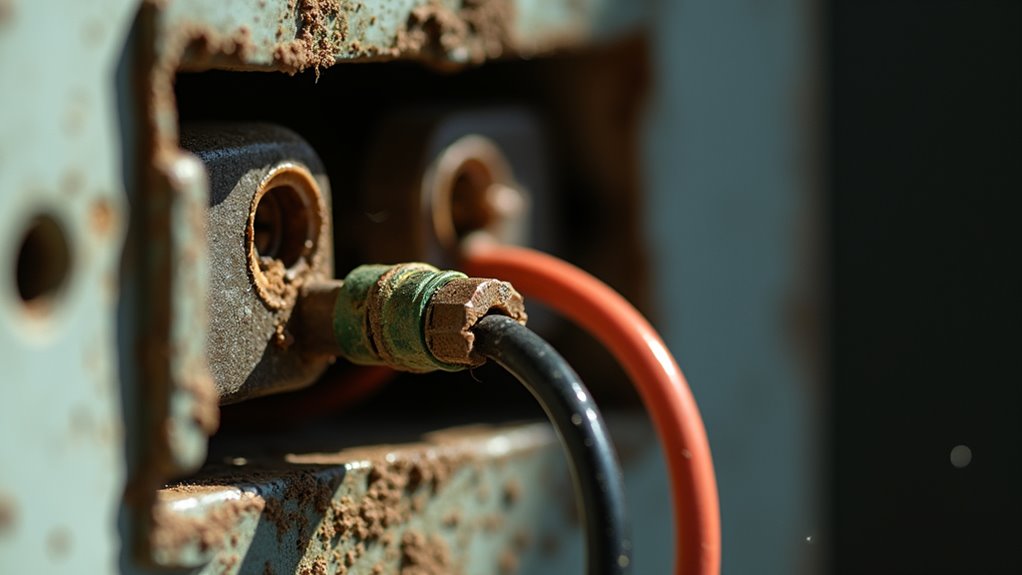
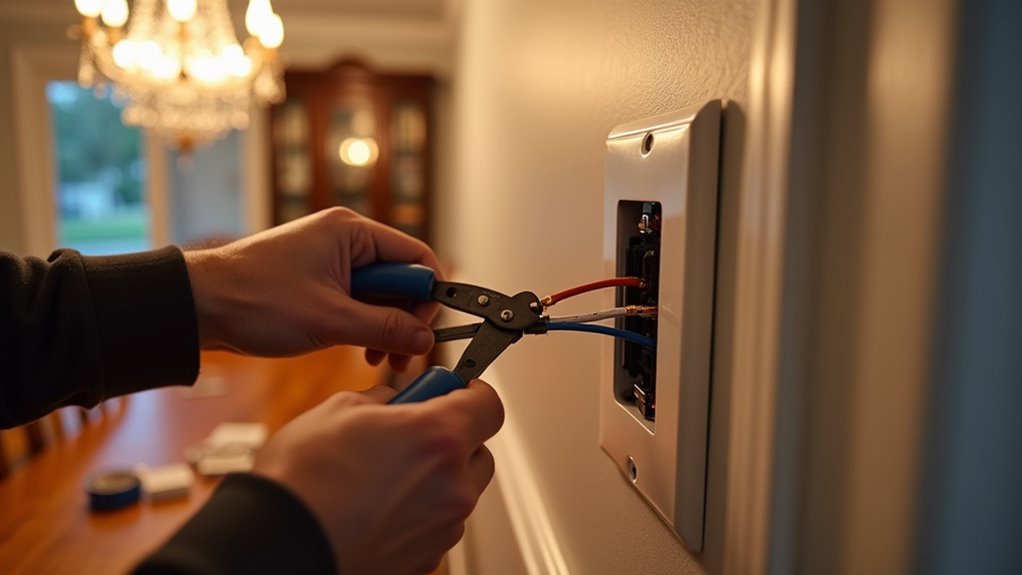
- Physical Wiring Examination – Inspect visible wiring for overheating signs, including warm or melted insulation, which can create short circuits bypassing normal switching controls.
- Connection Point Analysis – Examine outlets and junction boxes for loose connections that may cause irregular power flow, keeping lights permanently energized despite switch position changes.
Fix Common Switch and Socket Issues
Although wiring problems often contribute to persistent lighting issues, faulty switches and damaged sockets frequently serve as the primary culprits behind dining room lights that remain constantly illuminated.
Switch noises like crackling, buzzing, or popping indicate internal component failure requiring immediate replacement. A warm or hot switch signals overloaded circuits or loose connections, demanding professional inspection for electrical safety. Sticky switches with worn mechanisms prevent proper off positioning, maintaining constant current flow.
Inspect switch toggles for looseness, which causes premature wiring wear and operational failure.
Test continuity between terminals to identify faulty internal components. Examine socket connections for looseness or overheating, as these conditions affect circuit control.
Secure all electrical connections to prevent sparking or overheating issues that compromise switch functionality and maintain electrical safety protocols throughout the repair process.
Prevent Future Electrical Problems Through Proper Maintenance
Implementing a systematic maintenance program prevents the switch and socket failures that cause persistent lighting problems while extending the overall lifespan of dining room electrical systems.
Systematic maintenance protocols eliminate recurring electrical failures and significantly extend the operational lifespan of residential dining room lighting systems.
Regular electrical inspections identify potential issues before they manifest as stuck switches or faulty connections. Homeowners should establish consistent monitoring protocols to maintain system reliability.
Essential maintenance practices include:
- Monthly Testing: Test circuit breakers and GFCI outlets to ensure proper function while inspecting switches for signs of wear or overheating.
- Seasonal Maintenance Tasks: Clean electrical panels quarterly, removing dust accumulation that impairs ventilation and contributes to component failure.
- Annual Inspections: Conduct comprehensive system evaluations, verifying grounding systems and tightening electrical connections to prevent the loose wiring that causes switches to malfunction.


