
To fix a fluorescent kitchen light in 7 easy steps, start by turning off power at the breaker and verifying with a voltage tester. Inspect for flickering or buzzing, indicating tube or ballast issues. Replace the tube by rotating it out and installing a compatible one. Check the starter for damage and replace if needed. Examine the ballast for burn marks or humming. Rewire a new ballast if faulty. Test for consistent illumination. Curious minds will uncover deeper insights ahead.
Key Takeaways
- Turn off power at the breaker and confirm with a voltage tester before starting repairs.
- Visually inspect the fluorescent tube for cracks or darkened ends indicating replacement is needed.
- Replace the tube by rotating it 90 degrees to remove and aligning the new tube’s prongs.
- Check the starter or ballast for damage if the light still flickers or hums.
- Test the light for consistent illumination and no unusual sounds to verify the fix.
Preparing for a Safe Repair

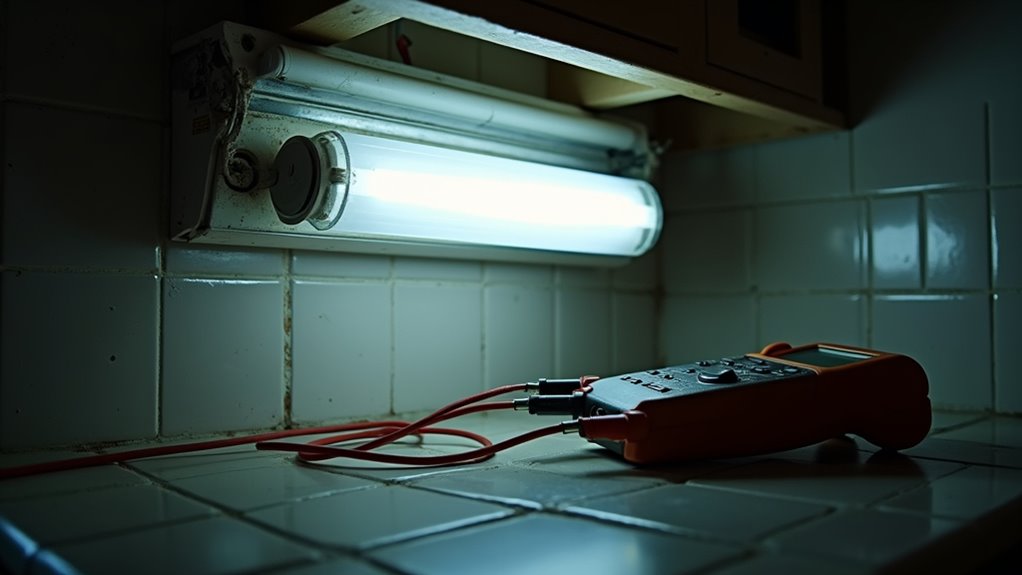
Before initiating any repair on a fluorescent kitchen light, one must prioritize safety to prevent electrical hazards. Essential safety precautions include ensuring the power is completely off by disabling the circuit at the fuse box or breaker, not merely relying on the wall switch. A voltage tester should be used to confirm the fixture is unpowered before any contact with wires or components. If uncertainty arises, consulting a qualified electrician is advised.
Additionally, meticulous tool organization is critical for a safe and efficient repair. One should gather necessary equipment—screwdrivers, wire strippers, pliers, and a voltage tester—along with a stable ladder and a flashlight for visibility. Always allow bulbs to cool down before handling to avoid potential burns. Proper maintenance of these tools ensures they remain in good condition for safe use during electrical work.
Designating specific areas for tools and removed parts prevents clutter and minimizes risks. Wearing appropriate personal protective equipment, such as safety glasses and gloves, further enhances safety. A clear, well-lit workspace with proper ventilation ensures a secure environment for the task.
Diagnosing the Lighting Problem
How can one pinpoint the issue with a malfunctioning fluorescent kitchen light? A systematic approach begins with a thorough visual inspection of the fixture. One should check for darkened tube ends, cracks, or dimness caused by dirt, as these often indicate aging or damage.
In multi-tube setups, a single faulty tube may impact others, so careful examination is crucial. Observing light behavior—such as flickering, delayed illumination, or uneven brightness—provides further clues about potential ballast or starter issues.
Additionally, listening for auditory cues can reveal underlying problems. A distinct buzzing or humming sound often points to a failing ballast, especially if accompanied by flickering lights. While a slight hum may be normal, a loud or changing noise signals a concern.
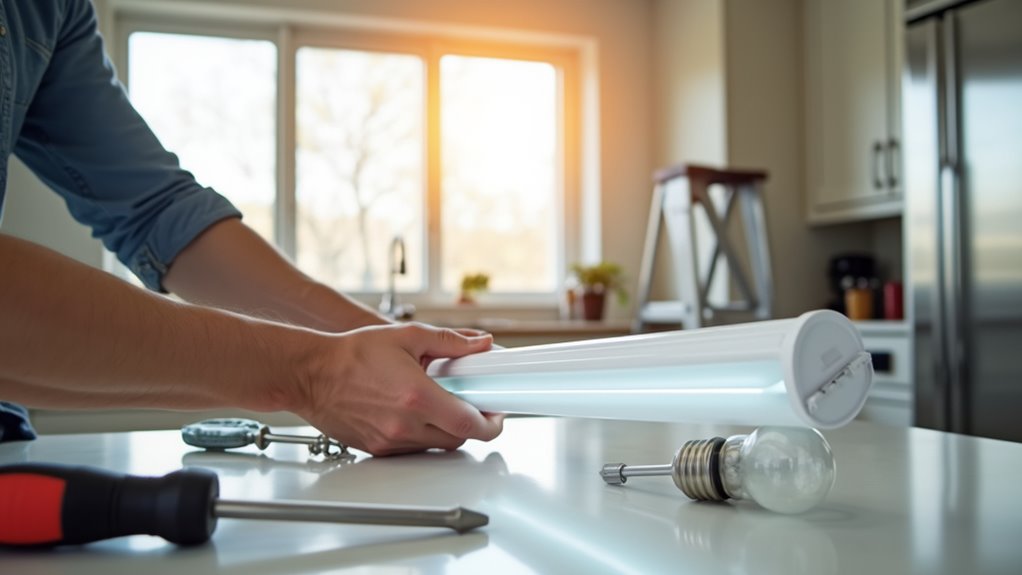
Replacing the Fluorescent Tube
Individuals addressing a malfunctioning fluorescent kitchen light often find that replacing the tube resolves many common issues identified during diagnosis.
Before proceeding, they must ensure safety by turning off power at the circuit breaker, verifying it with a voltage tester, and wearing protective gear like goggles and gloves. Using a stable ladder, they should access the fixture securely.
Next, identifying the correct replacement is critical. They must check the old tube’s markings or measure its diameter to match fluorescent tube types such as T8 or T12, ensuring compatibility with the fixture’s ballast.
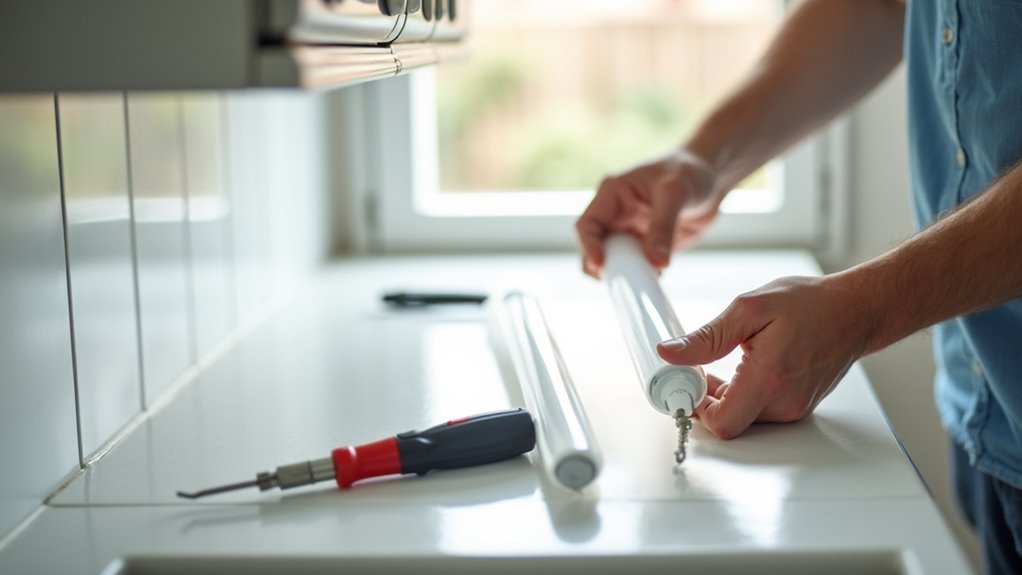
Opting for modern replacements can enhance energy efficiency, reducing long-term costs. To remove the old tube, they rotate it 90 degrees and lower it carefully.
Installing the new tube involves aligning prongs with sockets, pushing it up, and rotating until secure.
Finally, they must dispose of the old tube responsibly at designated recycling centers due to mercury content.
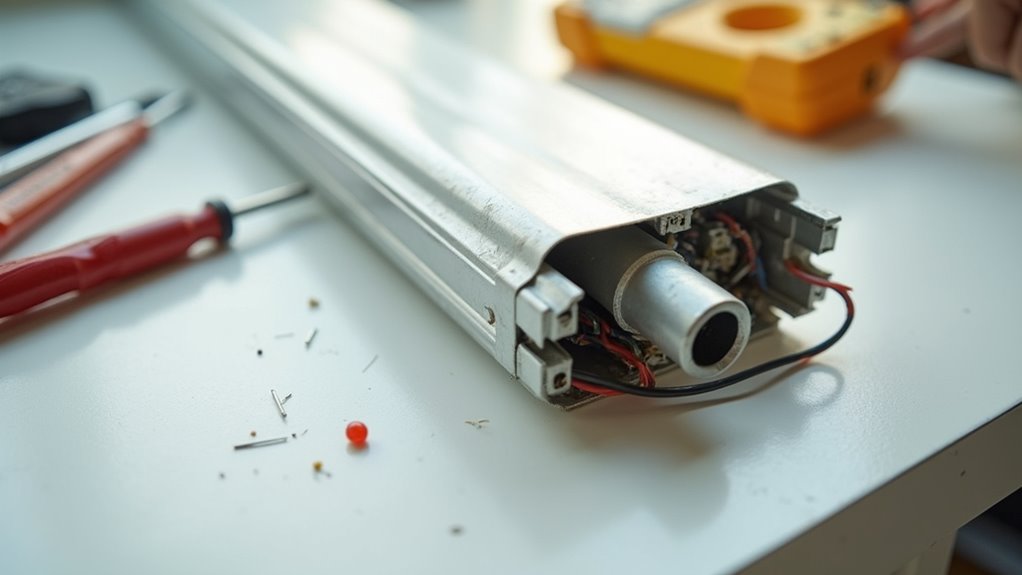
Checking and Replacing the Starter
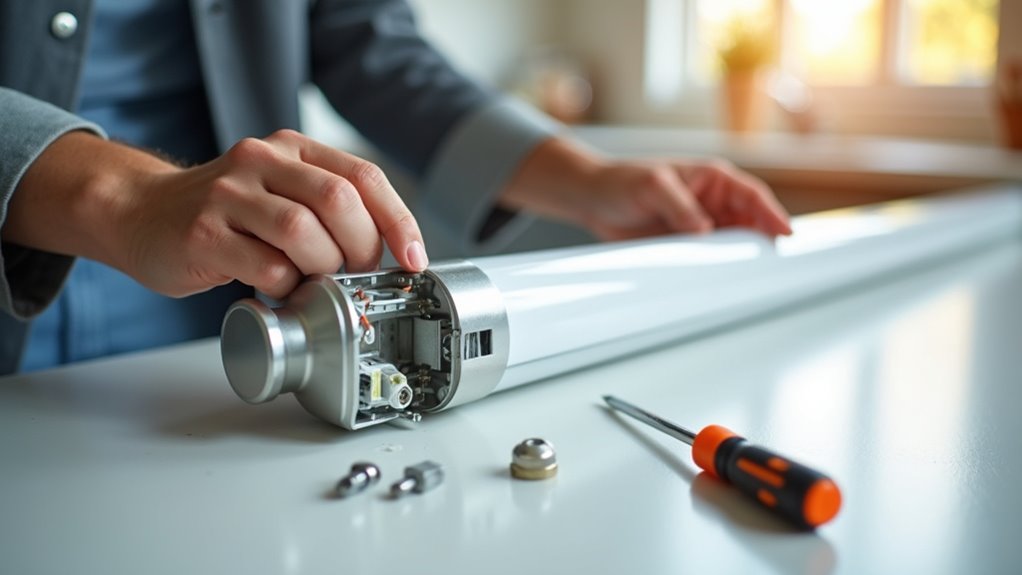
When troubleshooting a fluorescent kitchen light that fails to operate correctly, examining the starter is a critical step, especially in older fixtures.
Starter troubleshooting is essential as this small cylindrical component initiates the electrical surge needed to ignite the tube. A faulty starter often causes flickering, delayed lighting, or complete failure to illuminate. Not all fixtures use starters, with many modern ones relying on electronic systems, highlighting the importance of understanding starter types and compatibility.
To diagnose and resolve issues efficiently, consider these key actions:
- Ensure Safety: Always disconnect power at the switch and circuit breaker before inspection.
- Locate the Starter: Find the small cylinder, often near the tube’s end or hidden beneath it.
- Inspect Visually: Look for damage, though faults may not be visible externally.
- Test by Replacement: Swap with a compatible starter matching the tube’s wattage to confirm functionality.
Inspecting the Ballast for Issues
A critical component in fluorescent lighting systems, the ballast regulates the current and voltage necessary for proper operation. When troubleshooting a fluorescent kitchen light, inspecting the ballast for issues is essential to identify potential failures.
Effective ballast inspection methods include listening for audible clues like excessive buzzing or humming, which often indicate improper voltage regulation, especially in magnetic ballasts. Visually, one should check for ballast failure signs such as flickering lights, delayed starts, dim or uneven lighting, or lit bulb ends with a dark middle.
Physical examination is equally crucial. Inspect the ballast for burn marks, swollen casing, overheating, corrosion, or leaking residue, as these are clear indicators of internal damage.
Rewiring and Installing a New Ballast
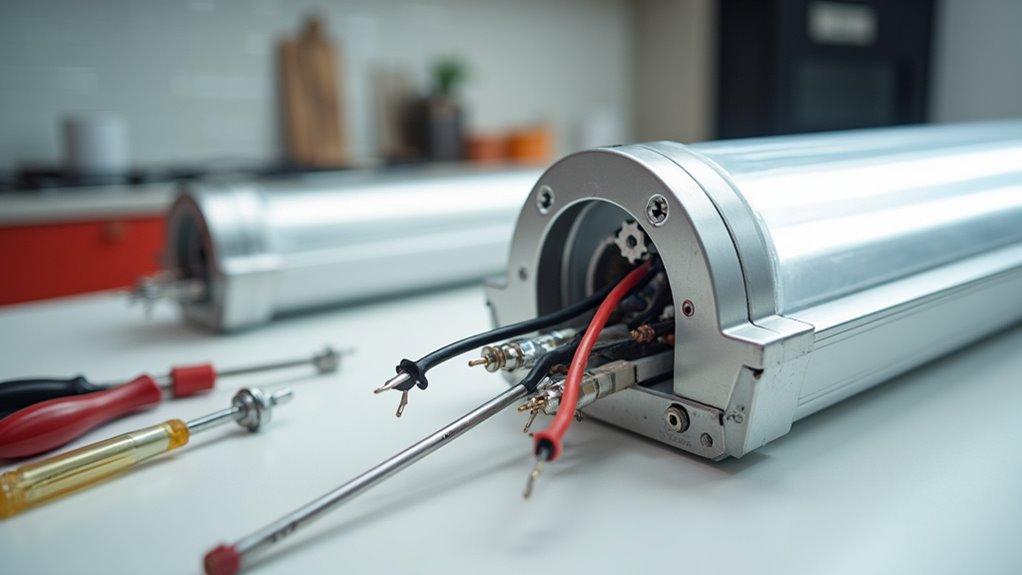
When rewiring and installing a new ballast in a fluorescent kitchen light, one must first understand the fundamental wiring configuration by referencing the diagram provided on the new ballast.
Ensuring compatibility, the installer should strip the fixture and ballast wires precisely, typically to about 1/2 inch (12mm), to prepare for connection.
Secure connections are critical, achieved by twisting wires together firmly and capping them with appropriately sized wire nuts to prevent electrical faults.
Ballast Wiring Basics
Before embarking on the process of rewiring or installing a new ballast in a fluorescent kitchen light, individuals must ensure they have a thorough understanding of the fixture’s electrical components.
Familiarity with ballast types, such as magnetic and electronic, is critical, as each has unique requirements. Equally important are wiring diagrams provided with the new ballast, which detail precise connection points for power and lamp holders.
To navigate this technical task effectively, consider these key points:
- Identify Ballast Type: Confirm if the replacement is magnetic or electronic to match fixture needs.
- Study Wiring Diagrams: Follow the specific diagram for accurate wire placement.
- Match Specifications: Ensure voltage and wattage compatibility with bulbs.
- Prepare Wires: Strip insulation carefully for clean connections.
Secure Connection Tips
Skilled technicians understand that after mastering ballast wiring basics, ensuring secure connections during rewiring or installing a new ballast for a fluorescent kitchen light is paramount. Precision in using various wire connector types, such as U.L. approved wire nuts, is critical. These connectors must match the wire gauge and number, twisted clockwise until tight, with no bare wire exposed. A firm pull on each wire confirms security.
Equally vital are grounding techniques, adhering to the National Electrical Code. Technicians must connect the green or bare copper ground wire to the fixture’s grounding point, using star washers on mounting screws for reliable contact.
Post-connection, a visual inspection ensures tightness, preventing electrical hazards and ensuring the ballast operates safely and efficiently.
Testing the Light and Exploring Alternatives
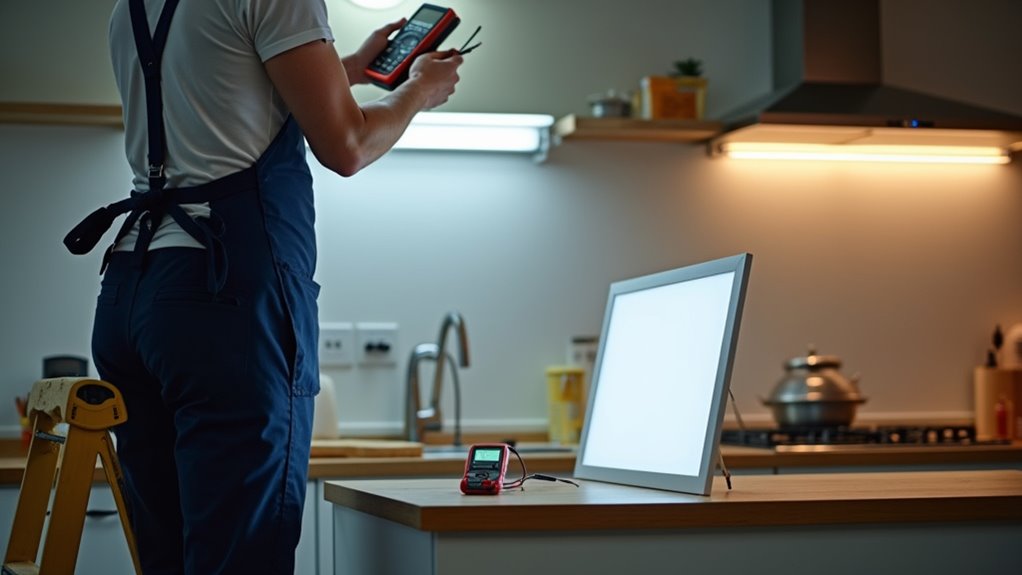
After completing repairs on a fluorescent kitchen light, one must verify its operation by systematically testing the fixture for consistent illumination and absence of flickering or buzzing.
Assessing the success of the repair involves checking for stable performance under normal operating conditions and ensuring all components function as intended.
Additionally, considering an upgrade to LED technology may offer improved energy efficiency, longevity, and light quality over traditional fluorescent systems.
Verifying Light Operation
How can one determine if a fluorescent kitchen light is functioning properly or requires repair?
Verifying light operation involves a systematic inspection to identify issues such as light flickering or a potential switch malfunction. By carefully observing the fixture’s behavior and testing components, one can pinpoint the root cause of the problem.
To ensure accurate diagnosis, consider these critical checks:
- Observe Symptoms: Look for light flickering, buzzing sounds, or complete failure to illuminate.
- Inspect Switch: Assess for switch malfunction by noting unusual sounds or looseness when toggled.
- Examine Bulbs: Check fluorescent tubes for darkened ends indicating wear.
- Test Power: Verify if other circuit devices work, ruling out broader electrical issues.
These steps provide a precise foundation for troubleshooting the fixture.
Assessing Repair Success
Why is it critical to evaluate a fluorescent kitchen light after attempted repairs? Ensuring functionality post-repair confirms whether the applied repair techniques resolved the issue or if deeper faults persist.
Testing involves switching on the fixture to observe for consistent illumination, absence of flickering, or unusual sounds like buzzing, which could indicate unresolved ballast or wiring problems.
If issues remain despite troubleshooting methods, a thorough inspection of components like sockets and voltage supply using a multimeter is necessary. Persistent malfunctions may signal complex concerns—such as hidden wiring damage—requiring professional intervention.
Alternatively, exploring other kitchen lighting solutions like pendant or under-cabinet options can provide better reliability. Assessing success ensures safety and guides whether further action or expert help is warranted.
Considering LED Upgrades
While assessing the functionality of a fluorescent kitchen light remains essential, individuals may also consider upgrading to LED technology for enhanced performance and efficiency.
LED benefits include superior energy efficiency, longer lifespan, and improved light quality without flickering or humming. Exploring upgrade options allows for tailored solutions to replace outdated fluorescent systems with modern alternatives.
Consider these compelling reasons to switch:
- Energy Savings: LEDs use up to 80% less power than fluorescents, reducing costs.
- Durability: With lifespans exceeding 50,000 hours, maintenance is minimized.
- Versatile Upgrade Options: Choose from plug-and-play tubes, ballast bypass, hybrids, or full fixture replacements.
- Enhanced Aesthetics: LEDs offer customizable color temperatures for better kitchen ambiance.
Such upgrades ensure long-term reliability and efficiency in kitchen lighting.