Wiring a bathroom fan and light switch requires safety precautions and proper materials. First, disconnect power at the circuit breaker. Prepare the switch box by verifying size and grounding. Next, connect the wires according to color codes—black for hot, white for neutral. Secure the switches in the box, ensuring all connections are tight. Test the installation for functionality. If issues arise, troubleshoot circuit and switch continuity. There are additional steps to ensure optimal performance ahead.
Key Takeaways
- Disconnect power at the main electrical panel and use a voltage tester to ensure safety before starting.
- Prepare the switch box by checking for compatibility, size, and damage, and remove knockouts for cable entry.
- Mount the switch box securely in a chosen location, ensuring proper alignment and tightness of screws.
- Make wiring connections by following color codes: black for power, white for neutral, ensuring all connections are secure with wire nuts.
- Test the installation after restoring power, checking both the fan and light for functionality and addressing any issues encountered.
Safety Precautions Before Starting

Before beginning any electrical work in a bathroom, it is crucial to observe specific safety precautions to mitigate the inherent risks associated with the combination of water and electricity.
Bathrooms present a heightened risk of electrical shock, primarily due to the presence of moisture. Electrical appliances should be positioned away from wet areas, such as bathtubs and sinks, to avoid accidents. Furthermore, outlets and switches must be adequately protected to prevent short circuits caused by water splashes. Moisture protection is essential; without waterproofing and proper ratings, corrosion and premature failure of electrical components may occur. Lastly, inspecting wiring for damage and ensuring compliance with electrical safety codes will further reduce hazards associated with electrical work in bathrooms. Additionally, bathroom outlets must be equipped with ground fault circuit interrupters (GFCIs) to enhance safety and reduce shock risk. It’s important to remember that following proper electrical safety guidelines is critical in preventing accidents and ensuring a safe working environment.
Necessary Materials and Tools
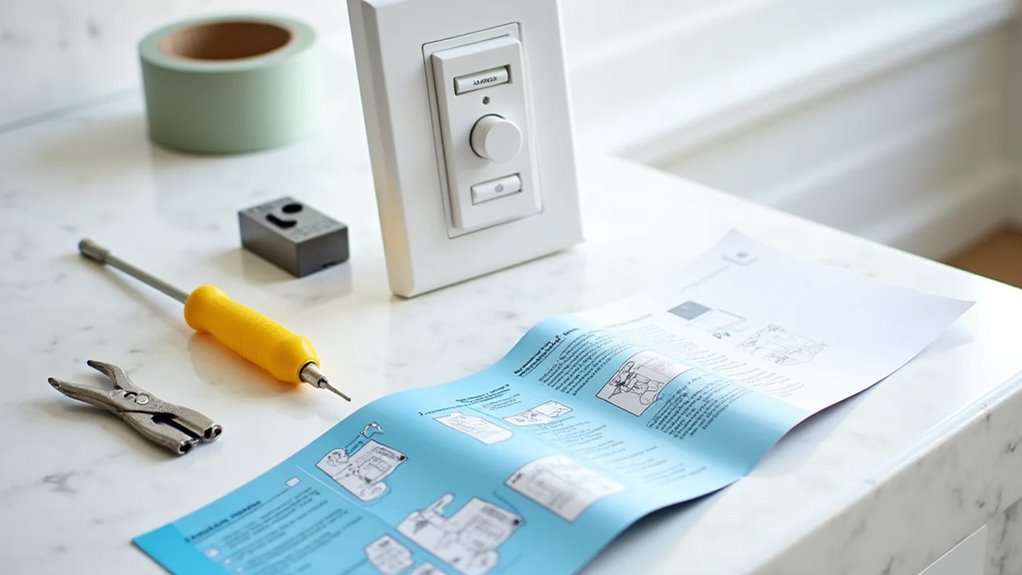
Undertaking the installation of a bathroom fan and light switch requires a comprehensive set of materials and tools to ensure a successful and safe process.
Key electrical components include 14/2 or 12/2 wiring cables, single pole or dual rocker switches, wire connectors, relays, and grounding wires, all adhering to established wiring standards.
Essential tools necessary for installation consist of needle-nose pliers, voltage testers, wire strippers, drills, and screwdrivers.
Additional accessories such as junction boxes, wire clamps, and mounting screws facilitate proper connections.
Installation materials, including foam sealant and drywall anchors, enhance both functionality and electrical safety.
These resources collectively enable the efficient execution of wiring tasks while maintaining compliance with safety regulations and standards.
Understanding the Wiring Configuration
Understanding the wiring configuration for a bathroom fan and light switch is crucial for ensuring both functionality and safety in the installation process.
The wiring basics typically involve a circuit layout utilizing black (hot), white (neutral), and red (switched hot) wires, with the possibility of a ground wire for safety.
Two common configurations exist: single-switch control for combined operation and dual-switch for independent control.
Power flows from the circuit breaker to the switch box, where hot wires connect to terminals, and the neutral wires return to the panel.
Notably, proper wire nut connections and differentiation of wire colors are essential to prevent hazards. Additionally, a proper understanding of wiring configurations is necessary to effectively determine the type of switch and wire setup suitable for the bathroom fan light combo installation.
This foundational knowledge is vital to achieve a successful and safe wiring installation.
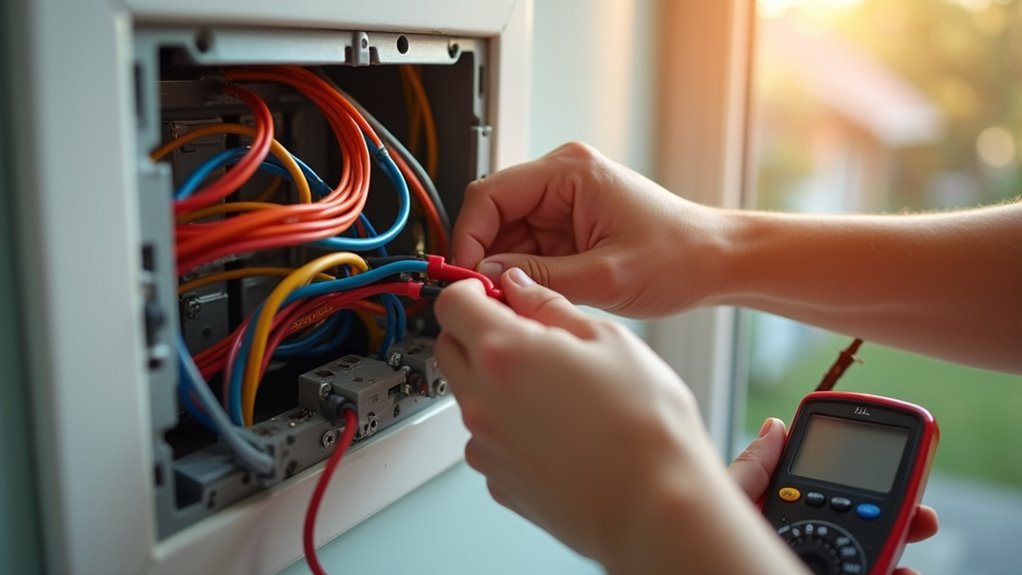
Step 1: Disconnecting Power Supply

The next step in successfully wiring a bathroom fan and light switch involves disconnecting the power supply to ensure safety during installation. Adhering to wire safety protocols, the following procedures must be undertaken:
- Identify the Circuit: Locate the main electrical panel and determine the breaker controlling the bathroom circuit.
- Deactivate Power: Turn off the identified breaker and use a voltage tester to confirm the circuit is de-energized.
- Secure the Workspace: Lock out or tag the breaker to prevent accidental reactivation and inform all household members.
These steps utilize essential electrical terminology, allowing for a comprehensive understanding of disconnection while minimizing the risk of electrical shock.
Proper preparation ensures a safe environment for the upcoming installation tasks.
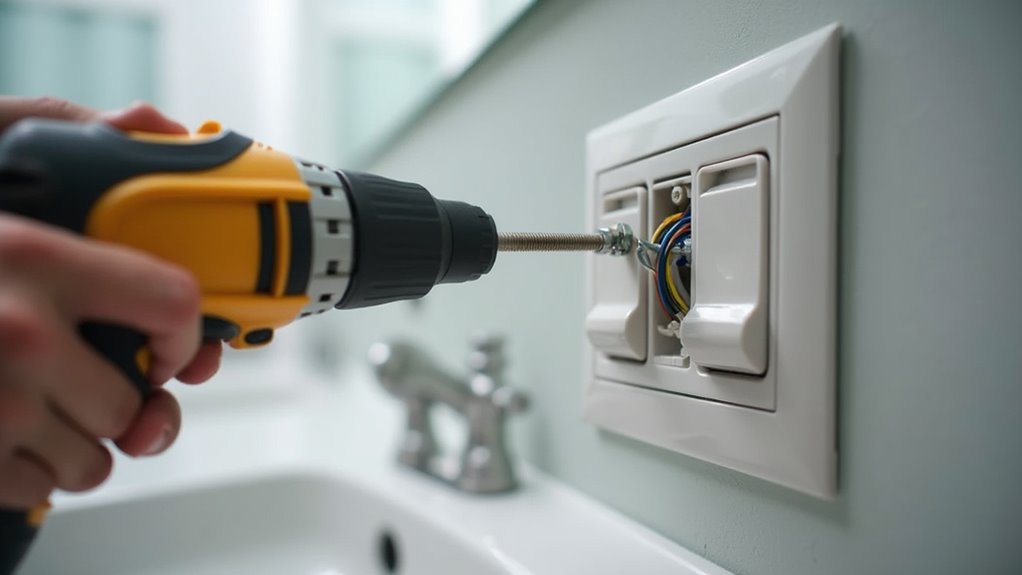
Step 2: Preparing the Switch Box
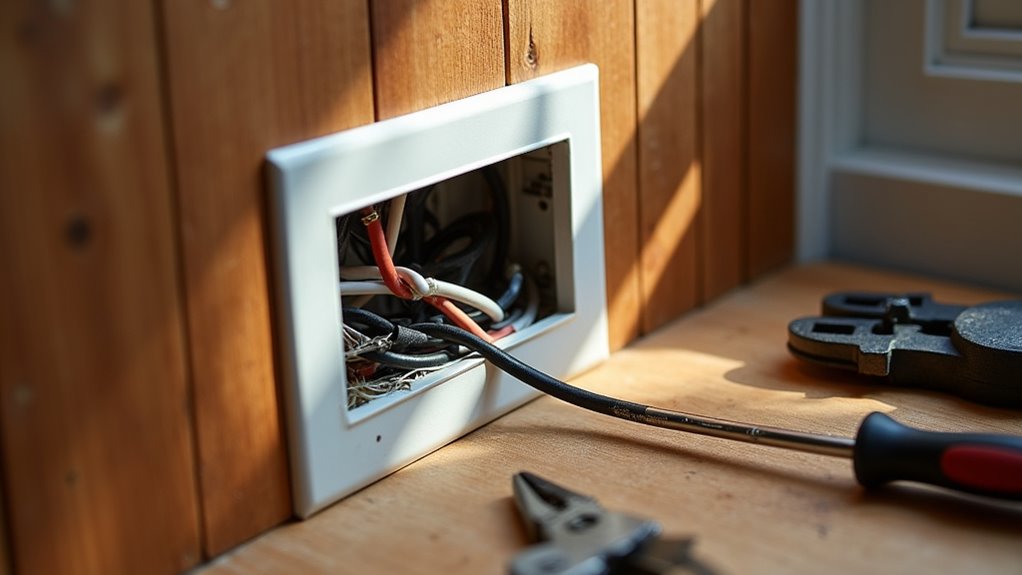
Preparing the switch box is a critical step in the installation of a bathroom fan and light switch, ensuring that the wiring can be effectively organized and secured.
First, assess switch box types, confirming adequate size to prevent overcrowding and ensure compliance with electrical code. Check materials for compatibility with grounding and cable clamps, inspecting for any damage.
Next, determine the appropriate box configuration based on the number of switches being installed. Carefully prepare cable entry points by removing knockouts and installing connectors to protect wire sheathing.
Grounding setup is vital for safety, particularly with metal boxes. Lastly, verify wire organization within the box to facilitate secure connections and future maintenance, adhering to local regulations and best practices. It’s also essential to comply with National Electrical Code (NEC) to ensure safe installations.
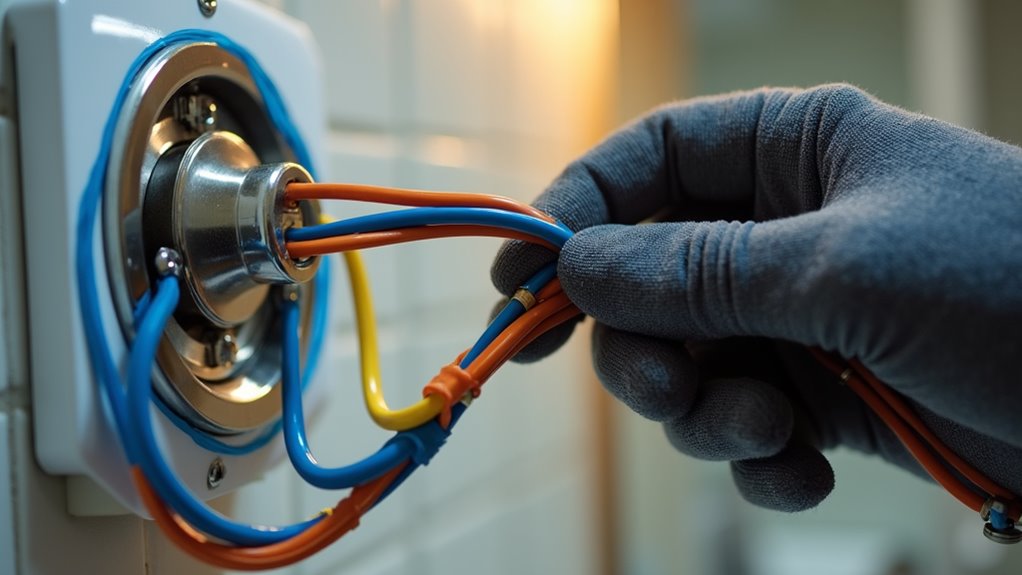
Step 3: Identifying the Wires
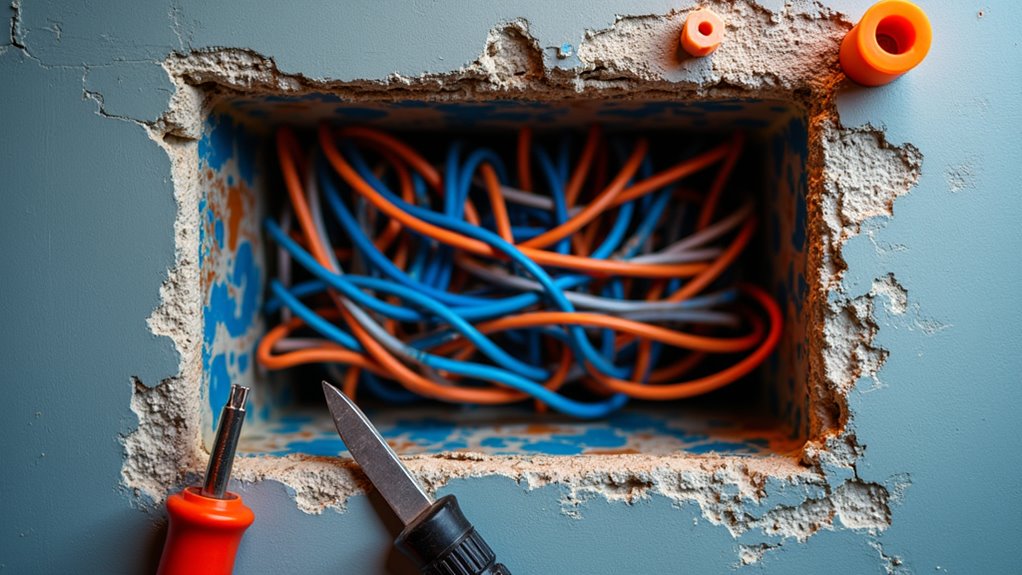
Identifying the wires is essential for safely connecting a bathroom fan and light switch. Understanding the wire colors and their functions is crucial.
Typically, the following wire colors are encountered:
- Black wires – represent hot or live wires supplying current.
- White wires – serve as neutral conductors, returning current to the panel.
- Green or bare copper wires – are used for grounding to prevent electrical faults.
Employ testing methods such as a non-contact voltage tester to identify live hot wires or a multimeter to measure voltage and continuity.
It’s vital to confirm wire function before proceeding, as colors may vary based on installation age or region. Proper identification ensures a safe and efficient wiring process.
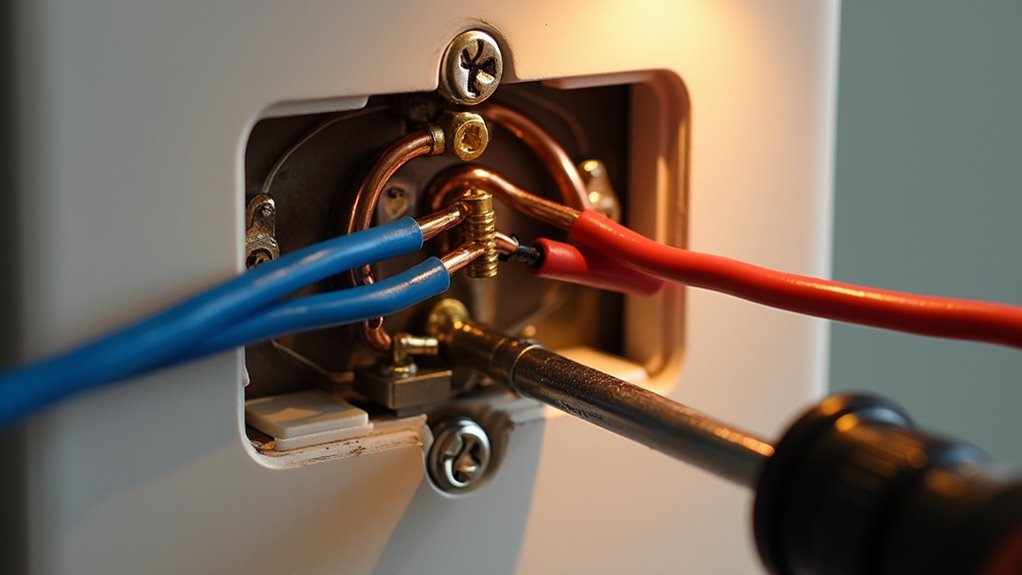
Step 4: Connecting the Wires
Connecting the wires for a bathroom fan and light switch requires careful attention to detail and adherence to safety protocols.
To commence, the incoming hot (black) wire must be joined to other black wires using pigtailing connections. This technique reduces the risk of overloading terminals by distributing the load safely.
The incoming hot wire must be pigtail connected to other black wires to safely distribute the load and prevent terminal overload.
Different switch types dictate specific terminal connections; for instance, a single-pole switch connects the black wire to the bottom terminal, while a double-pole switch accommodates separate hot wires for both the fan and light.
Neutral wires, typically bonded at the back of the box, should never connect to the switch. Always connect the ground wire first to ensure electrical grounding of components is secure and prevents potential shock hazards.
Always verify connections and follow local electrical codes to ensure safety and compliance during installation.
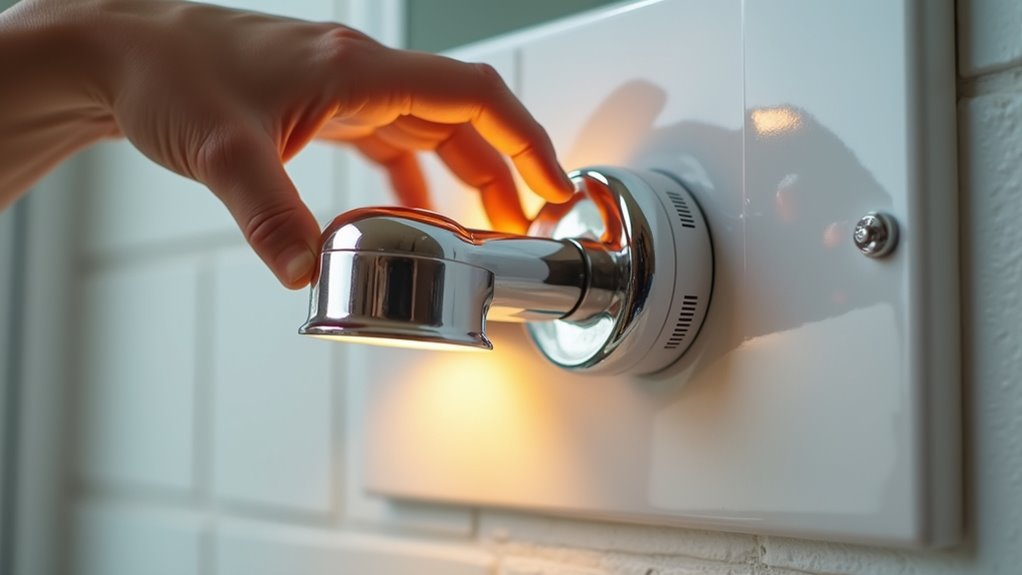
Step 5: Securing the Switches
Securing the switches within the switch box is a critical step in ensuring proper functionality and safety. Proper switch alignment is essential for smooth operation and to maintain the integrity of the installation.
- Position the switches in the designated box, ensuring they fit comfortably.
- Align the mounting screws with the box’s mounting holes for accurate positioning.
- Securely tighten the screws, being cautious not to overtighten and damage the switches or box.
Adhering to proper labeling for the fan and light functions will minimize confusion during use.
It is crucial to verify that the area around the switches remains clear, promoting ease of access for future maintenance. A well-secured installation will significantly enhance the overall performance and safety of the bathroom’s electrical components.
Step 6: Testing the Installation
Conducting a thorough test of the installation ensures that both the bathroom fan and light operate as intended, contributing to the overall safety and efficiency of the electrical system.
Technicians begin by confirming power is off using a voltage tester and checking that all wiring is securely connected. Independent functionality of the fan and light switches should be verified.
For fan operation, they switch it on, checking for adequate airflow, unusual noises, and vibrations. The light is tested by switching it on to confirm proper illumination, checking for flickering, and ensuring expected brightness without overheating.
Both systems should be assessed for interference, and documentation of the testing process is recommended for future reference.
Step 7: Troubleshooting Common Issues
While installing a bathroom fan and light switch generally proceeds without incident, various issues may arise that necessitate troubleshooting. Effective fan troubleshooting focuses on identifying power and connection failures while ensuring optimal performance.
Installing a bathroom fan and light switch is usually straightforward, but troubleshooting may be necessary for optimal performance.
- Incoming Power Issues: Check the circuit breaker and verify outlet power using a multimeter.
- Switch-Related Problems: Test switch continuity and inspect for loose connections or damage.
- Light Dimming: Ensure correct voltage at the light, inspect for damaged wiring, and verify proper connections.
Addressing these points will mitigate common problems such as dim lighting or inefficient fan operation, ensuring the system functions correctly.