
Installing a bathroom fan light involves several key steps for a successful project. First, ensure safety by turning off power and wearing protective gear. Next, remove the old fixture and prepare the ceiling opening. Connect the ductwork properly, followed by electrical wiring according to codes. Select an efficient fan/light unit based on space size. Finally, properly maintain the unit to ensure longevity. For additional insights on each step, further information can enhance the installation process.
Key Takeaways
- Turn off the power and ensure safety by using a voltage tester before beginning installation.
- Remove the old fixture carefully, noting wire connections for easy reconnection later.
- Measure and prepare the ceiling for the new fixture, ensuring it fits properly and complies with codes.
- Connect the new fan to ductwork and electrical wiring, following manufacturer specifications for compatibility.
- Test the fan and light function post-installation, confirming airflow and proper operation.
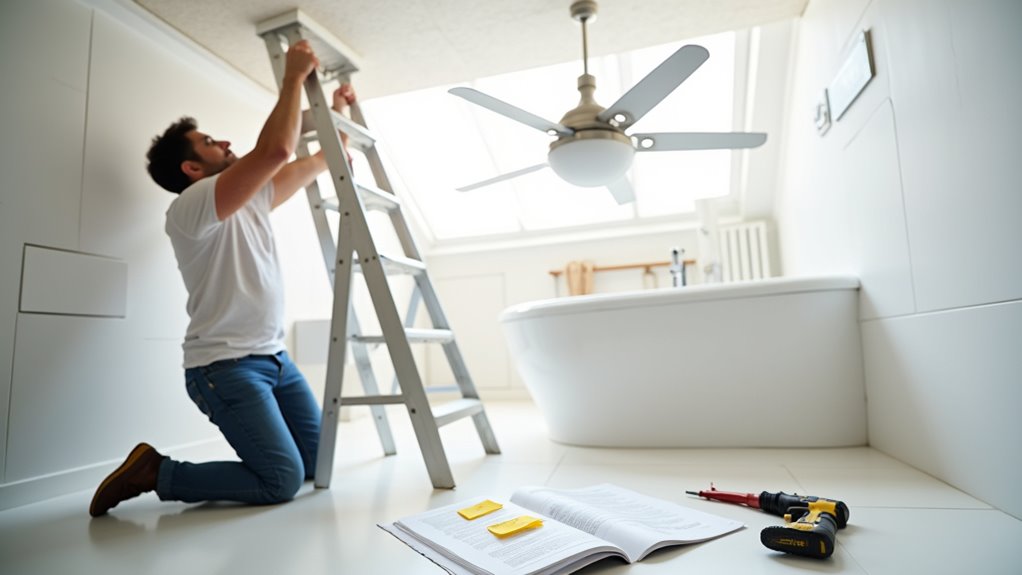
Pre-Installation Preparations & Safety

Before commencing the installation of a bathroom fan light, it is crucial for one to prioritize safety and preparedness. Essential safety precautions include turning off electrical power at the circuit breaker and using a voltage tester to verify no current is present. Personal protective equipment such as safety glasses, gloves, and a dust mask should be worn. Inexperienced individuals are advised to consult a qualified electrician. Proper tool assembly is another vital step; tools such as a power drill, various screwdrivers, pliers, wire strippers, measuring tape, and a utility knife must be gathered. Compliance with local electrical codes is fundamental to ensure the installation is safe and meets required standards. Proper ventilation is essential to prevent mold and mildew growth, so ensure the fan/light unit is designed to effectively remove moisture from the bathroom. Additionally, selecting a fan with enhanced functionality can significantly improve your bathroom experience. Before beginning, verify the condition of the existing ductwork and ensure it is properly aligned with the new fan/light unit for optimal ventilation. Additional equipment may include a jigsaw or drywall saw, along with materials like the fan/light unit, ductwork, and wire connectors, ensuring adherence to the manufacturer’s guidelines.
Removing Old Fixture (If Applicable)
Once the necessary preparations and safety measures have been established, the next step is to remove the old fixture if one is present.
Carefully approach this process by following these steps:
- Remove the grille cover: Gently pull down or pry with a flathead screwdriver to detach the cover, taking care of any screws.
- Detach the light diffuser: If applicable, remove the light diffuser and unscrew any bulbs, revealing the motor assembly.
- Access wiring connections: Identify and mark wire connections, then disconnect the wires using appropriate techniques.
- Unscrew mounting brackets: Locate and remove screws attaching the housing to the joists, ensuring ductwork separation by detaching any duct connections securely. Ensure all connections comply with National Electrical Code (NEC) standards for safety.
It’s crucial to turn off power at the circuit breaker and use a voltage tester to verify, ensuring safety throughout the removal.
Approaching each step methodically ensures a smooth removal process.
Preparing Ceiling Opening & Mounting
Preparing the ceiling opening for a new bathroom fan light requires careful assessment of the old fixture‘s size to ensure proper fit.
If necessary, the drywall must be cut to accommodate the new housing, ensuring the opening aligns with joists while avoiding damage to existing structures.
Once the hole is prepared, securing the new housing firmly in place is essential for stability and optimal performance.
Assess Old Fixture Size
Assessing the size of the old fixture is essential for a successful bathroom fan light installation. This step involves careful measurement and comparison to ensure compatibility with the new fan.
- Turn off power at the breaker before inspection.
- Remove the existing grill to access the fan housing.
- Measure and document the length, width, and depth of the old fan housing for comparing dimensions with the new fan specifications.
- Check compatibility by verifying if the new fan fits the existing opening, determining if patchwork or enlargement is necessary.
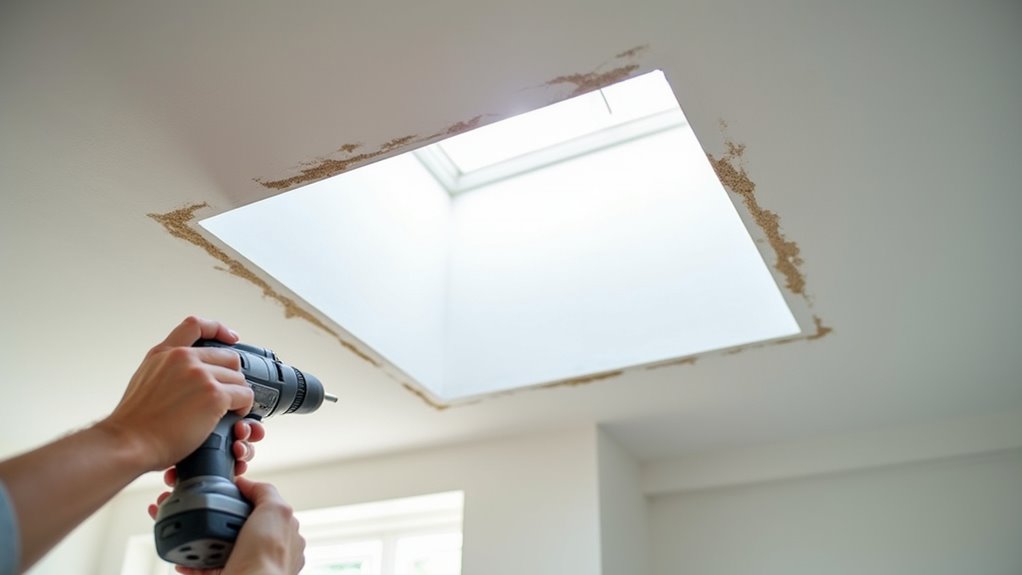
Cut Drywall as Needed
Cutting drywall for a bathroom fan light installation demands precision and careful planning. Start by marking the ceiling opening using the fan housing or a provided template, ensuring it aligns with existing joists. Measure the fan’s intake port to determine the correct hole size.
Utilizing proper cutting techniques is crucial; jab saws and utility knives are common tools, while rotary tools offer speed. Drill small holes at the corners of the marked outline to initiate the cut.
Maintain drywall safety by checking for obstructions behind the surface, such as wires or pipes, and turning off power before cutting. Always wear safety goggles and gloves to protect against debris and sharp edges, ensuring a clean and precise cut for the installation.
Secure New Housing Firmly
Once the drywall has been cut and the opening is ready, the next step involves securing the new housing firmly within the ceiling. Proper installation ensures that the housing is level and will operate effectively.
To secure housing, follow these steps:
- Attach Brackets: Extend metal brackets completely to contact the joists on either side of the housing.
- Fasten with Screws: Use 1 ½-inch screws to secure bracket ends to joists, ensuring substantial support.
- Install Brace if Necessary: If no joist aligns with the housing, install a 2×4 wood brace between joists.
- Level the Fan: Prior to fastening, use a level to confirm the housing is positioned correctly, ensuring alignment with the ceiling surface.
This preparation is essential for a stable and functional fan installation.
Ductwork Connection

Connecting ductwork is a critical step in installing a bathroom fan light, as it directly impacts airflow efficiency and functionality.
Selecting the appropriate duct material is vital; rigid metal ducts offer superior performance, while flexible ducts are suitable for tighter spaces. Proper duct sizing ensures optimal airflow; manufacturers typically recommend diameters based on fan specifications.
Short, straight ducts enhance effectiveness, but if bends occur, they should be minimized to prevent airflow loss. Duct routing should orient the fan outlet towards the termination point to reduce unnecessary turns.
Lastly, duct sealing is essential; all joints and seams need to be sealed with mastic or approved metal tape to prevent leaks, ensuring maximal efficiency and airflow consistency.
Electrical Wiring
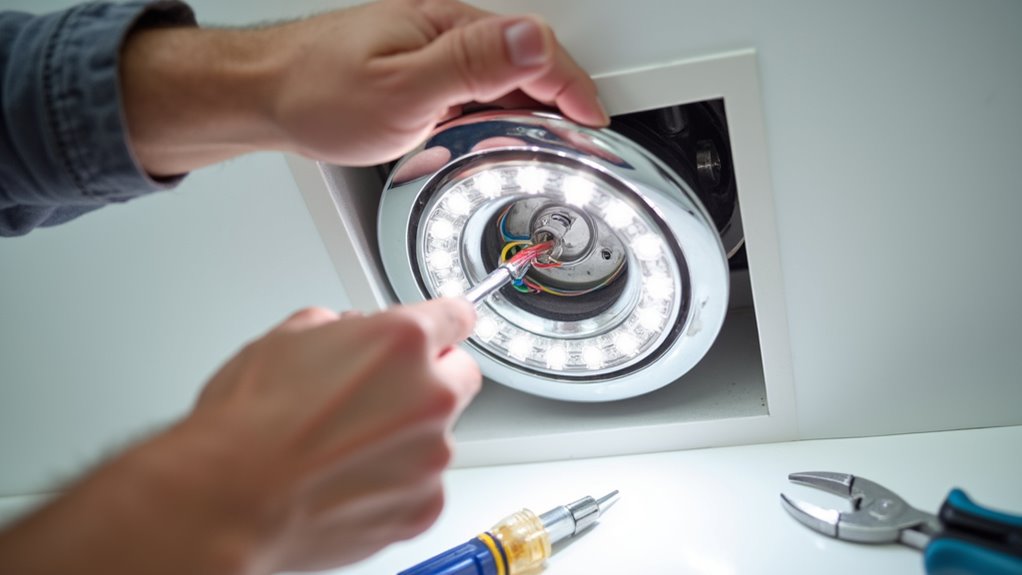
After securing the ductwork, attention turns to the electrical wiring needed for the bathroom fan light.
Skills in electrical safety are critical, as improper installations can lead to hazards.
Electrical safety skills are essential, as mistakes in installation can create serious hazards.
Key considerations include:
- Turn off power at the circuit breaker and verify with a voltage tester.
- Use appropriate NM-B wire gauges: 14/2 for 15-amp or 12/2 for 20-amp circuits, ensuring code compliance.
- For separate controls, run a 14/3 or 12/3 NM-B cable, utilizing proper wire colors (black for hot, white for neutral, green or bare for ground).
- If the installation includes a heater, a dedicated 20-amp circuit is often required to accommodate circuit amperage and prevent overload.
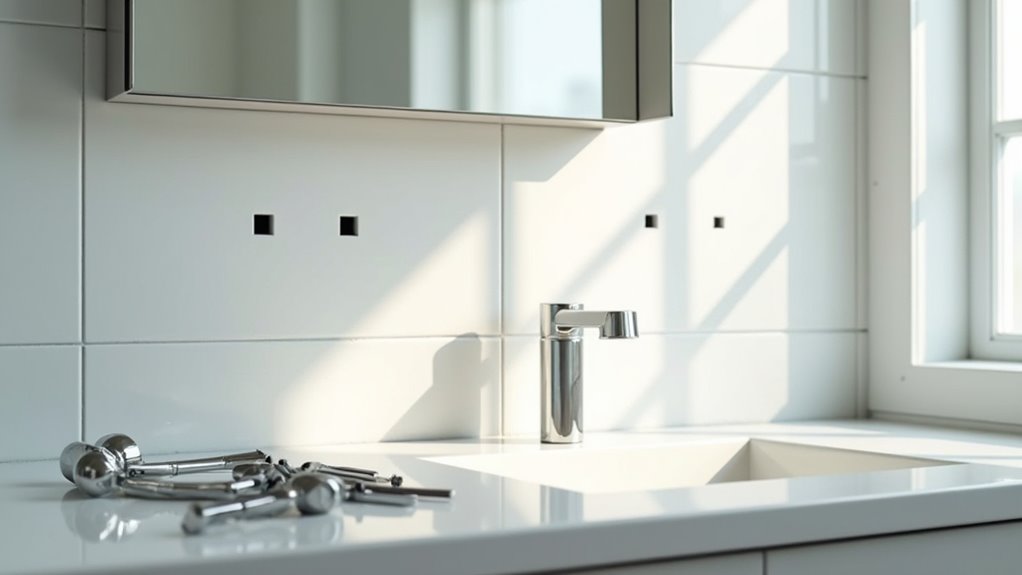
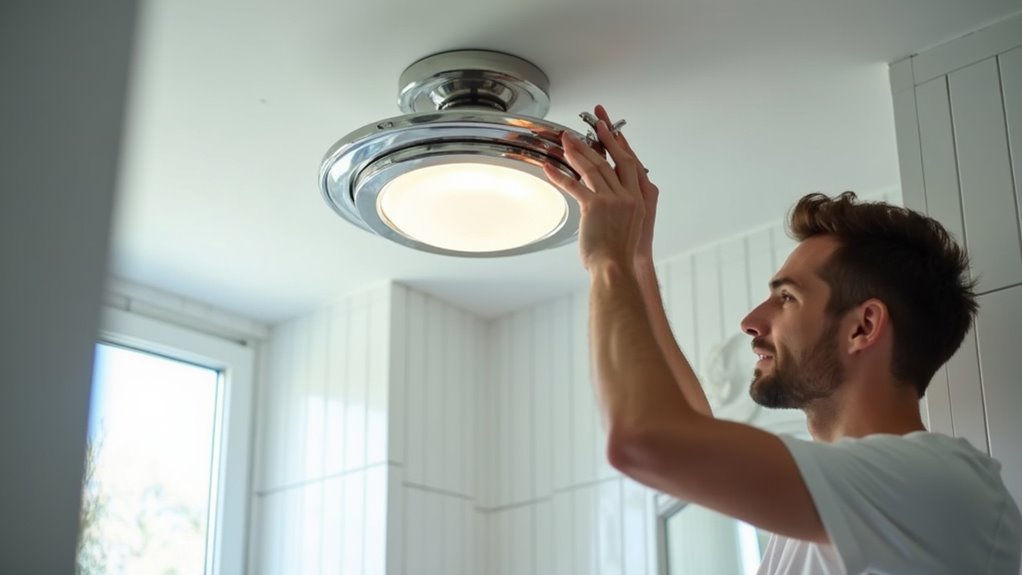
Final Installation & Testing

The final installation of the bathroom fan light requires careful attention to detail and adherence to manufacturer specifications.
First, the fan housing must be securely mounted between the ceiling joists, ensuring it is level. Ductwork should connect to the fan’s outlet, venting to the outside while remaining as short and straight as possible to optimize airflow efficiency.
Installation of the grille and light assembly follows, ensuring it fits snugly against the ceiling. After restoring power, testing the fan performance is crucial; listening for operational sounds and verifying the light functions are essential.
Finally, performing airflow tests, such as the “toilet paper test,” confirms proper operation. All checks should ensure effective and quiet fan performance, free from vibrations or obstructions.
Selecting the Right Fan/Light Unit
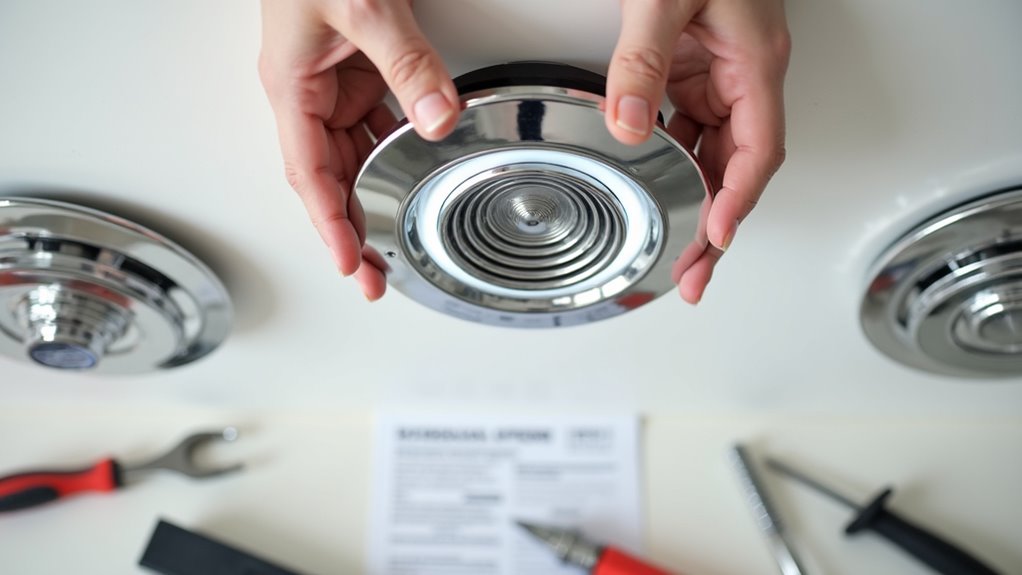
Once the installation and testing of the bathroom fan light are complete, selecting the right fan/light unit becomes paramount for optimal performance and user satisfaction.
When choosing, consider these key factors:
- Fan Sizes: Ensure the CFM rating matches the bathroom size—generally, 1 CFM per square foot for rooms up to 100 sq. ft.
- Noise Levels: Select a unit with a low sone rating; aim for 1.0 sones or less for minimal noise.
- Lighting Features: Consider LED bulbs for efficiency and the option for dimming or a night light.
- Additional Features: Look for models with humidity or motion sensors for enhanced functionality.
Choosing wisely ensures a quiet, efficient, and effective bathroom environment.
Ensuring Proper Ventilation
Proper ventilation is essential in maintaining a healthy bathroom environment, as it effectively prevents moisture buildup that can lead to mold growth and deterioration of surfaces.
Ensuring adequate moisture control through proper ductwork design significantly enhances ventilation benefits. Ducts should be short and straight, using smooth, rigid metal for optimal airflow. All connections must be sealed and slightly pitched to avoid condensation issues.
Termination points must vent outdoors to prevent internal mold issues and structural damage. Determining the required airflow rate in CFM is vital, with general guidelines suggesting 1 CFM per square foot for spaces up to 100 square feet.
Proper ventilation not only protects materials but also enhances occupant comfort by eliminating stagnant odors and humidity.
Troubleshooting Common Problems
When troubleshooting common problems with a bathroom fan light, it is essential to methodically diagnose each issue to restore functionality.
Fans utilizing advanced fan technology may encounter various issues affecting their performance. Here are key steps to consider:
- No Power: Check the circuit breaker and wall switch; inspect wiring connections thoroughly.
- Fan Motor Not Running: Ensure the motor is plugged in, check for obstructions, or consider a faulty motor.
- Light Not Working: Replace the bulb, inspect the socket, and verify wiring connections.
- Excessive Noise or Vibration: Tighten covers, check motor mounts, and examine ductwork attachments.
Maintaining Your Bathroom Fan Light
Troubleshooting common issues with a bathroom fan light can restore functionality, but ongoing maintenance is vital for long-term performance.
Establishing a cleaning schedule is essential; a thorough clean every six months ensures optimal fan efficiency.
Begin by turning off the power, then remove the cover/grille for cleaning. Use a damp microfiber cloth or vacuum for the light fixture, while fan blades and housing should be addressed with a vacuum attachment.
Additionally, conduct a deeper clean of the motor as needed and check ductwork for obstructions.
Regularly inspect wiring for wear and secure any loose fittings.
Implementing proper maintenance routines not only extends the lifespan of the fan light but also enhances overall bathroom air quality.