
To install kitchen cabinet profile lights, start by measuring cabinet dimensions and gathering essential tools. Clean the undersides of the cabinets, ensuring surfaces are smooth. Cut LED profiles and strips to fit snugly, then test-fit them under the cabinets. Securely install the profiles and attach the LED strips, before snapping on diffuser covers for a soft glow. Finally, power on the lights and observe the ambiance they create. Discover the nuances of each step for a flawless installation.
Key Takeaways
- Measure cabinet dimensions accurately to ensure proper fit of profiles and LED strips for effective lighting design.
- Clean cabinet undersides thoroughly to provide a smooth surface for adhesion and installation.
- Cut LED profiles and strips precisely to fit under cabinets, taking care to avoid damaging solder points.
- Install profiles securely under the cabinets, ensuring strips are aligned and wires are organized neatly.
- Test the installed lighting for function and compliance, adjusting as necessary to enhance kitchen ambiance.
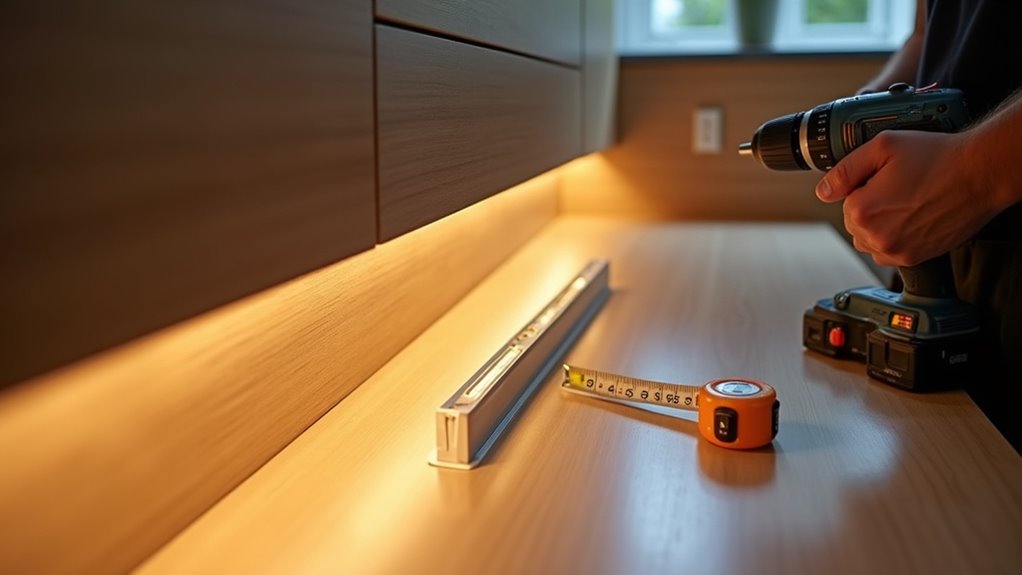
Measure Cabinet Dimensions
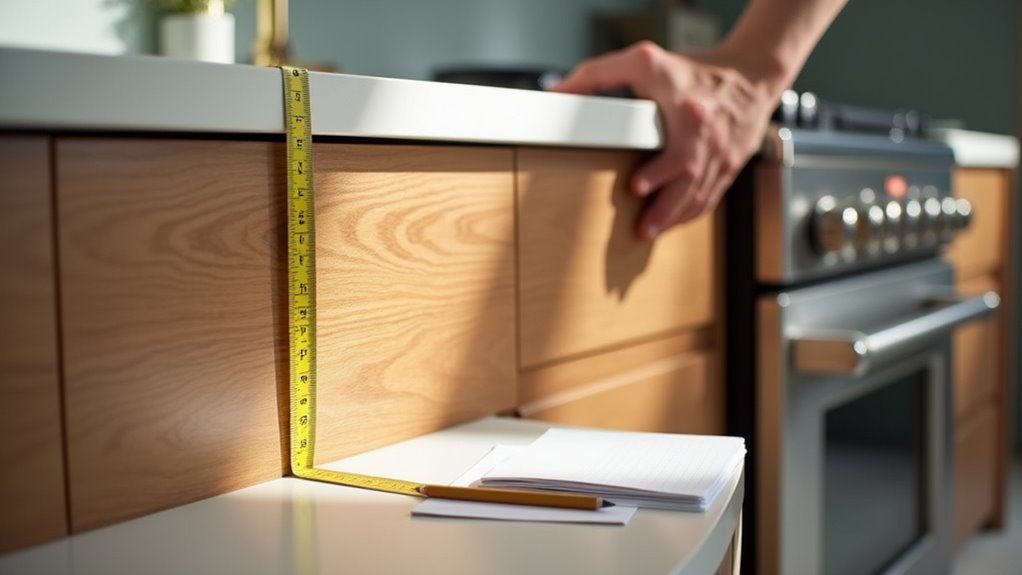
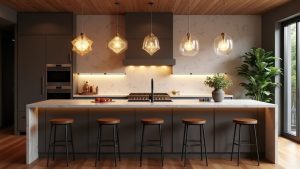
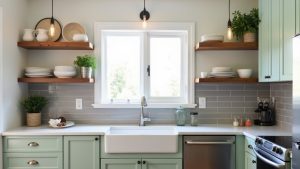
To embark on the installation of kitchen cabinet profile lights, one must begin with precise measurements of cabinet dimensions. Understanding the overall kitchen layout is essential, including the wall length, ceiling height, and the nuances of cabinet spacing. Careful attention to the distances between windows and cabinets ensures that natural light remains unobstructed. The dimensions of base and upper cabinets, typically reaching heights of 34.5 inches for the former and up to 42 inches for the latter, must be meticulously recorded. Additionally, sketching the layout with all measurements—including the crucial clearances—will facilitate accurate lighting placement, enhancing both functionality and aesthetics. A well-measured plan becomes the blueprint for a beautifully illuminated kitchen space, while considering standard cabinetry offers viable options can help in maximizing the effectiveness of the lighting design. Furthermore, identifying utilities and heights during this initial phase is critical to ensure appropriate placement of electrical outlets for the lighting fixtures. Incorporating sage green cabinetry can also create a tranquil vibe, reinforcing the peaceful atmosphere you aim to achieve in your kitchen.
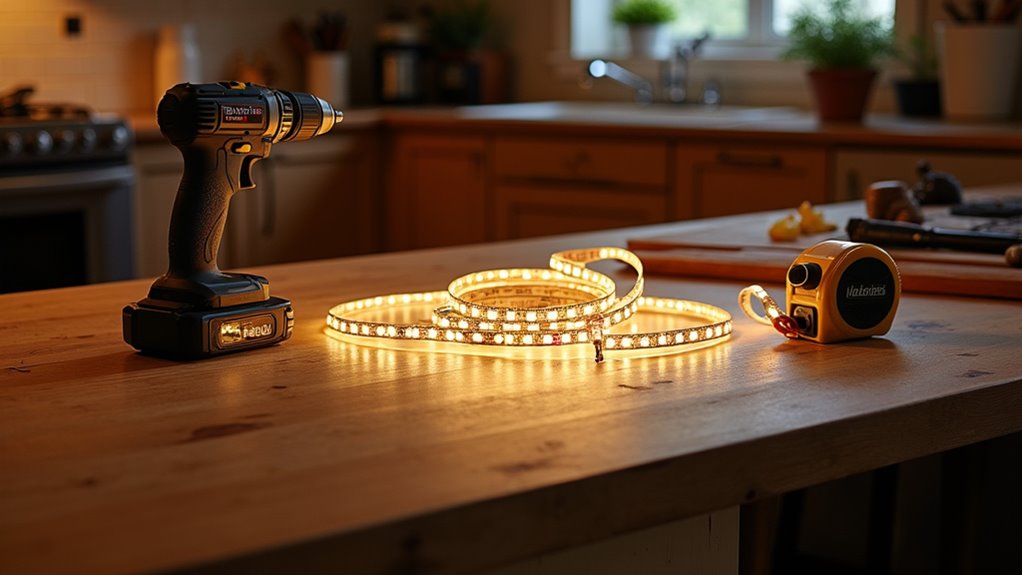
Gather Necessary Tools
With the cabinet dimensions meticulously mapped out, the next step involves gathering an array of tools that will facilitate the installation of kitchen cabinet profile lights.
After mapping out your cabinet dimensions, it’s time to gather the essential tools for a precise installation of kitchen cabinet profile lights.
Essential hand tools, including Phillips and flathead screwdrivers, wire strippers, and scissors, ensure each component is handled with installation precision. A measuring tape and pencil enhance tool organization, allowing for accurate placement marking.
Power tools, like a chop saw for clean cuts and a power drill for securely fastening mounts, are also crucial. Additionally, having safety gear such as goggles and gloves protects against accidents.
Lastly, electrical supplies like LED strips, power supplies, and connectors must be on hand, ensuring a seamless and efficient installation process that dazzles with new lighting.
Clean Cabinet Undersides
Cleaning the undersides of kitchen cabinets sets the stage for a meticulous installation of profile lights.
Utilizing effective cleaning techniques, one should begin by vacuuming away loose dirt and cobwebs, especially in corners where remnants accumulate. For painted or laminated surfaces, a mild dish soap solution works wonders, while wood cabinets benefit from a special detergent mixture.
Soft cloths or microfiber towels are essential to avoid damage during scrubbing. Often overlooked, stubborn stains may need gentle attention with baking soda paste or Magic Erasers. Additionally, ensuring that the surfaces are free of any dirt and debris can improve adhesion for light fixtures.
Drying the surfaces promptly ensures no moisture lingers, preserving finishes and preparing an immaculate base for lighting. Implementing these maintenance tips fosters a cleaner environment and enhances the overall aesthetic appeal of the kitchen.
Cut LED Profiles and Strips
Precision is paramount when cutting LED profiles and strips, as this critical step defines the outcome of the installation.
Employing the right cutting techniques, such as using a hacksaw with a fine-tooth blade, ensures clean edges on aluminum profile materials.
First, mark the cutting line on masking tape to protect the surface from scratches, measuring accurately with a ruler to ensure a snug fit under the cabinets.
Marking the cutting line with masking tape safeguards the surface while precise measurements guarantee a perfect fit beneath your cabinets.
Once secured, the profile can be smoothly sliced, while strips require cutting at designated points using sharp scissors, mindful not to damage solder points.
After cutting, meticulous attention to detail is key—filing rough edges and inspecting every cut guarantees a polished finish worthy of any modern kitchen.
Test-Fit Profiles and Strips
Testing the fit of LED profiles and strips is an essential step in achieving an inviting and functional kitchen atmosphere.
To ensure seamless profile alignment, one must meticulously measure the space above the cabinets before proceeding. After selecting appropriately sized profiles, the installer should place the strips in various positions to test for optimal lighting distribution, simulating the final effect.
A visual inspection during this phase helps avoid any sharp lines and ensures the light disperses evenly across the countertop. Additionally, it is vital to confirm that the profiles do not interfere with the cabinet lip and that they complement the kitchen’s overall design.
This careful adjustment phase guarantees a refined and aesthetically pleasing lighting outcome, as layered lighting techniques contribute to an effective and versatile kitchen environment.
Connect LED Strips Wiring

Once the LED profiles and strips have been perfectly aligned and their fit validated, the next step involves connecting the wiring to bring the setup to life.
Thoughtful power source selection and wiring techniques are paramount; proximity to outlets and compliance with local electrical codes must be assessed.
Routing low-voltage wiring discreetly behind cabinets requires strategic planning and protection, utilizing conduits or cable channels.
As the LEDs are cut to size, connectors must align with the correct polarity for optimal functionality.
Secure all connections using low-voltage wire nuts and insulate exposed metal to ensure lighting safety.
Finally, after testing connections prior to powering on, the beauty of illuminated spaces emerges, ready to enhance the kitchen with warmth and elegance.
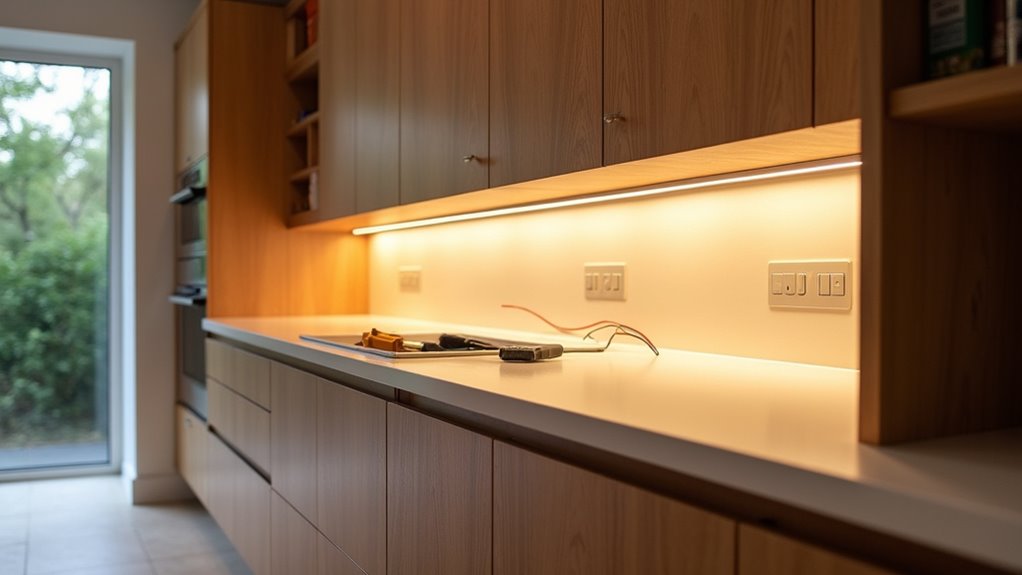
Install Profiles Under Cabinets
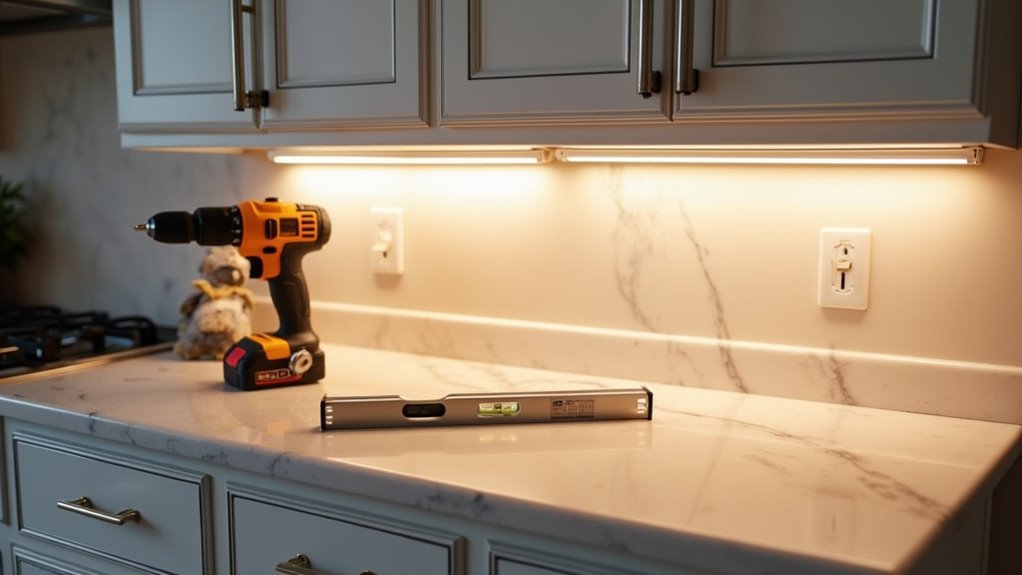
Transforming the aesthetics of a kitchen, the installation of profiles under cabinets marks a pivotal step in enhancing both functionality and ambiance.
Careful measurement ensures that the chosen profile types fit snugly against the cabinet underside, allowing for optimal placement.
Strategically marking and cutting profiles for precise lighting angles fosters a smooth installation process. Angled profiles positioned near the cabinet front lip cast a warm glow without creating glare, while downward-lighting profiles offer focused illumination.
Cleaning surfaces prior to application ensures strong adhesion, and double-sided tape provides added support.
Assembling all elements seamlessly, including connectors, guarantees a polished finish. Incorporating features such as under-shelf LED strip lighting can significantly improve visibility for cooking and dining.
Every careful adjustment contributes to a cohesive and inviting kitchen atmosphere, showcasing the elegance of well-placed profile lighting.
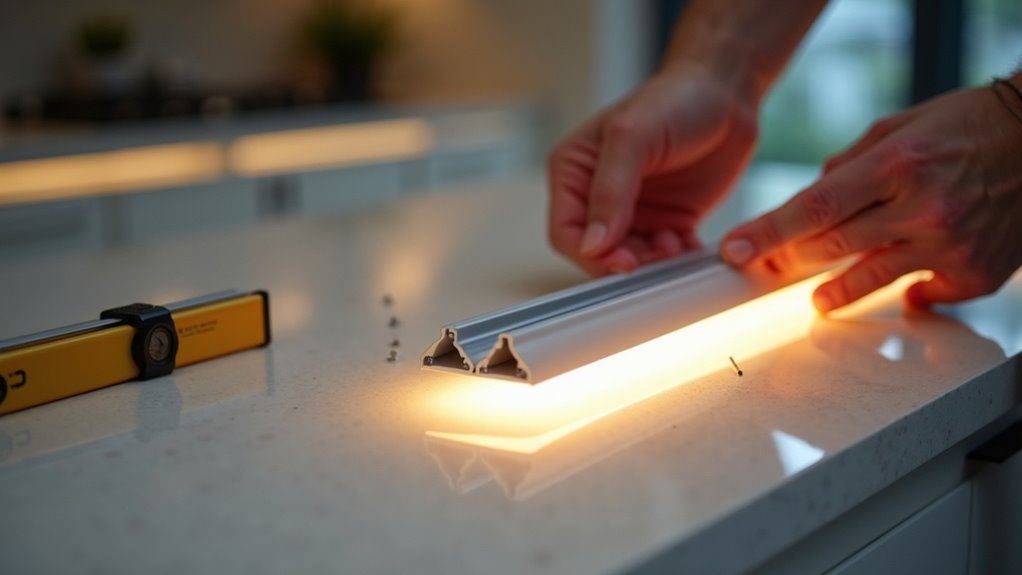
Securely Attach LED Strips
To ensure a polished and effective installation, securely attaching LED strips is essential for achieving optimal illumination in the kitchen.
First, measure the length needed for each cabinet section, then cut the strips along designated lines.
To enhance bond strength, choose adhesive options such as 3M VHB or acrylic-based adhesives, ensuring surfaces are clean for optimal adhesion. Apply the adhesive directly to the back, peel off the backing, and press firmly into place.
Proper strip alignment within mounting channels is crucial; insert the strips, using channel lips or clips to prevent slipping.
Finally, ensure wire management is neat, organizing cables to avoid damage, ultimately creating a serene, illuminated kitchen atmosphere.
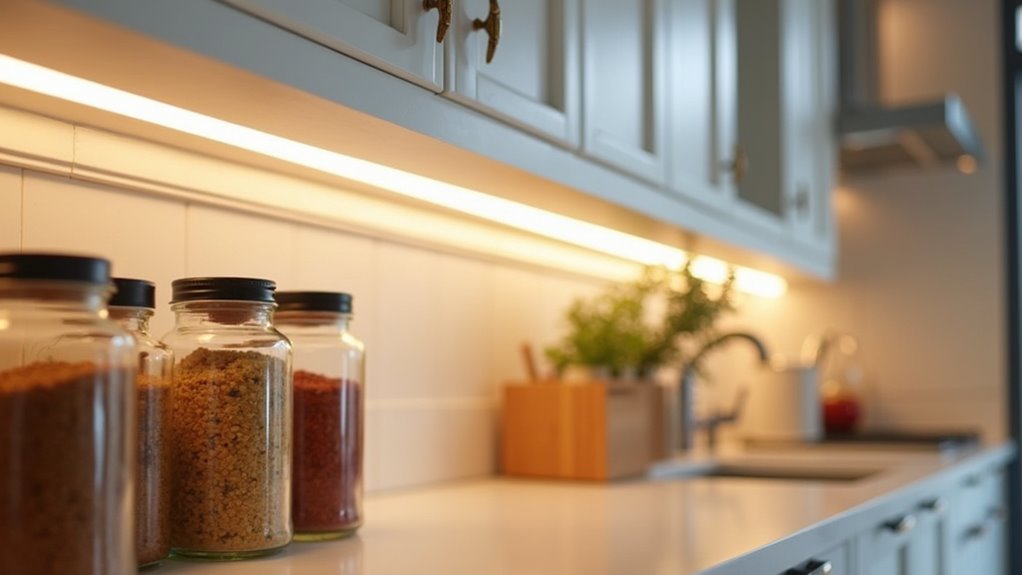
Snap on Diffuser Covers
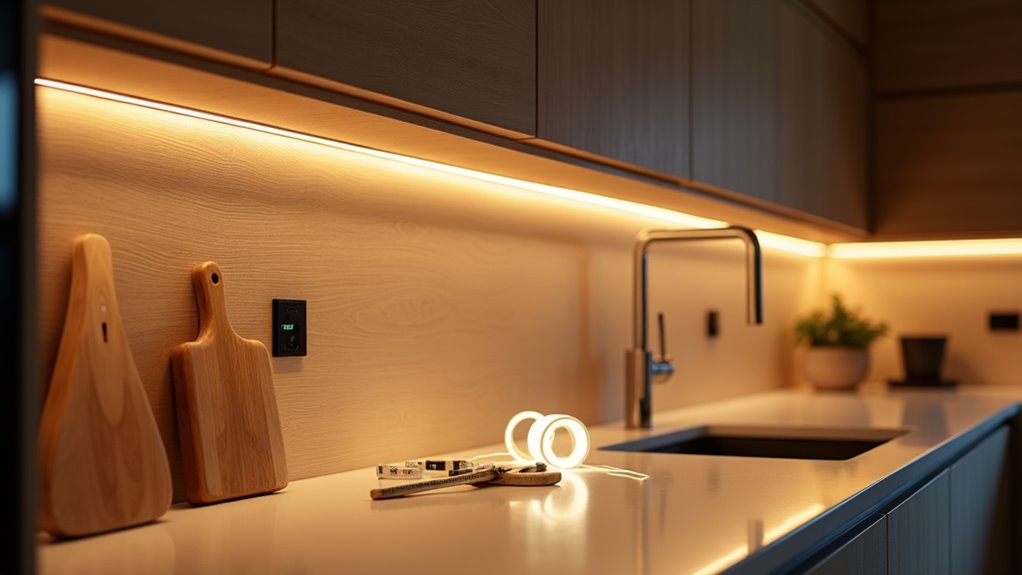
With the LED strips securely attached and ready to illuminate the kitchen, the next step involves enhancing their effectiveness through the installation of snap-on diffuser covers.
These translucent plastic covers, typically milky or opal white, soften light while eliminating unsightly LED dots, creating a seamless glow.
Installation tips include cutting the diffuser to match the aluminum channel precisely, ensuring smooth edges to prevent scratches, and aligning the covers with the channel for a secure fit.
The diffuser cover benefits extend beyond aesthetics; they reduce glare and protect LEDs from dust, enhancing the fixture’s longevity.
A gentle snap along the profile ensures a perfect seal, making maintenance easy and keeping the kitchen invitingly bright and beautifully illuminated.
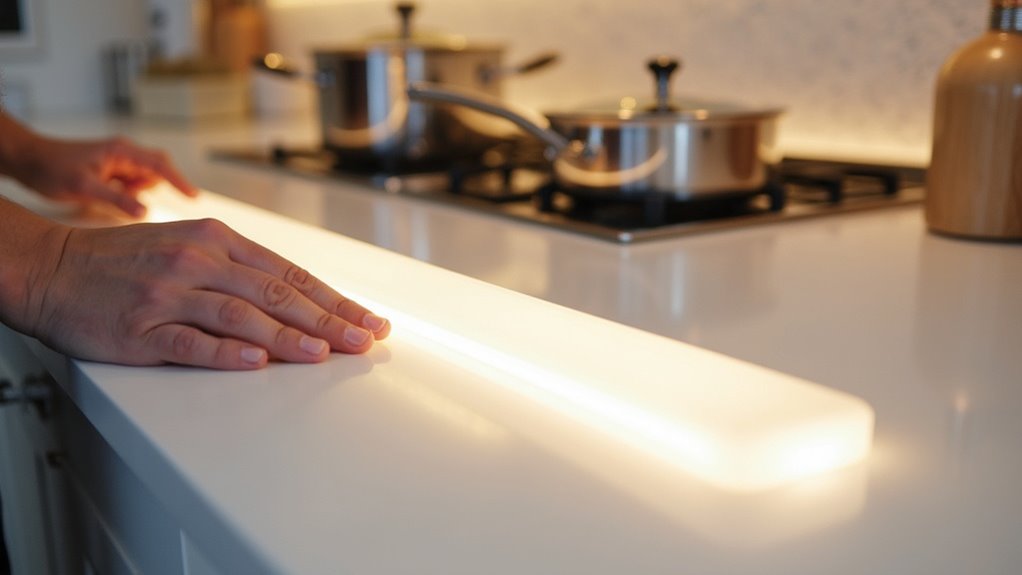
Power On and Test Lights
As the moment of truth arrives, the newly installed kitchen cabinet profile lights await their first pulse of electricity. Before excitement surges, a thorough wiring inspection is essential; every connection must be firm, protecting against electrical hazards.
With protective coverings removed, the installer activates the power supply. Flickers of illumination spread across the LED strips, casting soft light that transforms the kitchen ambiance. Observing closely, any sections that remain dark signal potential issues, prompting a careful check for loose contacts or polarity mismatches.
As brightness settings are tested, clarity comes as the lights respond smoothly. Satisfied with the serene glow, the installer ensures all components comply with safety standards, paving the way for enchanting evenings in the kitchen.