
Converting kitchen fluorescent lights to LEDs involves three precise steps. First, prepare by assessing fixtures, inspecting wiring, and turning off power at the breaker, verifying with a voltage tester for safety. Second, select compatible LED replacements, focusing on lumens (1000-4000) and color temperature for optimal lighting. Third, execute the installation by removing old components, connecting wires securely, and ensuring proper tube alignment. Explore further to uncover detailed troubleshooting tips and additional safety insights.
Key Takeaways
- Turn off power at the breaker and verify with a voltage tester for safety.
- Remove old fluorescent tubes and ballast, inspecting wiring for damage.
- Select compatible LED tubes, focusing on lumens and color temperature.
- Install LED tubes, connecting wires securely with wire nuts.
- Test the lights, troubleshooting connections if they fail to illuminate.
Preparing for the Conversion
Before initiating the conversion of kitchen fluorescent lights to LED, individuals must thoroughly assess the existing fixtures to ensure a safe and effective transition.
Fixture assessment involves examining the type, size, and condition of current fluorescent units, identifying if they are recessed, surface-mounted, or under-cabinet. Inspecting wiring, sockets, and lenses for degradation is critical, as damaged components may necessitate full replacement.
Additionally, determining the ballast type—magnetic, electronic, or with a starter—is essential for planning the conversion process. Understanding the layout and dimensions of the kitchen can also help in calculating the necessary light output needs for effective illumination. Evaluating compatibility with LED retrofit kits is crucial to ensure a seamless upgrade retrofit kit compatibility.
Safety precautions are paramount during preparation. Power must be turned off at the breaker, verified with a non-contact voltage tester, before any work begins.
Wearing safety gear like gloves and glasses minimizes risks. If rewiring is required, only competent, electrically skilled individuals should proceed.
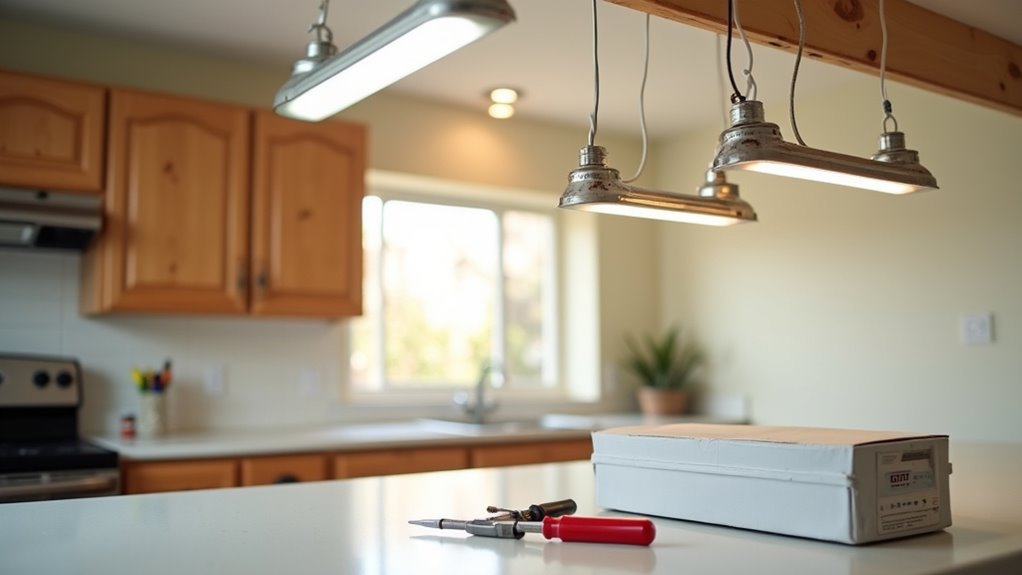
Thorough preparation, including gathering tools such as screwdrivers and voltage testers, ensures the process is conducted with precision and minimal hazard.
Selecting the Right LED Replacement
How does one ensure a successful transition from fluorescent to LED lighting in the kitchen? The key lies in selecting the appropriate LED replacement by evaluating compatibility and performance metrics.
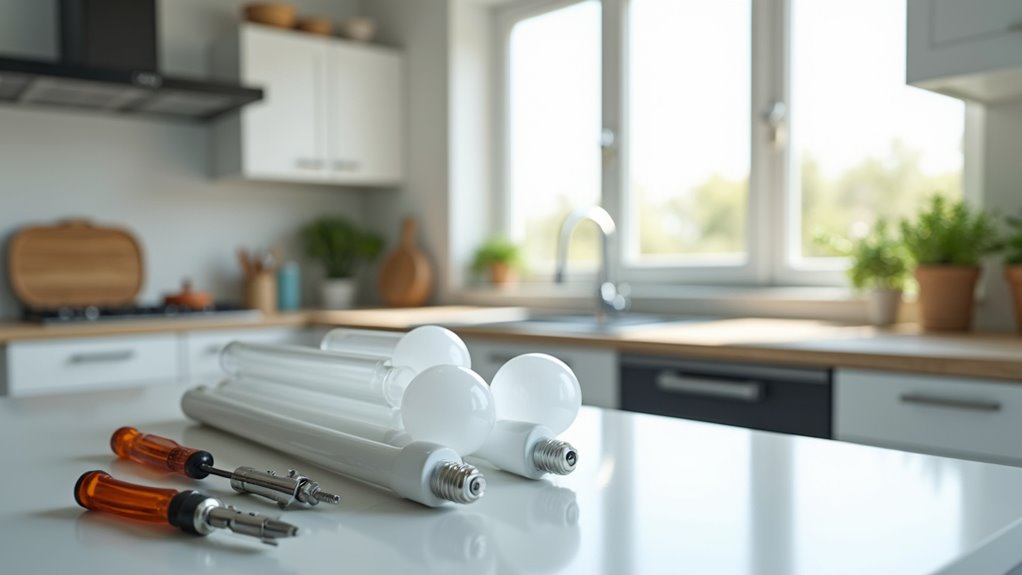
First, identify the existing fluorescent tube type (e.g., T8, T12) and confirm compatibility with LED options like UL Type A (plug-and-play), Type B (ballast bypass), or hybrid models. Safety demands verifying ballast compatibility or opting for direct-wire solutions to eliminate potential failure points.
Start by identifying your fluorescent tube type (T8, T12) and ensure LED compatibility with plug-and-play, ballast bypass, or hybrid options for safety.
Next, prioritize brightness comparison by focusing on lumens, not watts, as LEDs offer superior wattage efficiency. Kitchens typically require 1000-4000 lumens for general lighting, with task areas needing at least 300 lumens per square foot. Select LEDs that match or exceed fluorescent output while consuming less energy, ensuring optimal illumination.
Finally, consider color temperature in Kelvin for desired ambiance, always adhering to manufacturer specifications to prevent electrical hazards during the replacement process.
Executing the Installation Process
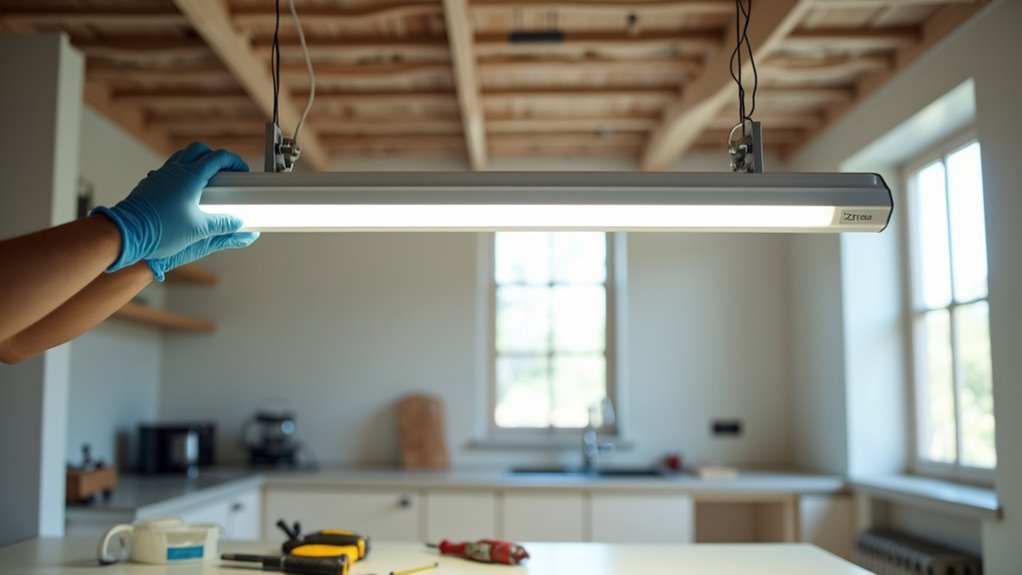
Once the appropriate LED replacement has been selected, the focus shifts to the meticulous task of installing the new lighting system in the kitchen. Safety remains paramount; one must ensure the power is off at the circuit breaker and verify it with a voltage tester before proceeding.
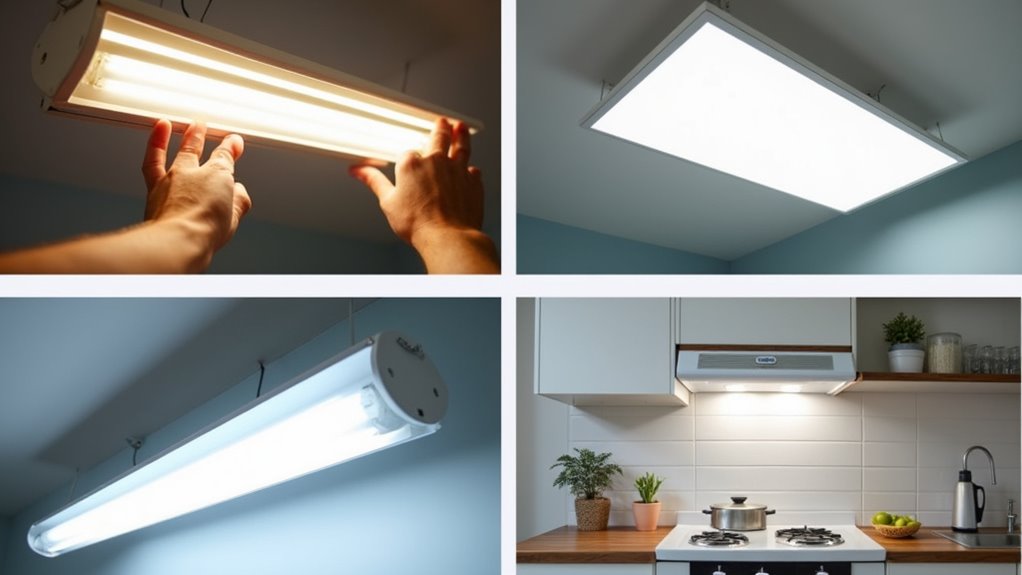
Removing the old fluorescent components, including tubes and ballast, requires careful handling to avoid damage or injury.
Key installation tips include:
- *Securely connect wires using wire nuts, ensuring no bare conductors are exposed.*
- *Verify lampholder compatibility, replacing shunted tombstones with non-shunted ones if needed for LED tubes.*
- *Double-check the orientation of LED tubes, aligning live and neutral ends correctly.*
After rewiring and installing the LED tubes, restore power and test the system.
For troubleshooting issues, inspect connections and ensure proper tube seating if the lights fail to illuminate, maintaining a methodical approach to resolve any discrepancies.