
Installing a dining room light fixture involves five critical steps: first, disconnect power at the circuit breaker and remove the existing fixture using proper safety equipment. Second, carefully unbox and assemble the new fixture while inspecting for damage. Third, secure the mounting bracket to ceiling joists and connect color-coded wires with appropriate nuts. Fourth, attach the fixture and test functionality after restoring power. Fifth, complete finishing touches and conduct comprehensive safety inspections to ensure code compliance and optimal performance.
Key Takeaways
- Turn off power at the circuit breaker and verify elimination using a non-contact voltage tester before removing the old fixture.
- Unbox the new fixture carefully, inspect for damage, and identify color-coded wiring leads for proper electrical connections.
- Install the mounting bracket securely to ceiling joists and connect matching color-coded wires using appropriate wire nuts.
- Position the fixture against the bracket, secure with screws evenly, and attach the ceiling plate to conceal wiring.
- Restore power and test the installation for proper operation, checking for flickering, overheating, or unusual sounds.
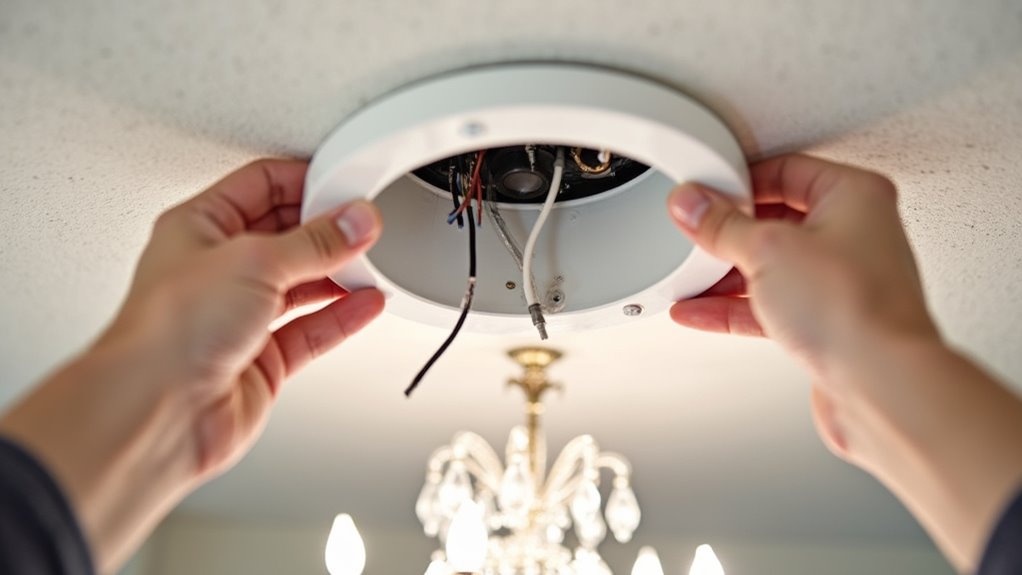
Turn Off Power and Remove Your Old Light Fixture
Electrical safety protocols demand immediate power disconnection at the circuit breaker before any fixture removal begins. A non-contact voltage tester must verify complete power elimination, as wall switches alone cannot guarantee circuit de-energization.
Essential safety tips include wearing protective gloves and eye protection while alerting household members to prevent accidental power restoration.
Fixture removal requires systematic disassembly using appropriate screwdrivers. The decorative canopy must be unscrewed first, exposing wire connections within the ceiling junction box. Wire color coding should be documented before disconnecting: black (hot), white (neutral), and bare or green (ground).
Mounting bracket screws secure the fixture to the ceiling box and require complete removal. The existing junction box must be inspected for structural integrity and weight rating compatibility with the new fixture installation. Consider the fixture’s centering placement over your dining table when evaluating the current electrical box location.
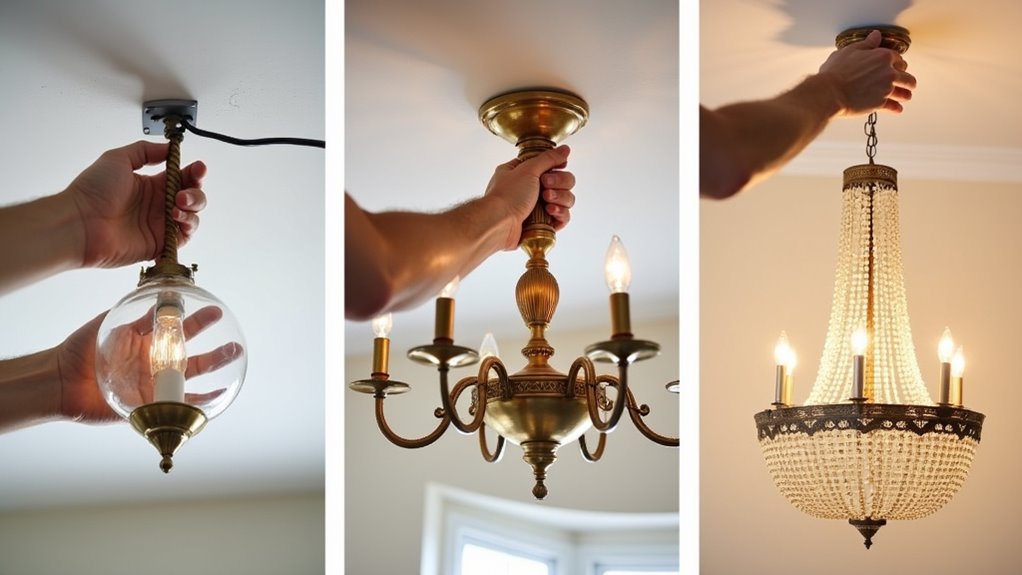
Unbox and Assemble Your New Dining Room Light
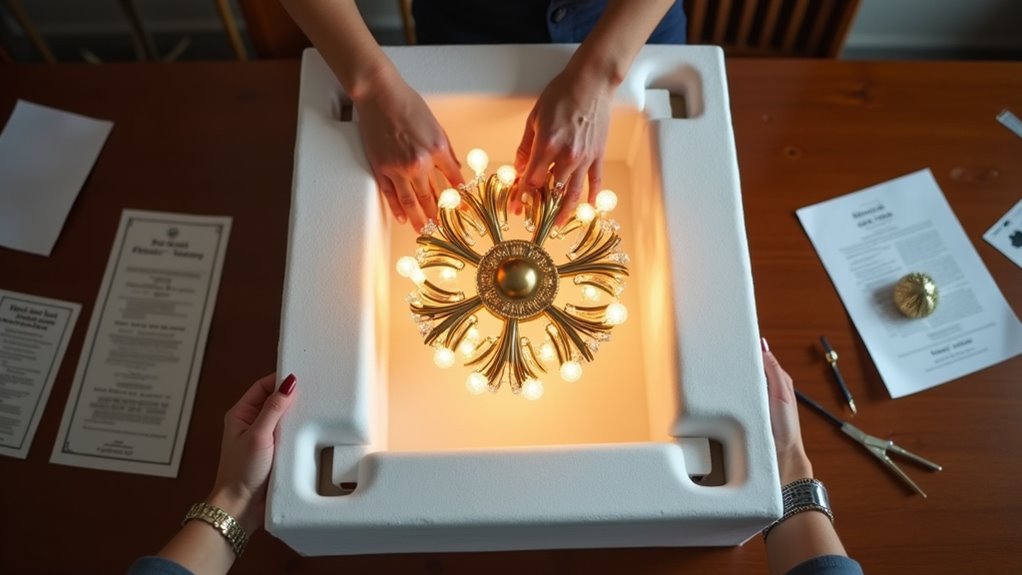
Careful unboxing prevents component damage and ensures all necessary parts are present before assembly begins.
Verify all components against the manufacturer’s checklist, including canopy, mounting bracket, screws, wire connectors, and decorative elements specific to various lighting styles. Inspect fixture materials for shipping damage or defects that could compromise installation integrity.
Prepare components by identifying color-coded wiring leads: ground (bare copper/green), neutral (white/ribbed), and live (black/smooth). Strip wire insulation approximately 1/2 inch for proper electrical contact. Remove protective coverings and shipping restraints from delicate fixture materials.
Thread pendant stems to correct length if applicable. Establish a clean workspace with adequate lighting for component organization. Retain packaging until installation completion.
Read manufacturer instructions thoroughly to understand fixture-specific assembly requirements and ensure code-compliant installation procedures.
For chandeliers with adjustable features, verify the adjustable height mechanism functions properly before proceeding with final installation positioning.
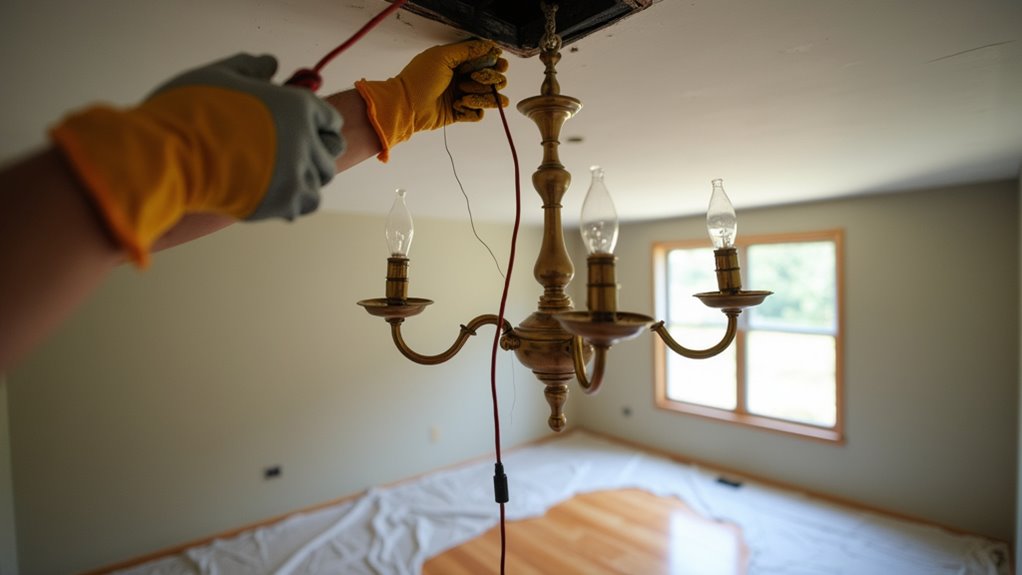
Install the Mounting Bracket and Connect the Wires
Begin by shutting off electrical power at the circuit breaker before proceeding with any wiring connections.
Proper mounting techniques require identifying ceiling joists using a stud finder and ensuring the electrical junction box can support the fixture’s weight. Mark screw hole positions precisely through the mounting bracket before securing it to the ceiling. Installing a proper mounting bracket distributes weight evenly across the mounting surface, preventing potential damage to your ceiling.
Execute these critical steps for safe installation:
- Secure the bracket – Fasten screws into ceiling joists or use appropriate drywall anchors for maximum support.
- Connect wiring safely – Match color-coded wires (black to black, white to white, ground to ground) using wire nuts.
- Finalize connections – Ensure ground wire attaches to the mounting bracket and all connections remain tight.
Wiring safety demands that no copper wire remains exposed and all connections sit compactly within the junction box. Remember to account for ceiling height when determining the final hanging position of your fixture during installation.
Secure the Fixture and Test the Installation

Positioning the light fixture against the mounted bracket requires systematic verification of all connection points before final attachment.
Install manufacturer-supplied screws gradually and evenly to prevent fixture imbalance. Use a level tool to confirm proper alignment while ensuring wiring routes into the junction box without pinching.
For fixtures exceeding 50 pounds, verify weight support capacity of mounting hardware and consider professional installation. Fixture stability depends on proper screw torque—avoid overtightening to prevent ceiling damage.
Attach the ceiling plate to conceal wiring completely within the junction box. Test installation by gently tugging the fixture to detect movement indicating loose hardware.
Restore power and activate the switch to verify electrical functionality. Monitor for several minutes to detect flickering, overheating, or unusual sounds signaling improper installation.
Consider fixtures with adjustable cables for installation flexibility in rooms with varying ceiling heights or architectural configurations.
Add Finishing Touches and Perform Safety Checks

Once the fixture demonstrates electrical functionality and structural stability, installers must complete aesthetic refinements and comprehensive safety verification before considering the project complete.
Decorative enhancements significantly impact the installation’s professional appearance and long-term performance.
Professional finishing touches determine whether an electrical fixture installation appears expertly completed or noticeably amateur in final presentation.
Critical finishing procedures include:
- Hardware Concealment – Install decorative covers, canopy plates, or ceiling medallions to conceal mounting hardware while ensuring all screws remain properly secured without overtightening.
- Component Inspection – Verify all glass or crystal elements are clean, undamaged, and properly seated before final assembly.
- Electrical Compliance – Conduct comprehensive safety checks using voltage testers to confirm proper grounding, appropriate circuit protection, and code-compliant wiring connections.
Proper fixture maintenance begins with selecting bulbs matching recommended specifications and establishing regular inspection schedules to ensure continued electrical safety and optimal performance throughout the fixture’s operational lifespan.


