
Replacing a kitchen ceiling light fixture involves several essential steps to ensure safety and proper installation. First, turn off the power and gather necessary tools. Remove the old fixture carefully and inspect the wiring for any damage. Secure the new fixture’s mounting bracket, connect the wiring, and attach the fixture. After installing the light bulbs, restore power and test the fixture for functionality. Following these steps guarantees a successful replacement, and there are additional tips worth exploring.
Key Takeaways
- Always turn off the power at the circuit breaker and verify with a voltage tester before starting the installation.
- Carefully remove the old fixture, documenting wiring connections for reference, and ensure safety gear is worn.
- Inspect all electrical wiring for damage and compatibility before connecting the new fixture.
- Securely mount the new fixture to the ceiling, ensuring proper alignment and tucking in wires safely.
- After installation, restore power and test the fixture, checking for any unusual issues like flickering or noise.
Preparation and Safety

When replacing a kitchen ceiling light fixture, ensuring proper preparation and safety is crucial. First, turn off the power at the circuit breaker and use a voltage tester to confirm that electricity is not flowing. It is essential to wear safety equipment, such as safety glasses and insulated gloves, to prevent accidents. Turning off power is a vital step that should never be overlooked before handling electrical fixtures. Additionally, inspect the electrical box for weight support of the new fixture to ensure safe installation.
The workspace should be clear and dry, with a protective covering laid down to catch debris. Inspect the new fixture for damage and ensure compatibility with existing wiring, adhering to local electrical codes. Use appropriate tools, like screwdrivers and wire strippers, while having an assistant present for heavier fixtures. If at any point uncertainty arises about the wiring or installation, consulting a qualified electrician is advisable.
Removing Old Fixture

Before removing the old fixture, it is essential to prioritize safety by ensuring the power is off and utilizing appropriate tools.
This section will outline the techniques for disconnecting electrical wiring and appropriately detaching the fixture from the ceiling.
Proper methods will help facilitate a smoother removal process and prepare for the new installation.
Safety First Steps
Ensuring safety is paramount when removing an old kitchen ceiling light fixture, as electrical work involves inherent risks.
Before starting, gather safety gear such as eye protection and work gloves. First, locate the circuit breaker panel and switch off the breaker for the kitchen light.
Apply tape over the breaker switch to prevent accidental activation, and use a non-contact voltage tester on the fixture wires to confirm that power is off. Clear the work area of any obstacles, ensuring children’s and pets’ safety.
Additionally, prepare to support the fixture’s weight during its detachment. Properly following these safety first steps will minimize potential electrical hazards and create a secure environment for the task at hand.
Disconnecting Electrical Wiring
Disconnecting the electrical wiring from the old kitchen ceiling light fixture requires careful attention to detail to ensure a safe transition.
First, it is essential to identify the wire colors: black (hot), white (neutral), and green or bare copper (ground). Document the original wiring by taking a picture or labeling wires with masking tape, enhancing wiring safety during reconnections.
When disconnecting wire connectors, firmly grasp the wire nuts and gently pull them apart, avoiding any strain on the wires themselves.
After removing the fixture, cap any exposed ceiling wire ends with wire nuts to prevent accidental contact.
Always verify there is no current by using a voltage tester, ensuring safety throughout the disconnection process.
Fixture Removal Techniques
After successfully disconnecting the electrical wiring from the old kitchen ceiling light fixture, the focus shifts to removing the fixture itself.
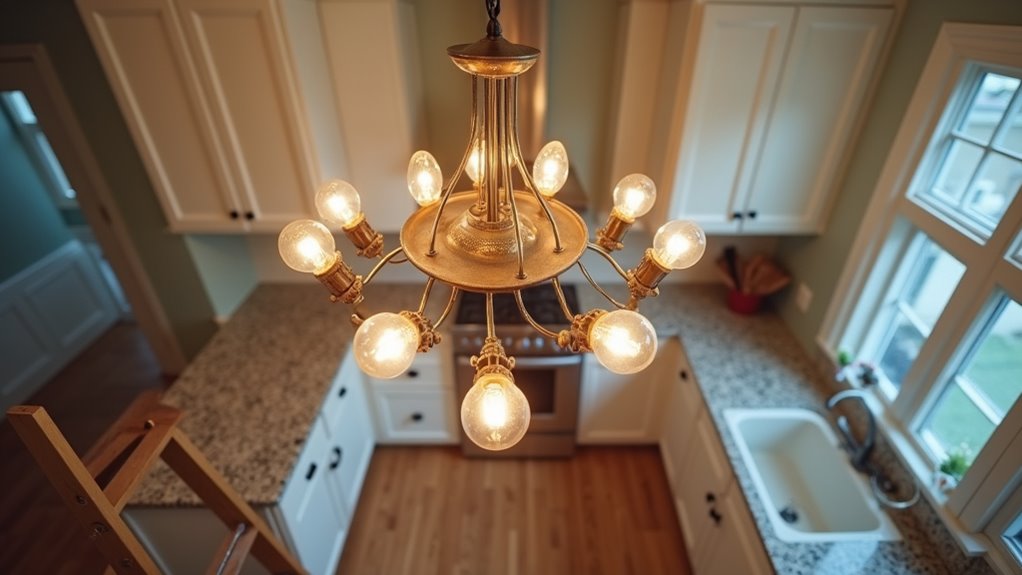
First, the individual must identify the fixture type—whether it be flush-mount, pendant, or chandelier—as this determines the removal techniques required.
Begin by removing any globe or cover over the bulbs, either by twisting or unscrewing. Next, support the fixture’s weight and locate screws connecting it to the mounting bracket.
For more complex fixtures, such as chandeliers, consulting specific guidance is advisable. Hidden clips or a rotational technique may also be necessary for secure attachments.
Once detached, carefully lower the fixture, check for any ceiling damage, and remove the old mounting strap to prepare for the new installation.
Inspecting and Preparing Wires

Before proceeding with the installation of a new kitchen ceiling light fixture, it is essential to thoroughly inspect and prepare the existing wires to ensure safety and compatibility.
The first step involves turning off the power at the circuit breaker and confirming it is off using a voltage tester. Homeowners should document existing wire connections, noting the wire colors—typically black, white, and green/bare copper.
Inspect wires for any signs of damage, such as fraying or burnt insulation, and ensure there are no loose connections. If any wire damage is found, it may be necessary to cut and strip the wire ends before preparation.
Ensuring wire compatibility and checking the integrity of the electrical box are crucial before proceeding with the installation.
Installing New Fixture Mounting

As the installation of the new kitchen ceiling light fixture progresses, the first step involves securely mounting the fixture’s bracket, which is critical for ensuring both stability and safety.
Proper mounting is essential to prevent hazards and accommodate the fixture’s weight. Various mounting bracket types are available, tailored for different fixture styles and weights. Conduct a thorough inspection of the existing fluorescent fixture if replacing it with a new one, ensuring there are no underlying issues affecting the installation.
Ensuring proper mounting is crucial for safety and stability, with various brackets designed for different fixture weights and styles.
- Inspect the ceiling electrical box for secure fastening.
- Select the appropriate bracket type based on fixture weight considerations.
- Align the bracket with the electrical box and, if possible, a ceiling joist.
- Mark screw hole positions, drilling pilot holes as needed.
- Secure the mounting bracket level, ensuring it does not wobble or shift.
When installing under-cabinet lighting, make sure to clean surfaces properly, like the undersides of cabinets, to ensure strong adhesion for any components. Taking these precautions will contribute to a reliable and aesthetically pleasing installation.
Wiring New Fixture

With the mounting bracket securely in place, attention now shifts to wiring the new ceiling light fixture. Safety precautions dictate that power should be turned off, and a voltage tester confirms the absence of current.
Existing wiring should be examined, noting wire colors—black (hot), white (neutral), and green or bare copper (ground). The fixture wires are then connected to ceiling wires by matching colors, ensuring secure connections with appropriately sized wire connectors.
If wire color codes are unclear, using a voltage tester might identify the hot wire. Additionally, it’s vital to consider wire gauge and circuit load compatibility to prevent overheating and ensure safety.
Finally, all connections should be tucked neatly into the electrical box.
Securing Fixture and Final Steps

After ensuring that all wires are securely tucked to one side of the mounting strap, the fixture base can be attached firmly against the ceiling to prevent any wobbling. Incorporating energy-efficient bulbs can lower consumption and enhance durability in your kitchen lighting setup. Following this, the installation of light bulbs should be carried out by selecting the appropriate wattage and securely screwing them in without over-tightening. LED bulbs are a great choice here, as they can last up to 100,000 hours, significantly reducing the need for frequent replacements. Finally, restoring power and testing the fixture ensures that everything functions as intended.
Tucking Wires Securely
While securing the light fixture, it is essential to tuck the wires neatly into the electrical box to ensure a safe and professional finish. Proper wire management not only enhances the aesthetic but also significantly contributes to electrical safety.
Following these guidelines will aid in effectively tucking wires:
- Carefully push connected wires into the box and align them neatly.
- Avoid sharp bends or kinks which may damage insulation.
- Ensure that no bare copper is exposed below the wire nuts.
- Use available space in the fixture canopy for extra wire length.
- Double-check that wires are not pinched between the fixture and mounting bracket.
Attaching Fixture Base
Attaching the fixture base marks a crucial phase in the installation process, as it secures the new light fixture to the ceiling.
First, the mounting bracket should be secured to the electrical box using the provided screws, ensuring mounting stability.
After positioning the fixture over the bracket, the installer must check for proper fixture alignment by matching the screw holes on the fixture base with those on the mounting bracket.
Fastening the fixture securely with screws is essential, and levelling it before tightening is crucial for optimal appearance.
Once securely attached, any visible hardware can be covered by the fixture’s canopy.
Finally, a thorough check is necessary to confirm that all screws are tight and the fixture is firmly in place.
Installing Light Bulbs
Installing light bulbs in the newly mounted fixture is the next step in completing the lighting upgrade. It is crucial to select appropriate bulb types and color temperature to enhance the kitchen’s ambiance. Before installing, ensure the power is off.
When inserting the bulbs, the following considerations should be made:
- Refer to the fixture instructions for wattage and bulb type.
- Handle bulbs carefully to avoid oil contamination, particularly with halogen bulbs.
- Screw bulbs gently into place without over-tightening.
- Confirm that the bulb base type matches the fixture sockets.
- Select bulbs that fit the fixture design and light distribution needs.
After securing all bulbs, restore power and test the fixture to ensure proper functionality.
Installing Light Bulbs

Before starting the installation of light bulbs, it is essential to ensure that all safety precautions are followed. This includes turning off the power and confirming it is off with a voltage tester. Selecting the right bulb also depends on compatibility with the fixture. Opt for bulbs like LED or CFL for energy efficiency and ensure they match the fixture’s maximum wattage. Proper installation requires the bulb to be seated securely. In the case of screw-in bulbs, turn them until snug, and for pin-base bulbs, align and secure them appropriately.
| Bulb Type | Recommended Use |
|---|---|
| LED | Energy-efficient lighting |
| CFL | General use with efficiency |
| Halogen | Bright, warm lighting |
| Incandescent | Traditional, less efficient |
Attaching Decorative Parts

Completing the installation of a kitchen ceiling light fixture often hinges on the careful attachment of decorative parts, which not only enhance the fixture’s aesthetics but also ensure a secure fit.
Different types of decorative elements require specific installation tips for optimal results.
- Ceiling medallions can mask ceiling imperfections and provide an elegant touch.
- Shades and diffusers should be securely fastened to prevent accidents.
- Canopies and cover plates must be flush against the ceiling for a streamlined look.
- Chains, rods, or cords allow for height customization; ensure their security.
- Finishing touches like finials should be aligned properly for a polished appearance.
Restoring Power

After ensuring that the kitchen light fixture is securely installed, the next step involves restoring power.
This begins by turning on the circuit breaker that controls the new fixture, followed by testing for voltage to confirm the light is receiving power.
Finally, checking the fixture operation will verify that it illuminates correctly and functions as intended.
Turn on Breaker
With safety precautions in place, the next step involves restoring power to the kitchen ceiling light fixture by turning on the designated breaker.
Prior to this action, it is crucial to ensure that all light switches and appliances on that circuit are turned off. The person should stand to the side when flipping the switch to enhance breaker safety and minimize risk from potential sparks.
Using one hand, the breaker can be flipped firmly from the “OFF” position to the “ON” position, listening for a click that confirms it is reset properly.
- Verify the main power is off before beginning.
- Use insulated gloves and safety glasses.
- Keep the area around the panel clear of debris.
- Inspect the panel for damage before activation.
- Ensure hands and feet are dry to prevent shocks.
Test for Voltage
Restoring power to the kitchen ceiling light fixture requires verifying the presence of voltage to ensure everything is functioning correctly.
Before conducting circuit testing, the voltage tester’s functionality must be confirmed on a known live source, either an outlet or light socket. For non-contact voltage detection, the tester should be held near the fixture’s wiring; a beep or light indicates voltage presence.
Alternatively, a multimeter can be used by adjusting it to measure AC voltage and carefully probing the hot and neutral wires. A reading of around 120V confirms power is restored.
Should no voltage be detected, inspecting the breaker and switch for issues is crucial, as gaps could suggest wiring problems or faulty connections.
Check Fixture Operation
Once power is restored, it is essential to check the operation of the newly installed ceiling light fixture. This step confirms that all connections were made correctly and that the fixture is compatible with the existing electrical setup.
- Listen for any unusual noises, which may indicate wiring issues.
- Observe for flickering, a sign of loose connections or incompatible dimmer switches.
- Check if the fixture feels excessively warm, suggesting overheating problems.
- Ensure all light bulbs are securely installed and are of the correct type.
- If issues arise, employ basic troubleshooting techniques before seeking professional assistance.
Concluding this step ensures that the installation was successful and that safety measures are upheld.
Testing the New Fixture

Testing the new light fixture is a crucial step to ensure both functionality and safety after installation.
First, verify fixture compatibility by ensuring the voltage and wattage ratings match the circuit and bulbs. Prior to connection, conduct safety measures such as turning off power at the circuit breaker and confirming it’s off with voltage testing.
Next, inspect the fixture for physical damage and check wiring integrity, ensuring no frayed wires or loose connections.
After securing the fixture, restore power and test the switch to confirm it illuminates correctly. Observe for flickering, buzzing, or overheating issues that may indicate problems.
Immediate action should be taken if anomalies arise, including turning off the power and reassessing connections for safety.