
Wiring a bathroom vent fan and light involves a series of essential steps. First, ensure safety by turning off the power and wearing protective gear. Next, assess electrical needs and local code compliance. Remove the old fixture and prepare the ceiling opening. Mount the new housing securely, followed by wiring the fan and light according to manufacturer specifications. Finally, test the installation for proper function and ensure adequate ventilation. Further insights will provide comprehensive guidance.
Key Takeaways
- Turn off the circuit breaker and confirm zero voltage using a voltage tester before beginning any wiring work.
- Disconnect existing wiring and document connections before removing the old fixture for proper installation of the new unit.
- Secure the fan housing to the ceiling joists, ensuring it is level and aligned for proper airflow.
- Identify and connect the fan and light wires according to the manufacturer’s wiring diagram for correct functionality.
- Restore power and test the fan and light operation, ensuring proper function and checks for any abnormal noises.
Safety First: Pre-Wiring Essentials
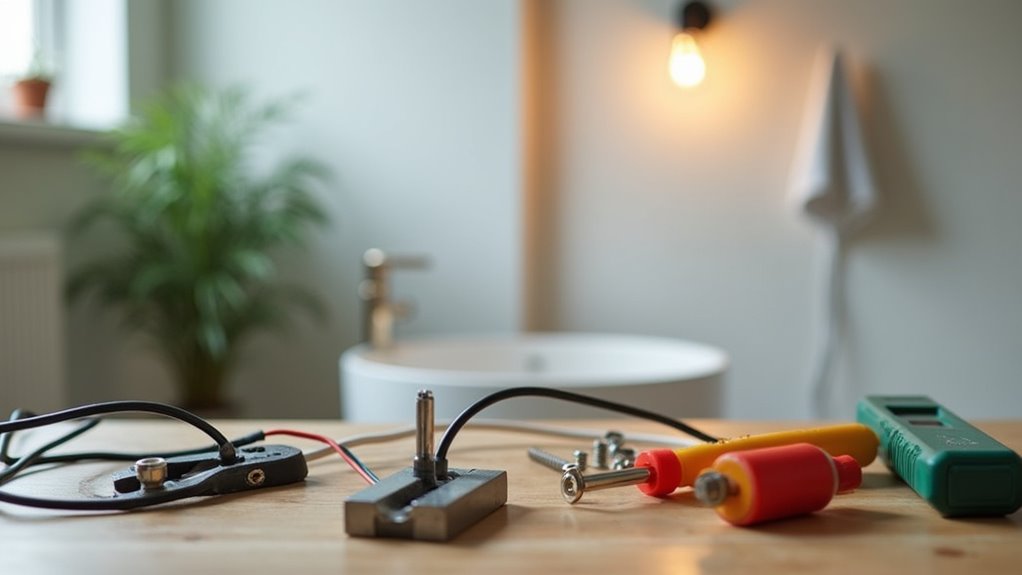
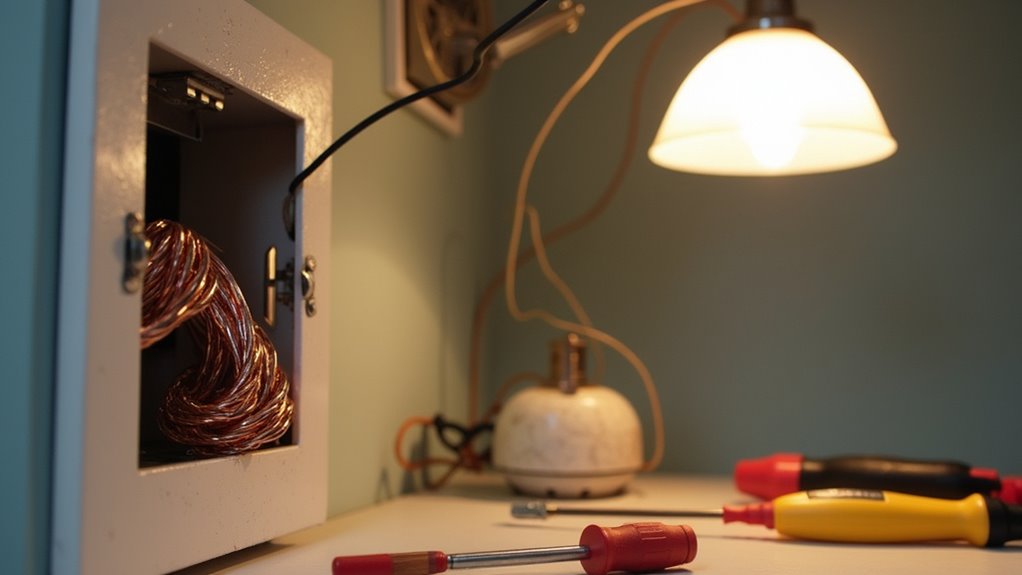
First, turn off the circuit breaker or main power, and confirm zero voltage using a voltage tester. Employ safety equipment, including goggles, gloves, and a dust mask, to minimize risks. Utilize a sturdy ladder for access and confirm tools like screwdrivers and wire strippers are functional. Inspect the installation area for existing electrical hazards, including damaged wiring or moisture issues. Additionally, a bathroom exhaust fan is essential to prevent mold and mildew caused by excess moisture. Clear the workspace and provide sufficient lighting, while keeping a fire extinguisher accessible. Additionally, ensure that safety protocols are followed to avoid electrical shock during the installation. Finally, review installation instructions and confirm that all necessary precautions are in place. If uncertainties arise, consult a qualified electrician to mitigate the risk of electrical hazards.
Planning Electrical Needs and Code Compliance
Planning the electrical needs for a bathroom vent fan and light involves careful assessment of wattage, circuit requirements, and compliance with local and national regulations.
The total circuit load must be calculated by summing the wattage of all devices on the circuit while adhering to the 80% rule for safety. Dedicated 20-amp circuits are generally required for bathroom outlets, with specific provisions for fan and lighting combinations.
Code verification is essential to ensure compliance with the National Electrical Code (NEC) and local amendments, particularly regarding GFCI protection, fixture ratings, and dedicated circuits.
A thorough understanding of local codes can influence ventilation standards, potentially necessitating permits for installation, ensuring both safety and adherence to legal requirements.
Removing Old Fixture and Preparing Opening
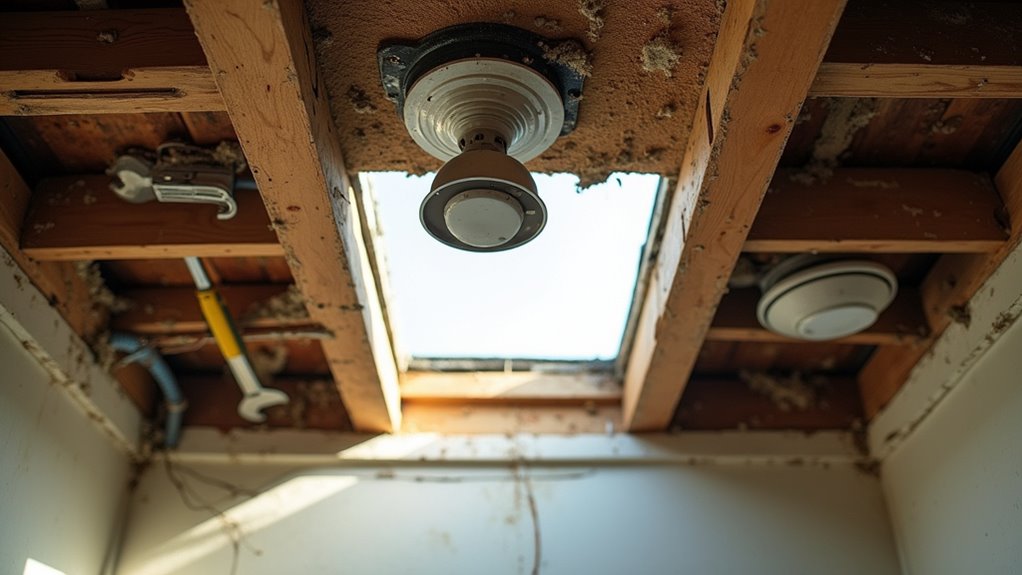
With the old fixture removed, attention turns to disconnecting the existing wiring and marking the new fixture’s location.
It is essential to accurately document the wire connections to ensure correct installation of the new unit.
Additionally, proper placement is critical; the new location should be marked to accommodate any necessary adjustments to the ceiling opening.
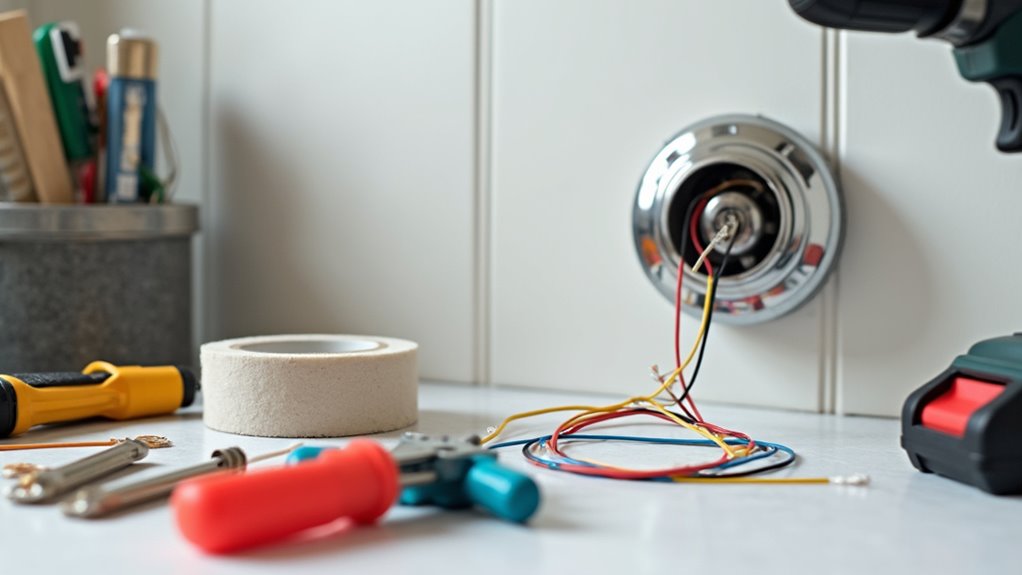
Disconnecting Old Wiring
To disconnect the old wiring for the bathroom fan and light, the existing fixture must first be safely removed.
Following wiring safety protocols, the circuit breaker should be turned off, and a voltage tester enforced to ensure no power is present.
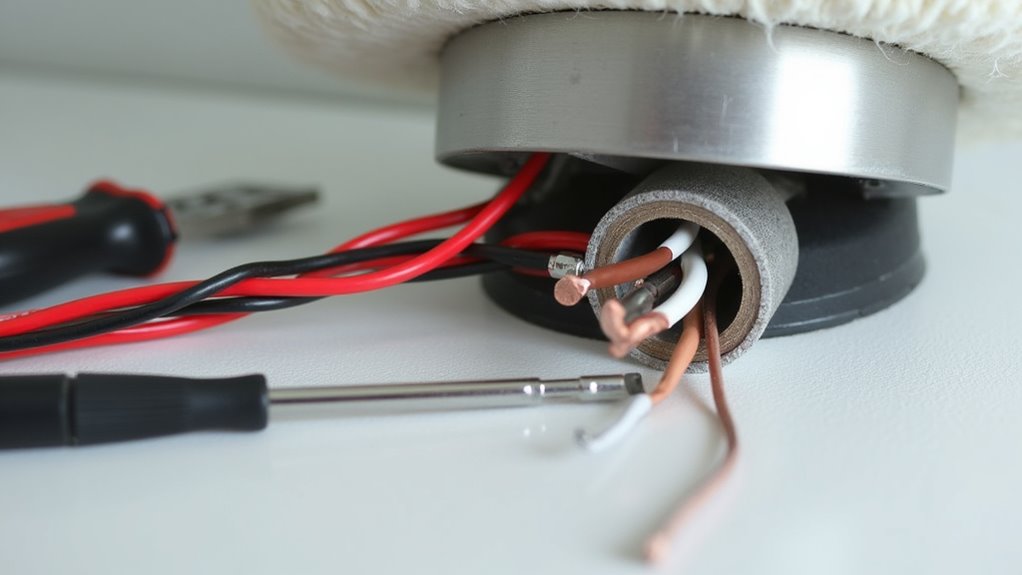
The old fixture’s wiring techniques involve accessing the junction box, documenting the connections, and untwisting wire connectors to separate the house wires from the fixture wires.
Care should be taken when removing the fixture housing, checking its attachments and loosening cable clamps.
After safely detaching the old duct pipe, the surrounding area must be inspected for any damage.
Preparation for the new installation may include cutting drywall if the new housing differs in size from the old.
Marking New Location
Careful marking of the new location for the bathroom vent fan and light is essential to ensure a successful installation. Optimal fan placement is typically between the shower and toilet, promoting effective air circulation.
Prior to marking, a stud finder should be used to ascertain ceiling joist alignment, ensuring the fan mounts securely. Utilizing the new fan housing or a manufacturer-provided template, trace the opening on the ceiling. If no template is available, measure the new fan’s intake port to confirm hole dimensions. For verification, a reference hole may be drilled at the center. After marking, cut the ceiling to accommodate the new fixture, ensuring all edges are smooth and debris cleared from the workspace to facilitate a seamless installation. Additionally, ensure proper electrical grounding of components to prevent shocks during installation. It is crucial to choose a fan model with a quiet operation feature for enhanced comfort during use.
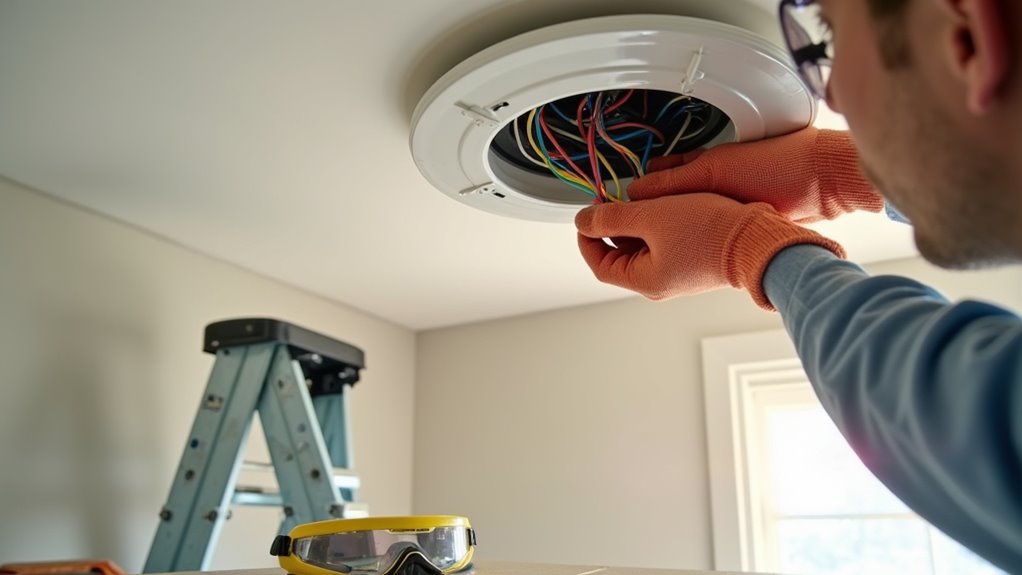
Mounting the New Fan/Light Housing
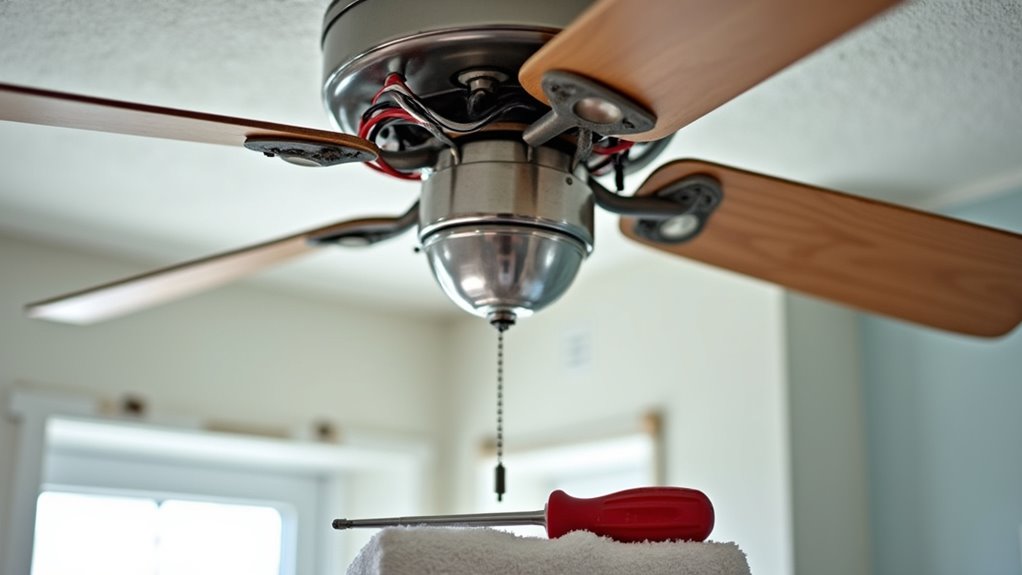
The mounting process of the new fan/light housing involves securing the housing firmly to the ceiling joists and ensuring proper alignment of the ductwork.
This requires placing the fan housing level with the finished ceiling while extending mounting brackets to meet the joists.
Correct orientation of the housing is also crucial, as it must facilitate a direct and efficient connection to the ducting system.
Securing Fan Housing
Securing the fan housing requires precision and attention to alignment to ensure optimal functionality and aesthetics. The fan housing should be positioned between joists, utilizing proper mounting techniques to achieve a flush fit with the finished ceiling.
For wider joist spacing, additional wood supports may be necessary. The installation begins by sliding metal brackets into the tabs on the fan housing, then fully extending these brackets to contact the joists. Fastening should be done using 1 ½-inch screws or nails, ensuring stability.
If no joist is available, adding lumber offers a secure anchoring point. Final checks confirm the housing is level, secure, and free from obstructions, fulfilling safety and operational criteria before completion.
Ensuring Ductwork Alignment
Successfully securing the fan housing lays the groundwork for ensuring proper ductwork alignment. The duct alignment must be optimized to enhance airflow efficiency.
Prior to installation, verify the existing ductwork’s condition, size compatibility, and ensure it vents completely outside. Position the new fan housing’s outlet closely aligned with the existing duct run to minimize bends, which can impede airflow.
Use a flexible duct to bridge slight misalignments, while avoiding sharp turns. Attach the duct securely to the fan housing with fasteners, sealing the connection with tape or mastic to prevent air leaks.
Proper adjustments maintain the required duct diameter and slope, ensuring that any changes contribute effectively to the overall ventilation system’s performance. Additionally, consider energy efficiency to maximize the effectiveness of your heating and lighting solutions in the bathroom.
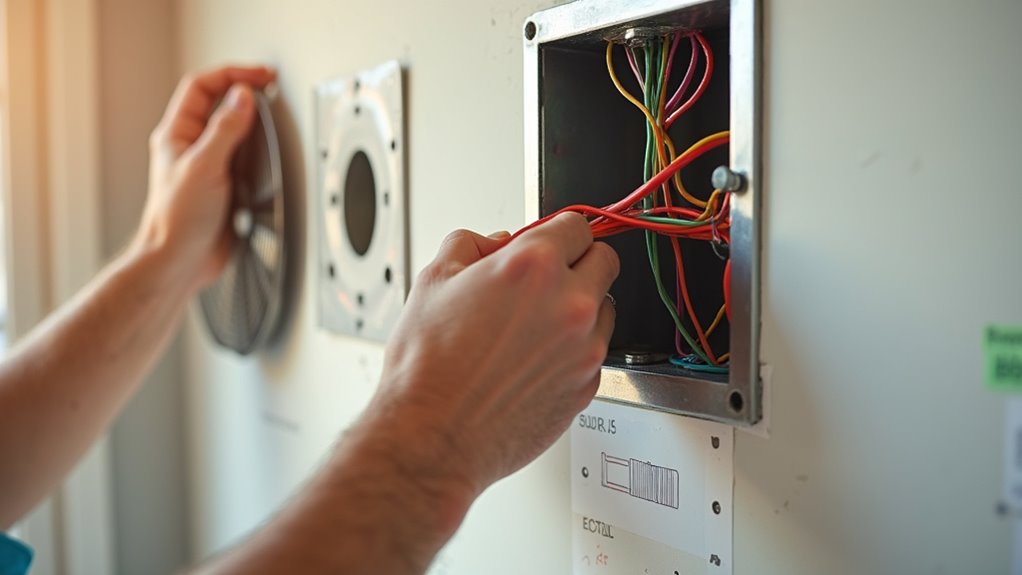
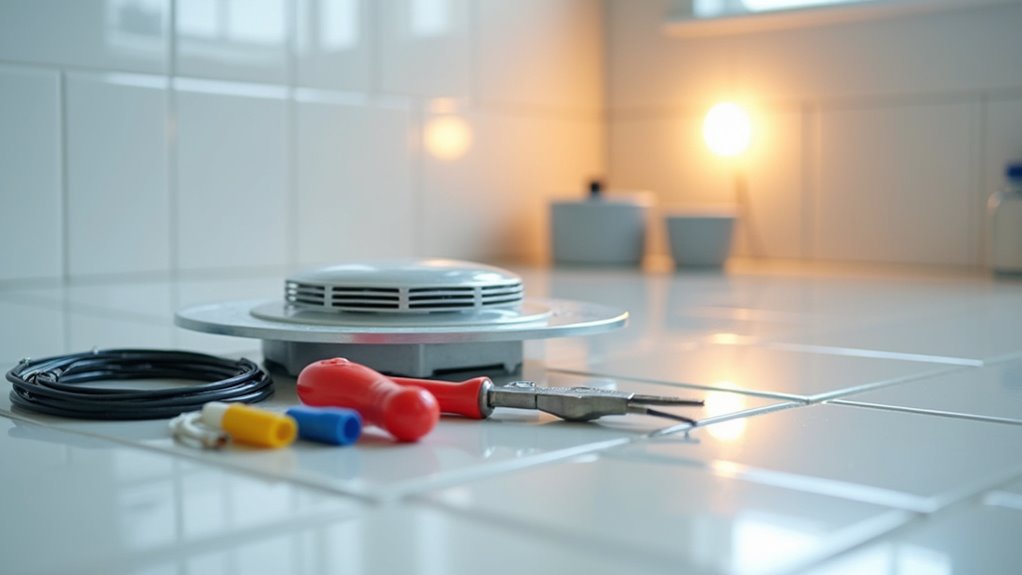
Wiring the Fan and Light
Wiring the fan and light in a bathroom requires careful attention to the specific connections for optimal functionality.
Proper fan wire identification involves recognizing separate wires: typically, black for the fan, blue or brown for the main light, and potentially another color for a nightlight. The white wire serves as the neutral, while the green or bare copper wire is for grounding.
For single switch control, the fan’s hot wire (e.g., black) and light’s hot wire (e.g., blue) must be joined to the switched hot wire. Neutral wires should all connect together, and ground wires must be combined securely.
Following the manufacturer’s wiring diagram is essential, especially when handling varying wire colors or additional features such as nightlights.
Connecting to the Power Supply
Properly connecting to the power supply is a vital next step following the wiring of the fan and light. First, it is essential to determine suitable power sources, such as existing light fixtures or GFCI-protected outlets.
It must be verified that the selected circuit can handle the additional load, potentially requiring load calculations to ensure compliance with safety standards. Typically, bathroom circuits need a 15-amp or 20-amp breaker, with specific wire gauges (e.g., 14-gauge for 15-amp) used appropriately.
Grounding is also critical; the ground wire should connect securely to the fan/light unit. If additional circuits are necessary, ensure they align with local codes and regulations, and consider consulting a qualified electrician for clarity and safety.
Finalizing Installation and Testing
Finalizing the installation of a bathroom vent fan and light requires meticulous attention to detail to ensure optimal performance and safety.
Finalizing a bathroom vent fan and light installation demands careful attention to detail for safety and peak performance.
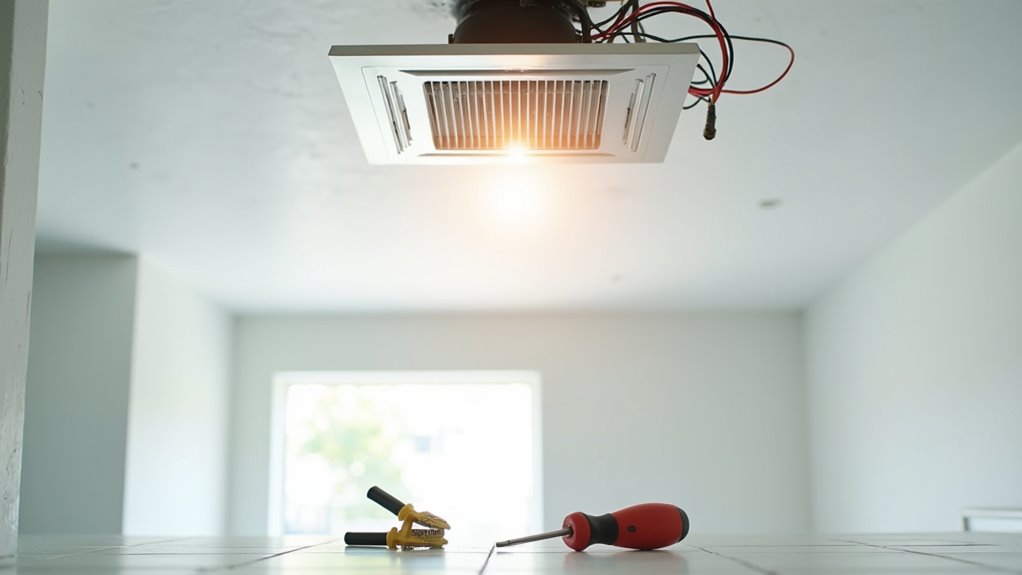
First, the grille attachment must be secured properly, ensuring it is snug against the ceiling and does not obstruct airflow or light. After confirming that all wiring connections are secure and the power is off at the circuit breaker, the following steps should be performed:
- Restore power and activate the fan and light switches.
- Conduct airflow testing by observing if a piece of tissue is held against the grille.
- Listen for any abnormal noises, indicating possible installation issues.
These final checks are crucial for confirming that the fan operates efficiently and safely within the bathroom environment.
Ensuring Proper Ventilation
Ensuring effective ventilation in a bathroom is essential, as inadequate airflow can lead to a variety of issues ranging from mold growth to compromised air quality. Proper ventilation offers numerous benefits, including moisture control, which prevents excessive accumulation and condensation on surfaces.
This not only inhibits mold and mildew growth but also helps maintain occupant health and comfort by reducing lingering odors. Furthermore, compliance with building codes often demands specified minimum airflow rates to protect fixtures and structural elements from moisture damage.
Thus, adequately sizing and installing ventilation systems are crucial to improving overall indoor air quality and safeguarding both occupants and the integrity of the bathroom environment. Implementing effective ventilation is an investment in long-term health and maintenance.
Choosing the Right Switches and Controls
In choosing switches and controls for bathroom ventilation, the configuration of single versus double switches plays a crucial role in functionality.
Single switches allow combined control of the fan and light, while double switches enable independent operation of each fixture.
Additionally, fan speed controls can further enhance user convenience by providing adjustable airflow based on bathroom needs.
Single vs. Double Switches
When deciding between single and double switch configurations for a bathroom vent fan and light, one must consider the desired level of control and functionality. The choice impacts energy consumption, ease of use, and ventilation needs.
- Single switch efficiency: Controls both fixtures together, ensuring the fan operates whenever the light is on, beneficial for preventing mold.
- Double switch flexibility: Offers independent operation, allowing the user to run the fan or light separately, potentially saving energy when the fan isn’t needed.
- Existing wiring: The current wiring structure might limit options, with a single switch being easier to implement in some older setups.
Ultimately, the decision should align with user preferences and specific bathroom requirements.
Fan Speed Controls
Selecting appropriate fan speed controls is crucial for optimizing the performance of bathroom vent fans. Various fan control types, such as rotary dials, slide switches, and digital controls, offer distinct advantages.
Rotary dials provide variable speed adjustments, while slide controls allow for fine speed modulation with preset ON/OFF functions. Digital controls enhance functionality with multiple speed settings and integration with humidity sensors, ensuring automatic fan activation based on moisture levels.
Timer configurations support pre-set operation durations, helping manage humidity effectively. Compatibility considerations, including motor type and load rating, must also be evaluated to prevent damage.
Ultimately, selecting the right speed control enhances ventilation efficiency and maintains a comfortable bathroom environment.
Maintenance Tips for Long-lasting Performance
How can homeowners ensure the long-lasting performance of their bathroom vent fan and light? Adhering to a strict maintenance schedule is crucial for prolonging fan lifespan and ensuring optimal functionality. Regular cleaning and inspections can prevent common issues.
- Clean fan and light components: Remove dust with a vacuum and wash covers as per manufacturer guidelines.
- Inspect motor and ductwork: Listen for unusual noises, check for blockages, and ensure secure connections.
- Monitor electrical performance: Perform the “toilet paper test” regularly and address any wiring issues promptly.