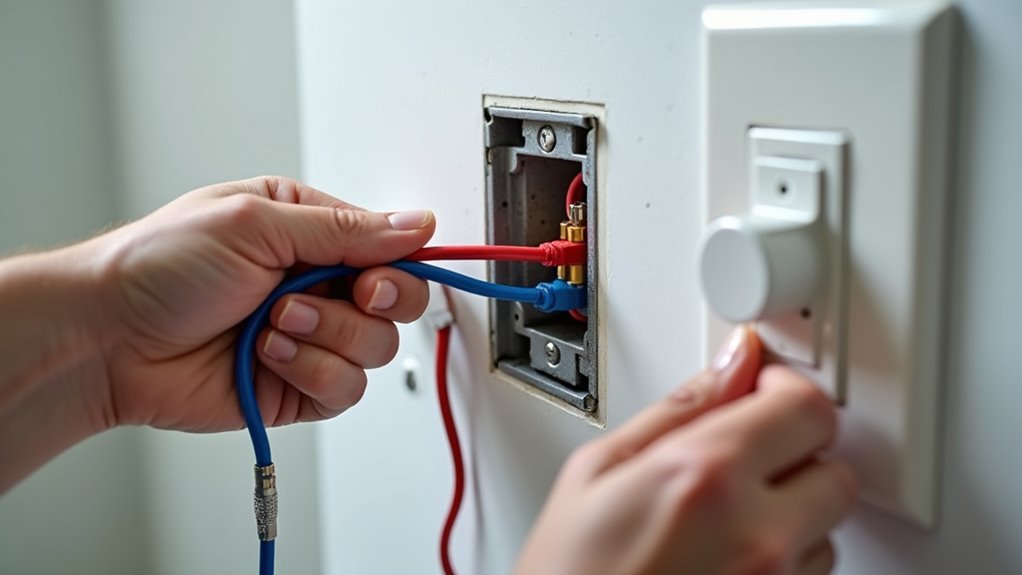
Wiring a bathroom fan and light with two switches involves systematic preparation. First, ensure safety by turning off the power and testing for electrical current. If necessary, run new cable, keeping proper distance from edges and securing it adequately. Connect relevant wires at the fan/light unit and dual switch box, ensuring accurate identification and secure connections. Finally, verify all connections and test the system for functionality. Further details on each step are outlined for clarity.
Key Takeaways
- Turn off power, test with a voltage tester, and wear safety gear before starting any wiring work.
- Run cable from the power source to the fan/light unit, ensuring proper spacing and securing it as required.
- Connect the fan’s hot wire to the switch’s black wire, and the light’s hot wire to the second switch wire.
- At the switch box, use pigtails for switch connections, ensuring all grounds are securely connected.
- Restore power, test switches independently, and check for proper functioning of the fan and light.
Pre-Installation Preparations & Safety

Safety is paramount in any electrical installation project, particularly in moisture-prone areas like bathrooms.
Prior to commencing any work, it is essential to turn off the power at the circuit breaker or fuse box, followed by testing with a non-contact voltage tester to confirm the absence of electrical current.
Always turn off power at the circuit breaker and test with a non-contact voltage tester before starting any electrical work.
Utilizing appropriate safety precautions, such as wearing safety glasses and gloves to mitigate debris and electrical hazards, is critical. Consulting local regulations regarding electrical work can also help ensure that your installation meets the necessary safety standards. Additionally, assessing the home’s structural layout is important to determine the ideal positioning for fan and vent placement. The workspace must be dry and free of standing water. For those inexperienced with wiring, consulting a qualified electrician is advisable.
Gathering necessary electrical tools – including a drill, screwdrivers, and wire strippers – ensures all preparations align with compliance to local codes and safeguards against potential risks during installation.
Running New Cable (If Necessary)

After confirming the workspace is safe and prepared, running new cable may be necessary to connect the bathroom fan and light. Effective cable routing is essential; the installer must determine the most direct path, avoiding obstructions like plumbing or existing wiring. Drill techniques are critical; select appropriate bits and ensure holes are centrally located in framing members, maintaining a distance of at least 1-1/4 inches from edges to protect the cable. Consistent height for drilled holes aids in smoother cable pulling. Use tools such as fish tape to guide the new wire through cavities, ensuring sufficient slack at both ends for connections. Securing the switch against moisture and ensuring proper grounding are critical for safe installation. Secure the cable at intervals not exceeding 4 ½ feet to comply with safety standards.
Wiring at the Fan/Light Unit

When wiring at the fan and light unit, it is essential to identify each wire correctly to ensure proper functionality and safety. Typically, a black wire powers the fan while a blue or red wire powers the light, according to standard wire color codes. Ensure all white neutral wires are interconnected and securely connected using a wire nut to complete the circuit for both functions. The fan’s hot wire connects to the switch’s black wire, while the light’s hot wire connects to the second switch wire (red or second black). Additionally, a green or bare copper ground wire from the power supply should be securely linked to the unit’s ground. Securing fan housing is critical to ensure a flush fit with the ceiling and to facilitate efficient connection to ducting. Proper fixture connections are vital for safe operation.
Wiring at the Dual Switch Box

Before beginning the wiring process at the dual switch box, it is critical to ensure that all preparations are completed. The incoming power source should run through the appropriate wire types, such as 12/3 or 14/3 cable. Proper switch configurations are pivotal for functionality.
| Step | Details | Tools Needed |
|---|---|---|
| Power Off | Turn off circuit breaker | Voltage tester |
| Verify Connections | Test wires with a voltage tester | Voltage tester |
| Wire Configuring | Create pigtails to connect switches | Wire connectors, pliers |
| Grounding | Connect ground wires and pigtails | Wire connectors |
Incorporating these practices ensures a safe and efficient installation while adhering to electrical code requirements.
Final Steps and Testing

Upon completing the wiring installation, a series of final steps and testing procedures must be conducted to ensure the system operates safely and effectively.
An installation inspection begins with verifying that all connections are secure, and the fan is properly vented to the exterior. It is crucial to check for circuit overloads and ensure any ceiling or wall openings are air-sealed.
After restoring power, test each switch independently, ensuring proper operation of the fan and light. Observe the fan blades and light function, listening for unusual noises.
If issues arise, conduct electrical troubleshooting by checking wiring connections. Any unresolved problems should prompt a consultation with a qualified electrician to ensure safety and compliance.


